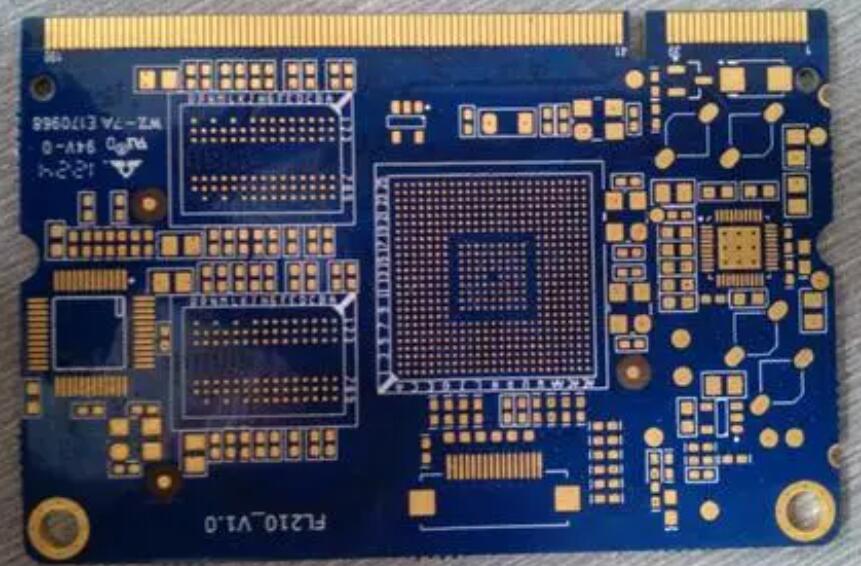
The performance of the DC-DC switching power supply is closely related to the layout of the PCB board. Due to the consideration of fast switching, power passing current and heat dissipation in switching DC-DC, unreasonable layout and wiring will greatly affect the performance of the power supply and form a serious noise source.
layout:
In the layout of the switching regulator, the layout of the AC path is extremely important, and the DC path can be secondary consideration, but the feedback signal path is the only key signal of the entire DC-DC power supply.
We all know that traces on the PCB have inductance, about 20nH/inch. As long as there is current flowing through the trace, an induced voltage will be generated, but the voltage value does not depend on the magnitude of the current but on the rate of change of the current, V = L*(dI/dt). Therefore, the AC path is very important in PCB design, especially for DC-DC integrated circuits that use high-speed switching tubes, the dI/dt will be very high. NS (National Semiconductor) gives a rough figure: "For a typical buck converter, the current change in the AC part is 1.2 times the load current during the switch-off process, and the load is the load during the switch-on process. 0.8 times the current.” Here, the trace of the AC path must be as short as possible, including the trace of the GND pin. Although the current flowing through the GND pin is very small, the switching process of the switch tube will refresh the current through the GND pin. The current will become very steep. This means that input capacitors and bypass capacitors should be placed as close to the IC as possible, especially for step-down ICs.
The space around the IC is limited, and the input capacitor and the bypass capacitor cannot be placed close to the IC at the same time, especially the input capacitor is relatively large.
First of all, understand the role of the input capacitor to make the voltage input to the IC as stable as possible and reduce voltage fluctuations. In fact, it should be possible to say that a large input capacitor can be regarded as the total power supply on the board. At the same time, the equivalent series resistance (ESR) and equivalent series inductance (ESL) of the input capacitor may be very high, which will cause high-frequency input voltage ripple at the input power pin of the IC. So the input capacitor can be placed within about 1 inch from the IC.
The bypass capacitor must be as close as possible to the input power pin of the IC. For bypass flashlights with short or no pins, generally 0.1uF or 0.47uF ceramic capacitors are used, which has a better effect on filtering high-frequency ripple. Short pins or no pins will reduce the parasitic inductance (ESL) of the capacitor. At the same time, the generally used package is 1206, X7R type. If a small package size is used, the ESL and ESR of the capacitor will increase. Generally, such a bypass capacitor needs to be placed next to the power supply pin of the IC.
For the DC-DC switching power supply, there will be a clamping diode, and its placement position is also critical. Since one end of the clamp diode is connected to the SW pin of the IC, the signal of this pin is a rectangular wave. If the trace is too long, its inductance will easily pick up noise, which will be added to the SW signal to form a noise spike. The basic point of the layout of the clamping diode is to place it close to the IC, and use a short and wide trace to directly connect the SW pin and GND pin of the IC.
After the input bypass capacitor and clamping diode are determined to be placed, the layout of other devices begins. The trace connecting the input bypass capacitor and the clamping diode should be as short and wide as possible, and there should not be any through holes in the path connected to the IC. For SMT PCB board, it means that they need to be on the same layer as the IC. There is no through hole here. It just means that VIA should not be used in the trace between the IC, the input bypass capacitor, and the clamp diode. The PAD of the bypass capacitor and the clamp diode is connected to VIA instead of the connected trace.
wiring:
Many times we have misused copper pour. It is no problem for GND plane or VCC plane copper pour. It can reduce the current loop impedance, and can be used as a reference for key signals to reduce interference. But for the clamping diode wiring mentioned in the layout just now, it should be short and wide, but not as wide as possible. The trace is short and easy to understand. Everyone will realize that by doing so, the rule of thumb of "20nH/inch" shows that the inductance of the trace is proportional to the length. But isn't the trace inductance inversely proportional to the width? Usually many people intuitively think it is. According to Trace inductance formula:
L = 2l * [ln(2l/w)-0.5 + 0.2235 * (w/l)]
It can be seen that the inductance value and the trace width are non-linear. In order to reduce the effect of parasitic inductance, widening the trace should be the last resort. The first step should be to reduce the length of the trace. In particular, the clamp diode is connected to the SW pin. Since the voltage itself is a switching waveform, if you replace the Trace with a too wide copper pour, it will be regarded as an antenna and introduce EMI problems. For the switch node, the best choice is to control the size of the copper foil around it within the minimum range of actual requirements.
It is a very common phenomenon in Layout to replace the power cord with copper. It is believed that the larger the copper paving, the greater the current that can be carried. In fact, it should be that the larger the cross-sectional area (width * thickness) of copper, the smaller the trace resistance per unit length, and the smaller the heat generation. The current handling ability is essentially the temperature rise problem of Trace. We should use quantitative calculations to determine the size of the power supply part of the Trace, and should not over-lay the copper. Generally, a temperature rise of 30°C to 40°C is acceptable, and it is also affected by the surrounding heating devices and must not exceed the rated temperature of the epoxy resin board (FR4 needs to be kept below 120°C).
A rule of thumb: For moderate temperature rise (below 30°C) and current is less than 5A
For 1oz copper, use a copper foil with a width of at least 12mil for 1A current
For 2oz copper, use at least 7mil copper foil for 1A current
GND plane, try to keep the ground plane intact, don't split or route the wires on the ground plane, but it is difficult to achieve this with double-sided boards. The multilayer PCB board must abide by this principle. But sometimes when it is necessary to divide the digital ground, analog ground or high and low voltage ground plane, it is necessary to divide the ground plane, but in the end, two separate ground planes must be connected through magnetic beads or 0 ohm resistors to maintain the electrical connection and consistency. A complete ground plane is very important for PCB board anti-interference and impedance control, because it is a reference and return path for signals.
The feedback circuit in the DC-DC switching power supply is the only key signal in the signal line. There are two ways to solve it: 1. Use as short a feedback trace as possible to minimize the noise picked up; 2. Keep away from noise sources, such as inductors or diodes. Sometimes in order to avoid noise sources, it is also necessary for Trace to go longer.