Fifteen steps for making PCB board
Statistics show that electronic products and smart home appliances have become an indispensable aspect of many people's lives and work, and the applications of these electronic and smart products are supported by PCB boards. It can be seen that the existence of PCB is very important, at least it meets the requirements of most electronic products, so that our terminal equipment becomes lifelike.
At that time, every step of the fifteen steps of PCB board production is important. Next, Dongguan Boyuan Electronics Co., Ltd. will break it down in detail:
Step 1: The design work and output work of the PCB board.
As the name suggests, the design and output work here is inseparable from the use of various design software, and it is precisely because of the different versions of the PCB design software that differences are more likely to occur. After all, different software needs to use different GERBER files, and this file contains important coding information.
Step 2: PCB board printing film work.
In the fifteen steps of PCB board production, this step requires extremely high accuracy. It is best to use precise printing equipment to provide detailed and accurate design of the film. And each layer of circuit board has its own transparent and black film. If you want to get a more perfect connection, you need to make the film perfectly aligned. Therefore, the punching work must be carried out in advance, and the simple and concise is positioning.
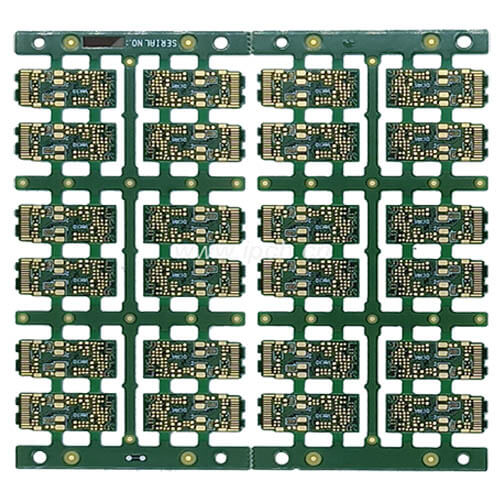
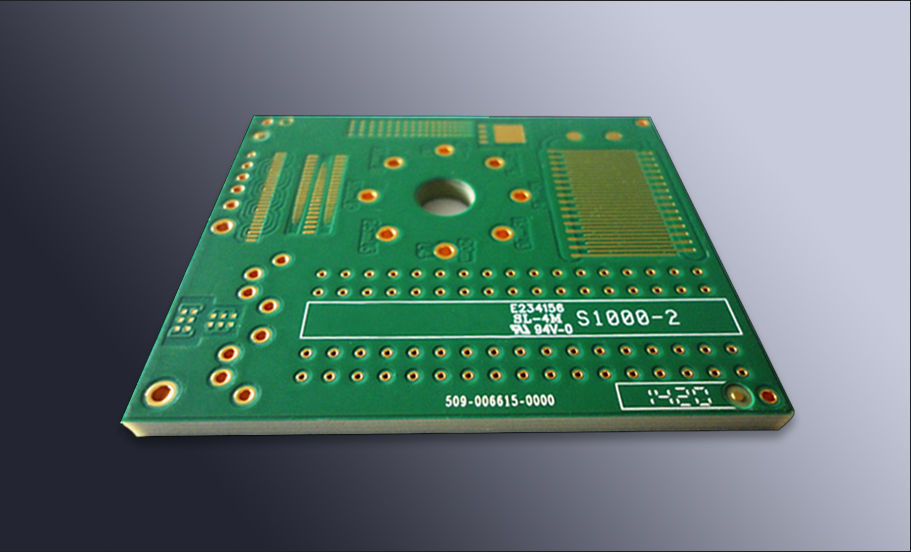
PCB board
Step 3: Inner layer.

The inner control can effectively produce PCB. Most of my friends have seen the circuit board. Its basic style is a laminate. Use it to receive and form the ideal body of copper. The two sides of the copper must be glued in advance. This step requires high cleanliness. After all, it is wrong. The dirt is more likely to cause short circuit and open circuit of the circuit.
Step 4: Go to the copper.
The removal of copper here is "take the essence and remove the dross." The use of solvents to remove unnecessary copper, and the hardened resist that protects the preferred copper needs to be washed off. Another solvent accomplishes this task. The circuit board now only flashes the copper substrate required by the PCB.
Step 5: Superimposition of circuit board layers and layers.
The fifth of the fifteen steps in the production of PCB boards, Dongguan Boyuan Electronics Co., Ltd. pointed out that there is nothing more than the alignment and stacking of PCB boards. Optical tests can clearly find inconsistencies. If necessary, you need to find professional technology. The personnel evaluate, otherwise the PCB cannot enter the final production process.
Step 6: Paste work.
The paste work of the PCB board is not as easy as it can be seen directly by the eyes. It needs to be operated by a technician. The prepreg layer is placed on the alignment groove in advance, and the paste is layer by layer. The entire process is inseparable from the bonding press., Otherwise its goodness cannot be guaranteed.
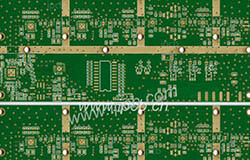
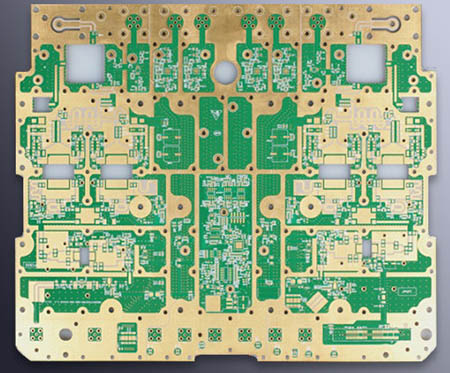
PCB board
Step 7: Drilling work and electroplating.
When drilling a PCB board, the size of the drill bit is required, and the impact is skillful. The technicians need to control the drive of the computer reasonably and naturally until the completion of the drilling work. The extra copper lined up on the edge of the production panel is removed by analysis tools. When electroplating is carried out, it is nothing more than using chemical deposition to fuse them.
Step 8: Let the outer layer imaging be realized.
This step needs to be performed in a dust-free environment. UV lamps are used for photoresist etching to ensure the alignment of the panel. Finally, the external panel must be inspected to ensure that unnecessary lithography can be removed in the previous stage. glue.
Step 9 is to repeat the above-mentioned electroplating work. In the fifteen steps of PCB production, the electroplating work is a work that needs to be repeated and checked.
Step ten: etching work
How to ensure the connection of conductive areas? There is no doubt that the etching work cannot be ignored. Only the unwanted exposed copper and copper under the resist layer undergoes removal. In order to protect the valuable copper, and ensure its establishment and connection to the conductive area.
Step 11: Soldering and mask operation
Before applying the solder mask to both sides of the circuit board, clean the panel and cover it with epoxy solder resist ink. The circuit board receives ultraviolet rays and passes through the solder mask to the photographic film. The covered part remains unhardened and will be removed. Finally, the circuit board enters the oven to cure the solder mask.
Step 12: How to treat the surface
In order to add extra soldering capacity to the PCB, we electrolessly plate them with gold or silver. At this stage, some PCB s can also receive hot air flat pads. Hot air leveling results in an even pad. This process results in a surface finish.
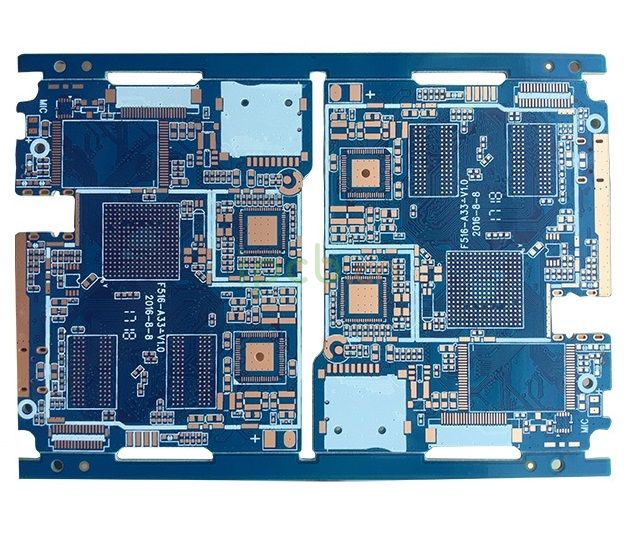
Circuit board
Step 13: Screen printing
The nearly completed circuit board receives inkjet writing on its surface to indicate all important information related to the PCB. PCB finally enters the final coating and curing stage.
Step 14: Electrical test work
Electrical testing is nothing more than a comparison with the previous design work to ensure their consistency.
Step 15: Cutting work.
Cut out different boards from the original panel. The method used is centered on the use of routers or V-grooves. The router leaves small tabs along the edge of the board, while the V-shaped groove cuts diagonal channels along both sides of the board. Both methods allow the PCB to be easily ejected from the panel