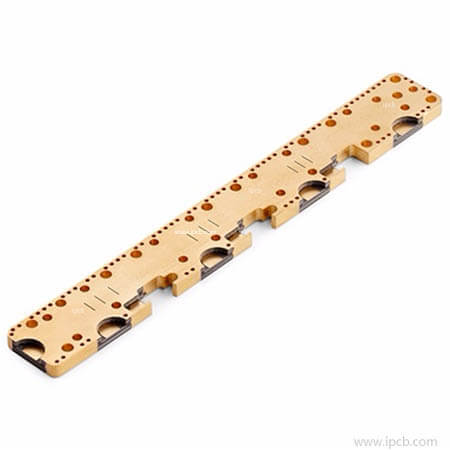
The purpose of this article is to allow those who do not have any surface mount soldering experience to be able to solder SMD components on PCB board.
First we need to prepare the following tools
Soldering iron One with temperature control is highly recommended.
Fine soldering iron bit (for example, only 1mm) I use one that is 1mm across in this shape. Tip: (This is a good shape for "drag soldering" fine-pitch ICs)
Soldering iron sponge If you are working with a clean bit and are not ready, you have to become this!
Good lighting is obvious in kind, but very helpful.
Fine tweezers to place small parts.
Tip implementation Useful to push small parts into place and keep them there while soldering. I recommend a cheap soldering aid set like this with two straight and curved pointed things.
Powerful magnifying glass For final inspection of solder joints. My personal use comes from an old fax machine, which has a very high magnification salvage scanning lens.
Very fine and no-clean (28swg/0.38mm or finer) "No cleaning" is important. Another method is to use organic flux and clean thoroughly and immediately after soldering, but no cleaning is just easier!

No-clean flux gel or no-clean flux pen The gel is best you get in the pen because it is a bit tacky and helps keep the components in place for liquid flow. The gel can be applied with a small screwdriver or a matchstick.
Fine elution-free solder braid is used to remove solder bridges between IC pins. Also pay attention to "not clean"-some desoldering braids contain rosin flux.
1. Soldering iron temperature
SMT factories tend to work quite at the temperature of the hot soldering iron (about 375°C) to make things faster and require the following techniques for fine-pitch IC soldering to work. The actual temperature setting will vary from iron to iron, but it may be between 330°C / 626°F to 380°C / 716°F (although there are some cheap temperature-controlled soldering irons, the temperature setting may not be very accurate if it Doesn't work well, so try to be higher). Most modern components are quite flexible and are designed to cope with automatic soldering and lead-free solder, but even this kind of work at these higher temperatures try not to leave contact with the iron for too long.
2. Soldering 0805 chip resistors and capacitors
Apply flux to both pads.
Use tweezers and/or tips to position the components.
Load some solder onto the tip of the soldering iron.
At the same time, the tip is used to hold the component in place, and the solder that touches the soldering iron to one end of the component flows to the pad and the component end.
Then load some solder onto the soldering iron tip and repeat with the other end of the part (it will not need to be held in place at this time).
The joints inspected with a magnifying glass are good, and there are no pads or components near the solder bridge for visual inspection.
3. Soldering SOT-23 transistor
Apply flux to all 3 pads.
Use tweezers and/or tips to position the components.
Load some solder onto the tip of the soldering iron.
At the same time use the tip to achieve holding the component in place, touch the soldering iron to the middle pin/pad so the solder flows to the pad and pin.
Then repeat this process for the other 2 pins (it won't take this time to hold it in place).
The joints inspected with a magnifying glass are good, and there are no pads or components near the solder bridge for visual inspection.
4. PCB welding medium pitch IC (ie 1.27mm pitch SRAM chip)
Apply flux to all pads.
Use tweezers and/or tips to position the components.
The amount of solder loaded is as small as the soldering iron tip.
While gently fixing the components in place, touch the soldering iron to the corner pins 1, so the solder flows to the pads and pins.
Check component alignment.
Solder the pins on the fillet in the same way.
Check the component alignment again.
Soldering each pin, either by applying a very fine soldering iron to each pin or by loading a bit of solder and then touching the iron of each pin.
If you end up the tin bridge between the pins, remove it by dragging between the pins, or by using some very thin braids to desolder the tip of the soldering iron.
Visually inspect the joints with a magnifying glass and remove the shorts if necessary by desoldering the knitting.
5. Soldering fine pitch IC (ie the rest of SMT IC)
Apply a large amount of flow to all pads.
Use tweezers and/or tips to position the components.
Load a very small amount of solder onto the soldering iron tip.
While gently fixing the components in place, touch the soldering iron to the corner pins 1, so the solder flows to the pads and pins.
Check component alignment.
Solder the pins on the fillet in the same way.
Check the alignment of the SMT components again.
Load a small amount of solder to the soldering iron tip and steadily drag it from one end between the pins to the other. Flux will cause the solder to flow to the pins and pads and not bridge.
In the case of insufficient solder for the joints, repeat the process on these joints.
If you use too much solder you may end up with tin bridges between the pins. These can be removed using some very thin soldering pigtails, or just by dragging the tip of the soldering iron along the top of the pin to spread over the pins with less solder.