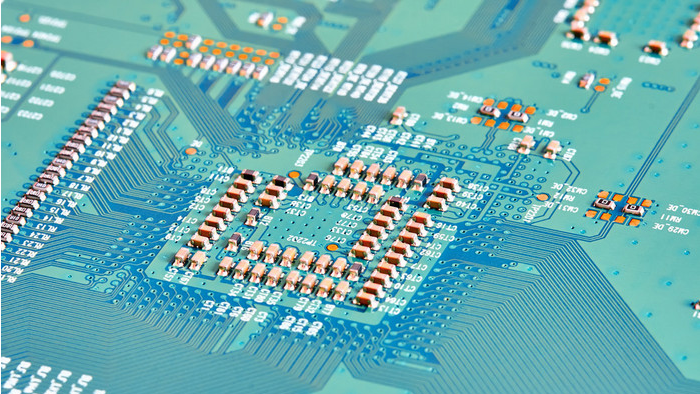
PCB component placement order
1. Place components that closely match the structure, such as power sockets, indicator lights, switches, connectors, etc.
2. Place special components, such as large components, heavy components, heating components, transformers, ICs, etc.
3. Place small components.
First, the method of placing PCB pads
You can execute the Place/Pad command in the main menu, or you can use the component to place the Place Pad button in the toolbar.
After entering the pad placement state, the mouse will turn into a cross shape. Move the mouse to a suitable position and click to complete the placement of the pad.

Second, the attribute setting of the pad
There are two methods for setting pad properties:
When using the mouse to place the pad, the mouse will turn into a cross shape. Press the Tab key, and the Pad (pad property) setting dialog box will pop up.
Third, the pad property setting dialog box
For the pads that have been placed on the PCB board, double-click directly, and the pad property setting dialog box can also pop up. There are several settings in the pad property setting dialog box as follows:
Hole Size: used to set the inner diameter of the pad.
Rotation: Use one to set the rotation angle of the pad placement.
Location: Used to set the location of the x and y coordinates of the center of the pad.
Designator text box: used to set the serial number of the pad.
Layer drop-down list: From this drop-down list, you can select the wiring layer where the pad is placed.
Net drop-down list: This drop-down list is used to set the net of the pad.
Electrical Type drop-down list: used to select the electrical characteristics of the pad. The drop-down list has 3 selection methods: Load (node), Source (source point) and Terminator (end point).
Testpoint multiple option: It is used to set whether the pad is used as a test point. Only the pads on the *** layer and the bottom layer can be used as test points.
Locked check option: Select this check option, it means that the position of the pad will be fixed after placement.
Size and Shape option area: used to set the size and shape of the pad
X-Size and Y-Size: Set the x and y dimensions of the pad, respectively.
Shape drop-down list: used to set the shape of the pad, there are Round (circle), Octagonal (octagonal) and Rectangle
(rectangle).
Paste Mask Expansions option area: used to set the attributes of the soldering layer.
Solder Mask Expansions option area: used to set the properties of the solder mask.
Timing analysis in high-speed PCB design
Timing analysis and signal integrity are inseparable, and good signal quality is the key to ensuring the timing relationship. Signal quality problems caused by phenomena such as reflection and crosstalk are likely to cause timing offset and disorder, and we must consider the two together when designing.
The starting point of timing analysis is to determine the design plan based on the signal establishment or maintenance time relationship. This method runs through the entire design process, including IC design, board design and system design.
Flight time refers to the difference between the time when the signal is sent to the time when the signal is stable at the receiving end, and is used to express the delay caused by wiring and load. In low-speed situations, approximate methods can be used to determine, but in high-speed PCB design, due to factors such as load and transmission line effects, simulation methods must be used to determine. After determining the flight time, the timing calculation can be implemented using tables or manual methods to check whether the signal meets the signal sample-and-hold requirements. In the same way, the wiring length rule can be obtained by reversing this process.
The feature of the public clock mode is that the clocks at the transceiver end are provided by a common clock source. It has two characteristics. One is that the data needs to reach the receiving end within one cycle, and the second is that the clock phase difference has a greater impact on the timing.
Usually when the clock and PCB data are driven by the same type of interface, the timing calculation only needs to consider the phase difference between them. If this is not the case, you need to adjust the phase difference according to the flight time (such as wiring length). At this time, in the PCB design In the usual sense, the data clock wiring method becomes invalid.
In the PCB design, other factors such as switching noise, inter-symbol interference, non-ideal loops, etc. have an impact on the phase of the PCB signal. Therefore, we must reasonably add design margins in the timing design on the one hand, and on the other hand, we also need to adopt other design methods to reduce the influence of interference.