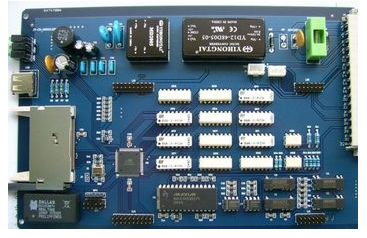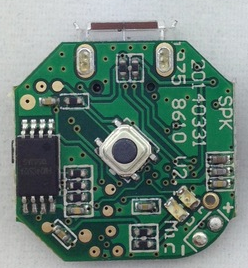
PCB board production The PCB board production and the shell production are carried out at the same time. After mass production is carried out according to the already designed PCB board files and requirements, the PCB components are soldered according to the BOM table and silk screen drawing. After the production is completed, test again to ensure that the produced product is qualified. This whole process is the complete PCB board production.

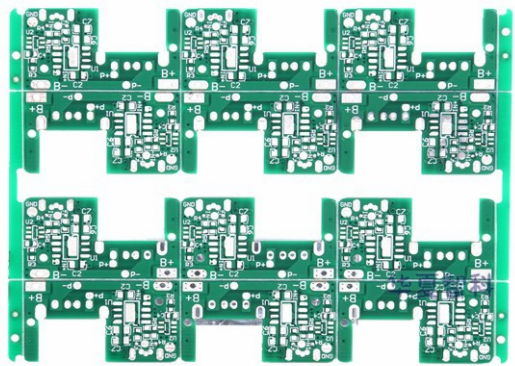
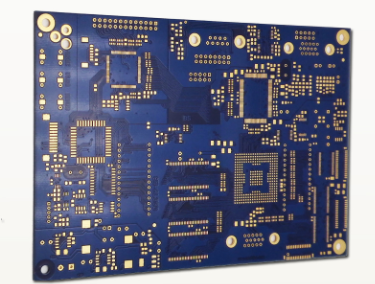
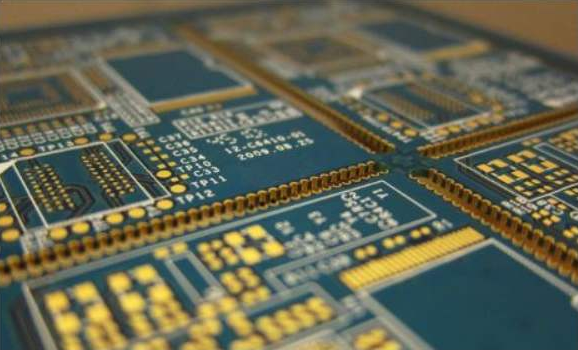
The first is to brush solder paste on the PCB board. Before brushing, the PCB board needs to be baked at a high temperature of more than 100 degrees to evaporate the moisture. Then the worker will check whether the PCB board is broken or not, and pick out the problematic PCB board. Leave the qualified PCB board with solder paste. Place the PCB board under the special steel mesh board, corresponding to the corresponding points that need to be brushed with solder paste. Once the above machine is over, the solder paste will be evenly brushed on the PCB board. The stencil here is specially made for this camera. What I want to explain here is that the stencil of each different product is specially made to correspond to the places where solder paste needs to be brushed.
(The solder paste is being applied, the PCB board is in the corresponding position under the steel mesh board in the middle)
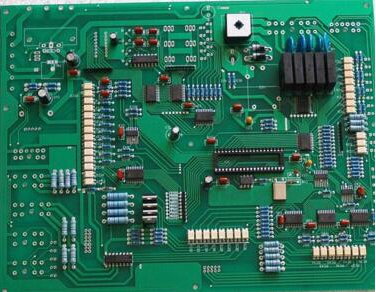
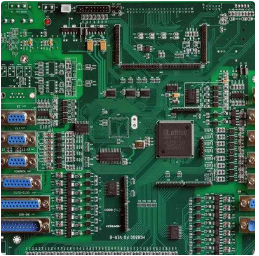
Roughly check whether the PCB board after brushing the solder paste is uniform, and then attach the PCB. The process of attaching is fully automatic. First, load the required materials into the corresponding loading trays, design the program with the computer, and the placement machine will accept the automatic placement of various placement components according to the program. Components such as SENSOR are "attached" using a placement machine.
(Automatic placement)
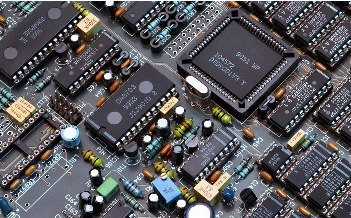
After all the components are pasted, check again if there is any omission. After that, the PCB board has to pass through an IR furnace for heating. After the solder paste and chip components of the PCB board pass through the IR furnace, they will be more bonded due to heating. The heat requirement of the entire IR furnace is very strict and needs to be divided. In this stage, heating and reheating are started sequentially, and this process is also controlled by a computer program.
Since not all components can be automatically mounted, some must be soldered, and some components cannot withstand the heat of the IR furnace. All PCB boards need to be "post-soldered" and the remaining components are manually soldered., For example, USB cable socket, crystal oscillator, electrolysis, resistance and so on.
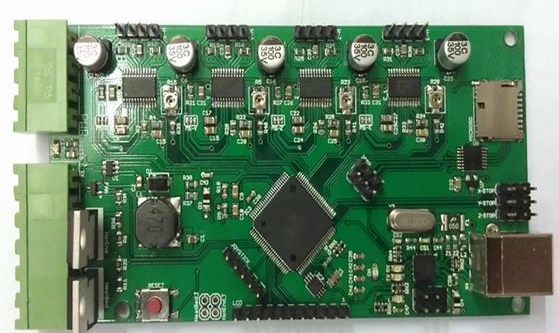
After the components are soldered, check whether there are any missing soldering, false soldering, or false soldering, and then repair soldering.
In addition, the entire PCB board production process has a very important but easily overlooked link: because the production process inevitably causes dust, and in the production of bullets, a special fabric-fur is used in almost every production link. If the oil stains and dust on the surface of the COMS sensor are wiped off, it is easy to cause the effect of imaging in the future because of the dust. This process is even more important!
PCB board production: 1. Brush solder paste 2. SMD 3. Pass IR furnace 4. Post welding 5. Repair welding 6. Clean PCB
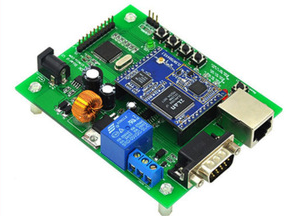
Assembly 1. Assembly of camera parts After the housing and PCB are all produced, all parts need to be assembled. The so-called assembly is not a simple combination of them. The process is also quite delicate.
Many processes in the assembly process are carried out at the same time, here are some of the more important processes.
First introduce the lens installation: use the hand beer machine to press the lens mouth into the lens cap. Before pressing in, check the lens mouth for damage to ensure that the lens is intact. After pressing in, check the lens mouth as well. Whether there is a gap between the cap and the cap, if there is a gap, it is a non-conforming product, and it cannot be used as well.
After the lens was pressed in, the worker applied a layer of lubricating oil between the lens mouth and the cap, because the lens barrel made of aluminum alloy and the lens holder made of plastic would inevitably lead to wear due to friction between them. Just add lubricating oil. To reduce this loss, this process is not done or omitted by many manufacturers.
Pay attention to clean the lens to ensure the transparency and image clarity in the future. Then fix the already produced PCB board and the lens with screws, and install the lens adjustment ring.
At the same time, the shell is also being produced on another assembly line. First of all, you need to check that the shell will be scratched, abraded, and other defects are picked out. These are unqualified products and cannot be used. Then put the UBS cable into the shell. Then use screws to fix the upper part of the camera and the connecting rod of the base.
Clamp the fixed PCB board and the lens into the bottom of the housing, and install the tail cover lamp, then the upper part of the housing can be installed. Screw the screws again to lock the upper and lower covers. Finally, don't forget to wipe the dust off the lens.
The base needs to be affixed with QC and anti-counterfeiting labels, and the bullet head must be equipped with foot pads. This work can be carried out at the same time by opening another assembly line.
(Paste anti-counterfeiting label)
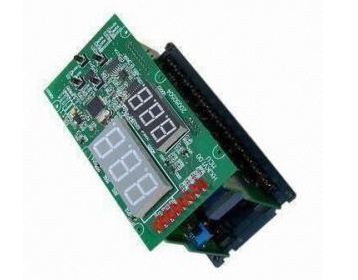
After all the accessories are assembled, the most important thing that needs to be done is the QA full inspection, such as checking the tightness of the lens focus, and then further checking whether the assembled camera is scratched during the assembly process. If the camera is a completely qualified product, it is not just a simple assembly of all the parts, but more importantly, the quality inspection work before and after assembly. If the product quality is too hard, you can't be sloppy in any details.
(Check the color difference against the color card)
(Check the tightness of the adjusting ring and the main body and the base)
2. Packaging Once the camera is assembled, the rest is packaging. Put the manual, CD, certificate, etc. into the color shell in order, and then put the inner bracket into it, you can put the camera in the corresponding position, you still need to check whether the shell is damaged or scratched before putting it. The mark is a non-conforming product. Paste the barcode on the outer packaging in order. Then you can pack it!