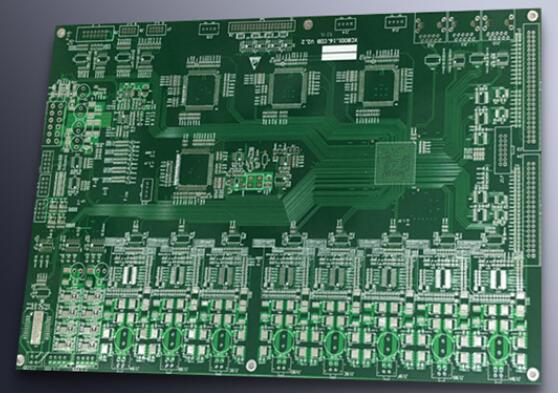
The first step for the circuit board factory to repair the PCB board is to observe whether the circuit board has been artificially damaged. This is mainly from the following aspects:
1. Check if the circuit board has been dropped, causing the corners of the board to be deformed, or the chip on the board is deformed or broken.
2. Observe the socket of the chip to see if it is forcibly broken due to the lack of special tools.
3. Observe the chip on the circuit board. If it has a socket, first observe whether the chip is inserted incorrectly. This is mainly to prevent the operator from inserting the chip in the wrong position or direction when repairing the circuit board. If the error is not corrected in time, when the circuit board is powered on, the chip may be burned out, causing unnecessary losses.
4. If there are short-circuit terminals on the circuit board, observe whether the short-circuit terminals are inserted incorrectly.

The repair of the circuit board requires a solid theoretical foundation and careful work. Through careful observation of the repairer, sometimes the cause of the problem can be judged at this step.
The second step is to observe whether the components on the circuit board are burnt out. For example, are the resistors, capacitors, and diodes black or muddy? Under normal circumstances, even if the resistor is burned, its resistance value will not change, its performance will not change, and normal use will not be affected. At this time, a multimeter is required for auxiliary measurement. But if the capacitors and diodes are burnt, their performance will change, and they will not be able to play their due role in the circuit, which will affect the normal operation of the entire circuit. At this time, new components must be replaced.
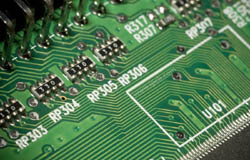
The third step is to observe whether the integrated circuits on the circuit board, such as 74 series, CPU, coprocessor, AD, etc. chips, are bulged, cracked, burnt, or blackened. If this happens, it is basically certain that the chip has been burned out and must be replaced.
The fourth step is to observe whether the traces on the circuit board are peeled, burned or broken. Whether the sinking copper hole is out of the pad.
Step 5: Observe the fuse (including fuse and thermistor) on the circuit board to see if the fuse is blown. Sometimes because the fuse is too thin to see clearly, you can use an auxiliary tool-a multimeter to determine whether the fuse is damaged.
The above four situations are the methods used by the circuit board factory to repair PCB boards, which are basically caused by excessive current in the circuit. However, what is the specific cause of the excessive current requires specific analysis of specific issues. But the general idea of finding the problem is to first carefully analyze the schematic diagram of the circuit board, and then according to the circuit of the burned component, find its superior circuit, derive it step by step, and then use some experience accumulated in the work to make the analysis the easiest Where the problem occurred, find out the cause of the failure.