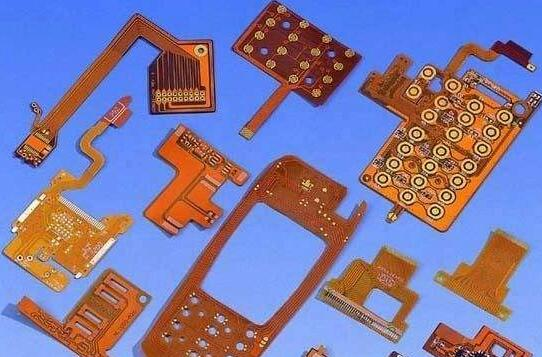
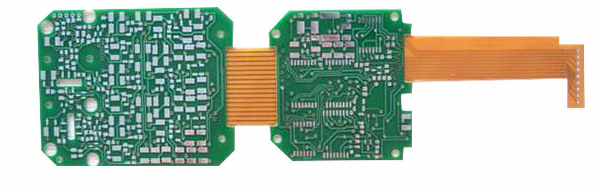
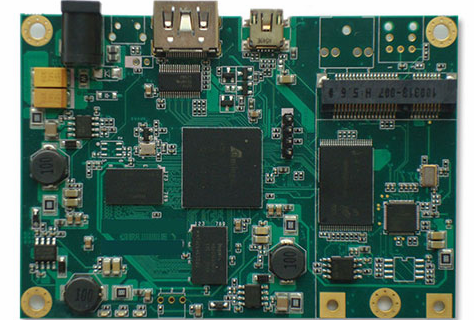
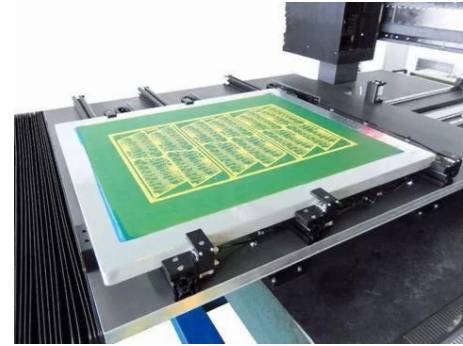
With the rapid development of information electronics technology, more and more electronic products, such as mobile phones, tablets, are becoming smaller and thinner. Unlike the internal circuit board widgets of our common TV sets, recorders and other products before, these miniaturized and miniaturized high-tech electronic products use a large number of lead-free SMD patch components, which need to be installed on the PCB circuit board using a new surface mounting technology.
For an engineer who is designing an electronic product for the first time, the PCB design with surface mounting technology has to pay attention to the technical requirements and often has no bottom in mind. For this problem, the iPCBer who has been engaged in PCB for many years has learned from his own work that it is not difficult to master the design process of surface mounting PCB. As a beginner electronics product development engineer, you can design a high-quality circuit board product only by doing the following eight aspects carefully. These eight areas of work are:
1. PCB board selection
1.1 Area: X * Y=330mm * 250mm (for small workbench patch device)
X * Y=460mm * 460mm (for large worktable patch device)
1.2 Area: X * Y=80mm * 50mm
1.3 Chamfer R 1.5mm around PCB
1.4 PCB thickness: 0.8~2.5mm
1.5 If the PCB board is too small, it is necessary to design the puzzle. If the puzzle is too small, it is recommended to use the separating technology of stamp version or double-sided V-groove.
Note: Each parameter may be slightly different for a specific device.
2. Component Layout Rules
2.1 Effective range of component layout: PCB board X, Y direction should leave the transmission edge, each side 3.5mm, if unavoidable, need to process the transmission edge.
2.2 Components on PCB board should be evenly discharged to avoid uneven weight. The alignment of 2.3 components on the PCB board, in principle, changes with the change of component type, that is, the same kind of components are arranged in the same direction as possible, so as to make the components fit, weld and detect. 2.4 When wave soldering is used, make sure that the solder peaks are touched at both ends of the components as far as possible (SOIC must be guaranteed, flake and column components should be guaranteed as possible).
2.5 When flake components with large size differences are adjacent and spaced very small, smaller components should be arranged in front of each other during peak soldering, and solder waves should be introduced first to avoid large components covering smaller components after them, resulting in weld leakage.
The spacing between adjacent pad shapes of different components on 2.6 plates should be more than 1 mm.
3. Benchmark Marks
3.1 For precise mounting of components, a set of graphics (datum marks) for optical positioning of the whole PCB can be designed as needed, for optical positioning graphics (local datum marks) of single devices with many pins and small pin spacing.
3.2 Common graphics for benchmark markers are: +, in the range of 0.5-2.0 mm, placed in the diagonal symmetrical position of the PCB or a single device.
3.3 The benchmark mark takes into account the difference between the color of the PCB material and the environment and is usually set to a bonding pad, i.e. copper-clad or lead-tin-plated alloy.
3.4 For jigsaw, due to die stamping deviation, discrepancies between the sheets may occur. Set a benchmark on each piece of jigsaw to allow the machine to treat each piece of jigsaw as a single board.
4. Graphic design of bonding pad
Welding pad design generally selects corresponding standard welding in CAD standard library according to the shape of components used
Size, not big generation, small generation or big generation.

5. Welding pad and printed guide
5.1 Reduce the width at which the printed guide connects the pad unless limited by charge capacity, processing limit, etc., the width should be 0.4mm or half of the pad width (whichever is smaller).
5.2 When the bonding pad is connected to a large area of conductive area such as ground and power supply, thermal isolation should be carried out through a short and thin conductive line.
5.3 Print guides should avoid connecting to the pad at an angle and should be connected from the center of the long side of the pad whenever possible.
6. PAD AND RESISTANCE FILM
6.1 The width and length of the printed board corresponding to the opening size of the resistance film of each pad should be 0.05~0.25mm larger than that of the pad size, depending on the pad spacing. The purpose is to prevent the pad from being contaminated by the resistance flux and avoid the bonding and bonding during paste printing, welding.
6.2 The thickness of the resistance film must not be greater than that of the pad
7. Guide hole layout
7.1 Avoid installing a pad on the surface or a guide hole within 0.635mm from the surface. If unavoidable, the solder loss channel must be blocked with solder blocker.
7.2 As the test support through hole, the spacing of ATE should be fully considered when designing the layout with different diameter probes.
8. Welding method and PCB overall design
8.1 Reflow soldering is suitable for almost all patch components, while wave soldering is only suitable for rectangular, cylindrical, SOT and small SOP (pins less than 28, pin spacing more than 1 mm). When SOP and other multi-foot components are soldered by wave, the stolen tin pad should be set at two (1 on each side) soldered feet in the direction of tin flow to prevent continuous soldering.
8.2 Due to the operability of the production, the overall design of the PCB is optimized in the following order as far as possible:
A. Single-sided mounting or mixing, i.e. placing patch elements or mounting elements on a single-sided PCB cloth;
B. Double-sided mounting, PCB A surface cloth for patch element and insert element, B surface cloth for patch element suitable for peak bonding;
C. Double-sided mixing, PCB A surface cloth with patch elements and insert elements, B surface cloth with patch elements requiring flow bonding.
IPCBer believes that "nothing is difficult in the world, as long as you are willing to climb." As long as you study diligently, do a good job in the above eight aspects of the lessons, and continue to summarize experience in the design, you will be able to quickly master the technical know-how of surface mounting PCBdesign and become a master of design in the industry.