PCB Process Introduction to Hot-Pressed Melting Tin Welding Principle and Process Control
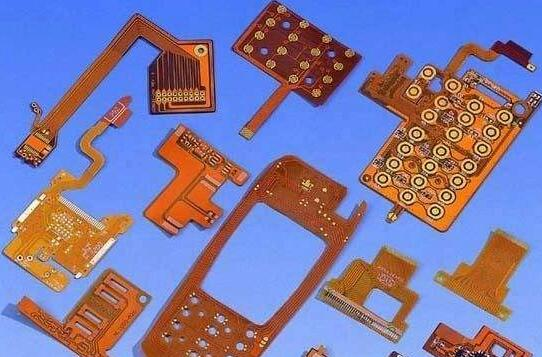
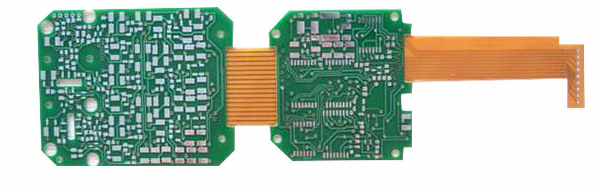
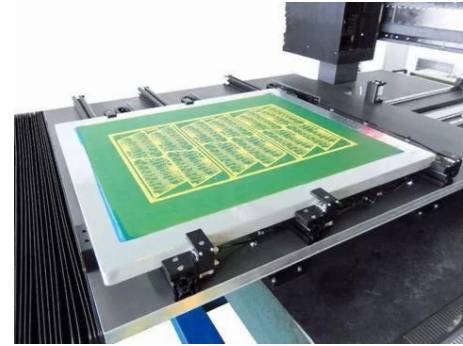
The principle of hot-pressing soldering is to first print the solder paste on the circuit board, and then use heat to melt the solder and connect and conduct two electronic components that need to be connected. Usually the soft board is soldered on the PCB, so that it can achieve the purpose of lightness, thinness, shortness and smallness. In addition, the cost can be effectively reduced because 1 to 2 flexible board connectors can be used less.
The principle of the general hot pressing tin welding hot pressing machine is to use the Joule heat generated when the pulse current flows through molybdenum, titanium and other materials with high resistance characteristics to heat the hot pressing head, and then use the hot pressing head to heat and melt the PCB The solder paste is applied to achieve the purpose of soldering. Since it is heated by pulse current, the control of pulse current is very important. The control method is to use the thermocouple circuit at the front of the thermal head to feedback the real-time thermal head temperature back to the power control center to control the pulse current signal to ensure heat The correctness of the temperature on the indenter.

1. Control the gap between the hot pressing head and the object to be pressed. When the hot pressing head descends to the object to be pressed, it must be completely parallel to the object to be pressed, so that the heating of the object to be pressed will be even. The general method is to first loosen the screw that locks the hot pressing head on the hot press, and then adjust to manual mode. When the hot pressing head is lowered and pressed against the object to be pressed, confirm that it is complete.
2. Tighten the screws after touching, and finally raise the heat press head. Usually the object to be pressed is PCB, so the hot pressing head should be pressed on the PCB. It is better to find a board that is not tinned to adjust the machine.
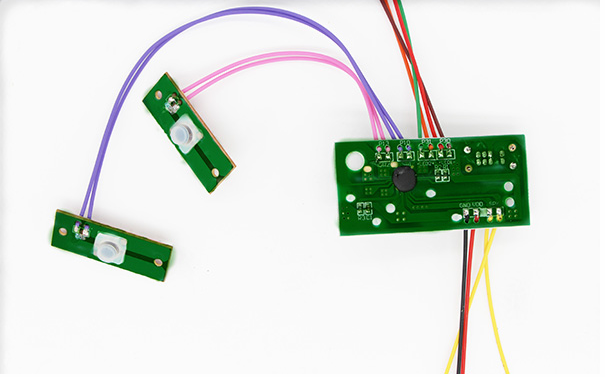
3. Control the fixed position of the object to be pressed. Generally, the objects to be pressed are PCB and soft board. It is necessary to confirm that the PCB and soft board can be fixed on the fixture carrier. At the same time, it is necessary to confirm that the position of each time the HotBar is pressed down is fixed, especially the front and back direction. When there is no fixed object to be pressed, it is easy to cause empty welding or crush the quality problems of nearby parts. In order to achieve the purpose of fixing the object to be pressed, special attention should be paid to the design of adding positioning holes when designing the PCB and the flexible version. The location is best to be near the hot pressing of the molten tin to avoid the FPCB from shifting when pressing down.
4. Control the pressure of the heat press.
5. Do I need to add flux? The amount of flux can be added to facilitate welding smoothly. Of course, it is best to achieve the goal without adding it.