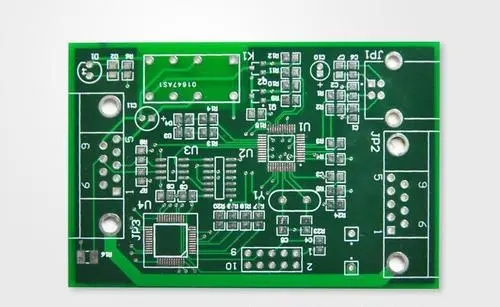
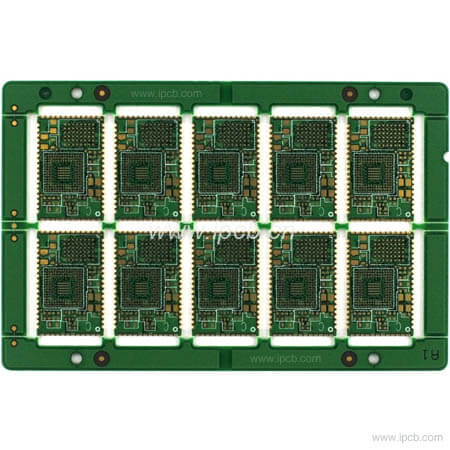
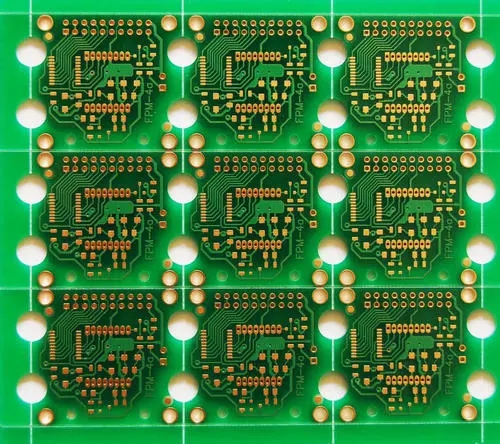
генерал проектирование PCB process is as follows: preliminary preparation -> PCB structure design -> PCB layout -> wiring -> wiring optimization and silk printing -> network and DRC inspection and structure inspection -> plate making.
первая: предварительная подготовка. This includes preparing component libraries and schematics. "если ты хочешь хорошо поработать", you must first sharpen your tools."сделай хорошую доску", in addition to designing этот principles, Ты тоже должен хорошо рисовать. Before proceeding with проектирование PCB, Мы должны сначала подготовить схему расположения элементов SCH и библиотеки компонентов PCB. библиотека модулей может использовать собственную библиотеку Peotel, but it is generally difficult to find a suitable one. лучше создать собственную библиотеку модулей по стандартному размеру выбранного устройства. In principle, библиотека компонентов PCB, and then do the SCH component library. запрос библиотеки компонентов PCB очень высокий, which directly affects the installation of the board; the SCH component library requirements are relatively loose, обратите внимание на определение атрибутов цитирования и их соответствие компонентам PCB. PS: Pay attention to the hidden pins in the standard library. Затем план, and when it is done, Он уже готов начать новый день проектирование PCB.
Second: PCB structure design. в этом шаге, draw the PCB surface in the проектирование PCB В соответствии с установленным окружением панель PCB size and various mechanical positioning, установить необходимое соединение, buttons/выключатель, screw holes, монтажное отверстие, сорт. по требованию позиционирования. And fully consider and determine the wiring area and non-wiring area (such as how much area around the screw hole belongs to the non-wiring area).
схема PCB. To put it bluntly, схема расположения устройства на платы. сейчас, if all the preparations mentioned above are done, you can generate the netlist (Design->Create Netlist) on the schematic diagram, and then import the netlist (Design->Load Nets) on the рисунок PCB. Вы можете видеть, как вся куча оборудования рухнула., and there are flying wires between the pins to indicate the connection. Тогда вы можете поставить оборудование. The general layout is carried out according to the following principles:
1. . разумное разделение по электрическим характеристикам, it is generally divided into: digital circuit area (that is, afraid of interference and interference), analog circuit area (fear of interference), power drive area (interference source);
2. . схема, выполняющая одну и ту же функцию, должна быть как можно ближе, and each component should be adjusted to ensure the most concise connection; at the same time, adjust the relative position between the functional blocks to make the connection between the functional blocks the most concise;
три. . компонент высокого качества, the installation location and installation strength should be considered; heating components should be placed separately from temperature-sensitive components, and thermal convection measures should be considered when necessary;
4. . The I/O drive device is as close as possible to the edge of the printed board and to the lead-out connector;
5. . The clock generator (such as crystal oscillator or clock oscillator) should be as close as possible to the device that uses the clock;
6. . между выводом и заземлением источника питания для каждой интегральной схемы, a decoupling capacitor (generally a monolithic capacitor with good high-frequency performance is used); when the board space is dense, можно также добавить танталовый конденсатор рядом с несколькими интегральными схемами.
7. . A discharge diode should be added to the relay coil (1N4148 is sufficient);
8. . требования к компоновке должны быть сбалансированы, dense and orderly, not top-heavy or heavy

--Special attention is needed. When placing components, the actual size of the components (occupied area and height) and the relative position between the components must be considered to ensure the electrical performance of the circuit board and the feasibility of production and installation одновременно as convenience, the placement of the components should be appropriately modified under the premise of ensuring that the above principles can be reflected to make them neat and beautiful. например, the same components should be placed neatly and in the same direction.
этот шаг связан с общим изображением платы и сложностью следующей проводки, Поэтому необходимо подумать об одном усилии. время размещения, you can make preliminary wiring and fully consider the places that are not sure about it.
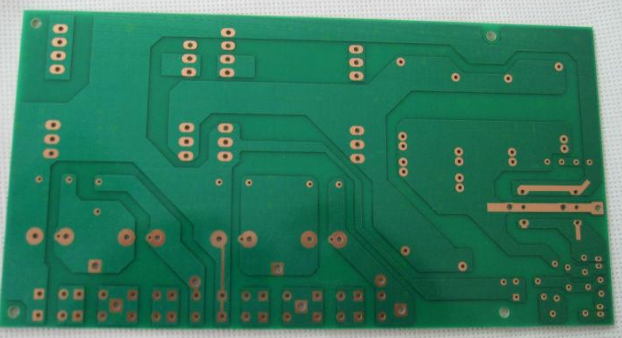
прокладка проводов. Wiring is the most important process in the entire проектирование PCB. это непосредственно влияет на производительность системы панель PCB. In the process of проектирование PCB, электропроводка обычно состоит из трех частей:, the layout is the most basic requirement for проектирование PCB. Если линия не соединена, то везде летают линии, it will be a substandard board, можно сказать, что ты еще не начал.. The second is the satisfaction of electrical performance. это стандарт для определения пригодности печатных плат. This is after the deployment, Осторожно регулировать соединение, so that it can achieve the best electrical performance. потом эстетика. If your wiring is properly deployed, ничто не влияет на производительность электрических приборов., but at first glance, Он беспорядочный, разноцветный, разноцветный, then no matter how good your electrical performance is, в глазах других это всё ещё куча мусора. This brings great inconvenience to testing and maintenance. соединение должно быть равномерным, not crisscross and out of order. все это должно быть сделано одновременно с обеспечением электрических свойств и других личных требований, Иначе это будет конец дня. The wiring is mainly carried out according to the following principles:
1. . в нормальных условиях, the power line and ground line should be wired first to ensure the electrical performance of the circuit board. в пределах допустимых условий, try to widen the width of the power and ground lines, предпочтительнее, чем линия электропитания, their relationship is: ground line>power line>signal line, обычная ширина линии сигнала: 0.2 ~ 0.3 мм, The smallest width can reach 0.1585 * 0 * 0.07mm, линия электропитания обычно% 1.2ï½2.5 мм. For the PCB of the digital circuit, можно образовать контур с помощью более широкой линии приземления, that is, to form a ground net to use (the ground of the analog circuit cannot be used in this way)
2. . Wire the lines with strict requirements (such as high-frequency lines) in advance, and the edge lines of the input end and the output end should be avoided adjacent to parallel to avoid reflection interference. В случае необходимости, ground wire should be added for isolation, проводка в соседнем слое должна быть перпендикулярной. Parasitic coupling is easy to occur in parallel.
3. . The housing of the oscillator is grounded, тактовая линия должна быть как можно короче, and it should not be drawn everywhere. тактовая колебательная схема, the area of the special high-speed logic circuit should be enlarged, and other signal lines should not be used to make the surrounding electric field approach zero;
4. . Use 45º polyline wiring as much as possible, and 90º polyline should not be used to reduce the radiation of high-frequency signals; (the lines with high requirements should also use double-curved lines)
5. . Do not form a loop on any signal line. Если неизбежно, the loop should be as small as possible; the signal lineâs vias should be as few as possible;
6. . ключевые линии должны быть как можно короткими и грубыми, and protective ground should be added on both sides.
7. . When transmitting sensitive signals and noisy field band signals through flat cables, Они должны быть выведены « заземленной линией сигнала».
8. . Key signals should be reserved for testing points to facilitate production and maintenance testing
9. . After the schematic wiring is completed, оптимизация проводов; одновременно, after the preliminary network inspection and DRC check are correct, зона выпуска заполнена заземленными линиями, and a large area of copper layer is used as the ground wire. все используемые места приземляются как заземление. или можно сделать многослойные доски, and the power supply and ground wires occupy one layer each.
5.PCB wiring process requirements
1. . String
In general, the signal line width is 0.3mm (12mil), the power line width is 0.77mm (30mil) or 1.27 мм (50mil); the distance between the line and the line and the pad is greater than or equal to 0.33mm (13mil) ). In practical applications, increase the distance when conditions permit;
When the wiring density is high, you can consider (but not recommend) to use two lines between IC pins, ширина линии 0.254mm (10mil), и шаг не менее 0.254mm (10mil). In special cases, когда стежок устройства является плотным и имеет более узкую ширину, the line width and line spacing can be appropriately reduced.
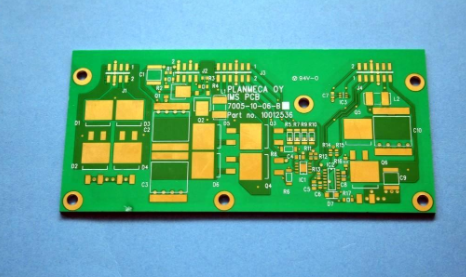
2. . Pad (PAD)
The basic requirements for pads (PAD) and transition holes (VIA) are: the diameter of the disk is greater than the diameter of the hole by 0.6 мм например, general-purpose pin resistors, конденсатор и интегральная схема, etc., использовать диск/hole size 1.6mm/0.8 mm (63mil/32mil), sockets, штырь и диод, etc., adopt 1.8 мм/1.0 мм (71mil/39mil). В практическом применении, it should be determined according to the size of the actual component. если позволяют условия, the pad size can be appropriately increased;
The component mounting aperture designed on the панель PCB Должно быть около 0.155½ * 0.4mm larger than the actual size of the component pin.
3. . Via (VIA)
Generally 1.27mm/0.7mm (50mil/28mil);
When the wiring density is high, the via size can be appropriately reduced, Но это не должно быть слишком маленьким, consider using 1.0mm/0.6mm (40mil/24mil).
4. . требование интервала прокладки, lines, and vias
PAD and VIA: ⥠0.3mm (12mil)
PAD and PAD: ⥠0.3mm (12mil)
PAD and TRACK: ⥠0.3mm (12mil)
TRACK and TRACK: ⥠0.3mm (12mil)
When the density is higher:
PAD and VIA: ⥠0.254mm (10mil)
PAD and PAD: ⥠0.254mm (10mil)
PAD and TRACK: ⥠0.254mm (10mil)
TRACK and TRACK: ⥠0.254mm (10mil)
6: Wiring optimization and silk screen printing. "нет лучшего, only better"! как бы то ни было,, wait for you to finish drawing, Тогда посмотри, you will still think that many places can be modified. общий опыт проектирования: оптимизация монтажа времени вдвое больше первого монтажа. After feeling that there is nothing to modify, you can lay the copper (Place->polygon Plane). The copper is generally grounded (note the separation of analog ground and digital ground), and power supply may also be required for multilayer boards. говорить о шелковой печати, be careful not to be blocked by the device or removed by vias and pads. At the same time, face up to the component surface when designing, самый нижний текст должен быть зеркальным, чтобы избежать путаницы.
7: Network and DRC inspection and structure inspection. сначала, on the premise that the circuit schematic design is correct, the generated PCB network file and the schematic network file are physically connected to the network check (NETCHECK), and the design is revised in time according to the output file result to ensure the wiring The correctness of the connection;
After the network check is passed correctly, the проектирование PCB is checked for DRC, и по результатам вывода файлов своевременно изменить дизайн, чтобы обеспечить электрические характеристики проводов PCB. наконец, it is necessary to further check and confirm the mechanical installation structure of the панель PCB.
8: подготовка к печати. Prior to this, желательно, чтобы был процесс обзора.
Проект PCB - Это впечатляющая работа. любой человек, обладающий идеями и опытом, должен создать Совет директоров. Поэтому при проектировании необходимо быть очень осторожным, в полной мере учитывать различные факторы (например, легкость обслуживания и проверки, многие люди не учитывают), и постоянно совершенствовать, вы сможете создать хорошую схемную панель.