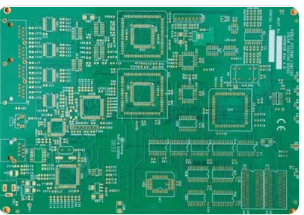
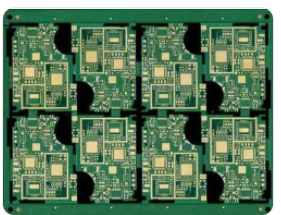
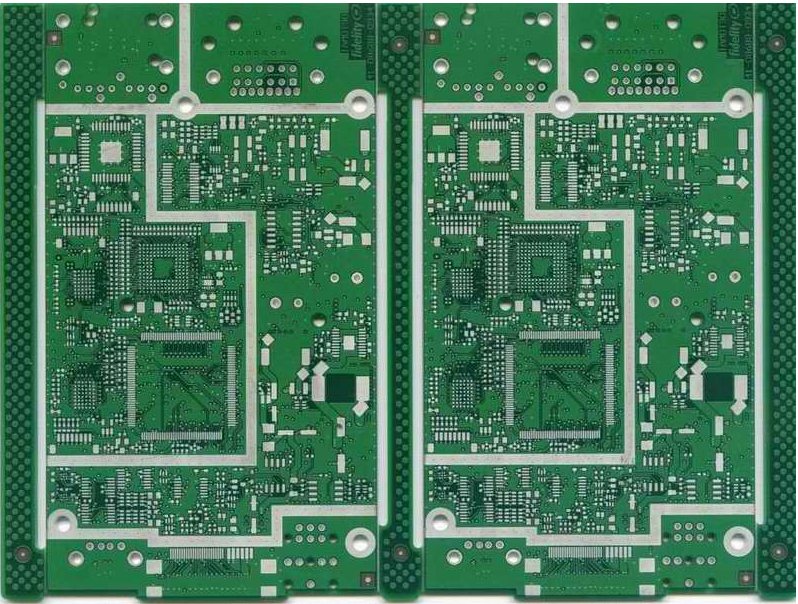
PCB process drawing PCB board steps
1. Preliminary work of circuit board design
1. построение схем и создание соответствующих схем. Конечно, in some special cases, например, плата, there is already a network table, сорт., it is not necessary to design the schematic diagram, прямой доступ проектирование PCB system. в проектирование PCB system, Вы можете пользоваться деталями и упаковывать. Создать список сетей.
2. Изменить таблицу вручную. Define the pads that are not on the schematic diagram such as the fixed pins of some components to the network connected to it, и определение заземления или защитного заземления без физического соединения. Change the pin names of some devices with inconsistent pin names in the schematic diagram and PCB package library to be consistent with those in the PCB package library, особенно диоды и транзисторы.
2. создание библиотеки пакетов для нестандартного оборудования. It is recommended to put all the components you have drawn into a special design file for PCB library that you have created.
три, Настройки проектирование PCB Окружающая среда and draw the печатная плата есть промежуточная дыра, сорт.
1. The first step after entering the PCB system is to set up the проектирование PCB environment, including setting the grid size and type, тип нониуса, layout parameters, Параметры монтажа. Большинство параметров могут использовать системные значения по умолчанию, and after these parameters are set, Они соответствуют личным привычкам, не нужно их менять в будущем. 2. рама планировочной платы, including the size of the circuit board and so on. прокладка под подходящий размер. For 3mm screws, 6.5~8mm outer diameter and 3.2 ~ 3.5mm inner diameter pads can be used. стандартный лист, they can be imported from other boards or PCB izards.
Примечание: перед нанесением края платы, the current layer must be set to the Keep Out layer, То есть, the wiring layer is prohibited.
4. After opening all the PCB library files to be used, Импорт файла списка сетей и изменение упаковки деталей - это очень важный шаг. The netlist is the soul of PCB automatic routing, дизайн схемы и тиснения. Interface, монтаж платы может производиться только после загрузки списка сетей. In the process of schematic design, проверка в ERC не касается упаковки деталей. Therefore, при разработке принципиальных схем, the packaging of the parts may be forgotten. при вводе в список сетей, the packaging of the parts can be modified or supplemented according to the design situation. Конечно, you can manually generate the netlist directly in the PCB, комплект деталей.
5. расположение деталей, also known as the part layout. Protel99 может производить автоматическое или ручное размещение. For automatic layout, запустить "автоматическое размещение" под "сервисом". You need to be patient with this command. ключ к монтажу - схема, and most designers use manual layout. Выберите компонент с помощью мыши, удерживание левой кнопки мыши, drag the component to the destination, блок фиксации нажатием левой кнопки. Protel99 has added some new skills in the layout. Новые параметры интерактивной раскладки включают автоматическое выделение и автоматическое выравнивание. Using the automatic selection method can quickly collect similar packaged components, затем вращение, unfold and organize them into groups, затем можно переместить их в нужное место на панели. When the simple layout is completed, использовать « Автовыравнивание » для выравнивания или сокращения набора схожих компонентов.
Подсказка: в процессе автоотбора, use Shift+X or Y and Ctrl+X or Y to expand and contract the X and Y directions of the selected component.
Примечание: компоновка деталей должна быть интегрирована с точки зрения теплоотвода механической конструкции, electromagnetic interference, удобство будущей проводки. First arrange the devices related to the mechanical size, и заблокировать эти устройства, then the large position-occupying devices and the core components of the circuit, затем маленький периферийный элемент.

6. Make appropriate adjustments according to the situation and then lock all devices
If the board space permits, Некоторые монтажные зоны, подобные экспериментальным планшетам, могут быть размещены на доске. For large boards, увеличить количество фиксированных отверстий в середине. на доске есть более тяжелые части или более соединитель, другие элементы нагрузки также должны быть фиксированные отверстия винта. В случае необходимости, some test pads can be placed in appropriate positions. их лучше добавить в схему. Increase the size of the via hole of the pad То есть too small, и определяет все сети с неподвижными отверстиями для прокладки на землю или для защиты заземления.
после укладки, использовать функцию VIEW3D для проверки фактических результатов и сохранения.
7. Wiring rules setting Wiring rules are to set various rules of wiring (such as the use level, ширина линии по группе, via spacing, топология и другие правила монтажа, which can be exported from other boards through the Menu of Design-Rules, Import this board again) This step does not have to be set every time, just set it once according to personal habits. Choosing Design-Rules generally requires resetting the following points:
1. Safety distance (Clearance Constraint of Routing label)
It specifies the distance that must be maintained between the trace pad vias of different networks on the board. В общем, плата может быть установлена как 0.254mm, пустой диск может быть установлен как 0.3mm, монтажная панель с повышенной плотностью может быть установлена как 0.2-0.22 мм. The production capacity of very few printed board manufacturers is 0.1 - 0.15mm. Вы можете установить это значение с их согласия. Below 0.Это абсолютно запрещено..
2. Routing layer and direction (Routing Layers of the Routing tab)
Here you can set the routing layer used and the main routing direction of each layer. обратите внимание, что патч для одной панели используется только верхний слой, а вертикальная однослойная панель используется только в нижнем слое, but the power layer of the multilayer board is not set here (you can click the top layer or the bottom layer in the Design-Layer Stack Manager, & Добавить плоскость, double click with the left mouse button to set, click on the layer and then delete it with Delete), the mechanical layer is not set here (you can select the mechanical layer to be used in Design-Mechanical Layer, and select whether it is available Depends on whether and is displayed in single-layer display mode at the same time). Mechanical layer 1 is generally used for the frame of the drawing board; mechanical layer 3 is generally used for mechanical structural parts such as bars on the drawing board; mechanical layer 4 is generally used for drawing rulers and annotations, etc., в частности, вы можете экспортировать PCAT в мастер PCB. Take a look at the structure of the board
3. Via shape (Routing Via Style of the Routing label)
It specifies the inner and outer diameters of the vias that are automatically generated during manual and automatic wiring, which are divided into minimum, максимальное и предпочтительное значение, of which the preferred value is the most important, сойтись.
4. Route width (Width Constraint of Routing tab)
It specifies the width of traces during manual and automatic routing. предпочтительный элемент для всего диапазона схем обычно 0.2-0.6 мм, and some network or net class line width settings are added, линия земли, +5 volt power line, линия питания переменного тока, power output line and power pack Wait. можно заранее определить сетевую группу в Design Netlist Manager. The ground wire generally has a width of 1mm, ширина различных электрических кабелей обычно составляет 0.5-1mm. соотношение ширины линий и тока на печатных платах составляет около 1 ширины на миллиметр.. For the current of ampere, Подробности см.. When the preferred value of the wire diameter is too large so that the SMD pad cannot be routed through the automatic routing, когда он входит в сварную панель SMD, он автоматически сокращается на участок траектории между минимальной шириной и шириной паяльного диска., если плата является полной, то ограничение ширины платы имеет минимальный приоритет, that is, the line width constraint conditions of the network and the network group are first met when wiring. The picture below is an example
5. Setting of copper connection shape (Polygon Connect Style of Manufacturing tab)
It is recommended that the Conductor Width of the Relief Connect method be 0.3 - 0.5mm for 4 wires of 45 or 90 degrees. Остальные элементы обычно могут использовать свои исходные значения по умолчанию, and items such as the topology of the wiring, можно установить интервал между слоем питания и длиной сети по мере необходимости. Select Tools-Preferences, and select Push Obstacle in Interactive Routing in the Options column (push other routes when encountering a route of a different network, игнорировать препятствия, Avoid Obstacle is to block) mode and select Automatically Remove (automatically remove) Delete redundant traces). дорожка и отверстие в столбце по умолчанию также могут быть изменены. Generally, не надо их перемещать. поместить заполнитель в область, не требующую монтажа, например, генератор с проволочным слоем под радиатором и кристаллом с двумя иглами, and put the FILL in the corresponding place of the Top or Bottom Solder for tinning. Настройка правил монтажа также является одним из ключей проектирования сети печатная платаs, для этого требуется большой практический опыт.