Preparations.
Collect PCB design-related information from the following people

a) Structural design engineer: DXF format files include, (PCB shape, positions of various positioning holes on the панель PCB, ближняя инфракрасная ограничения высоты, areas where components are prohibited, расположение ключевых элементов, positions of various buttons and светодиод And key value).
b) Hardware engineer: schematic diagram, требования к проводке по ключевым линиям, special component packaging requirements, сорт.
Project management: project progress schedule.
d) Purchasing department: select Производители PCB.
производственный сектор: особые технологические требования производства. 2. Determine the following PCB design parameters.
толщина доски.
Circuit board stack structure (distribution of power layer, ground layer and signal layer).
Types of vias.
d) Circuit board material and dielectric constant.
The default ширина линии and line spacing.
2. Check the device package
1. Импортировать схему в PCB.
Проверка сообщения об ошибке.
три. Check the package for errors (especially the devices newly added to the package library).
проверка полярности поляризационного оборудования.
5. Backup schematic diagram.
замена ошибочных устройств на схеме. If there is no corresponding device, инженер по связи с аппаратными средствами подал заявку на создание новой библиотеки оборудования.
3. основная информация о создании платы.
. Import the DXF file to the non-wiring layer. (Check the drawing scale and key dimensions)
2. Draw the outer frame of the circuit board according to the DXF file (line width 0.1 мм).
3. установить размер платы и платы по наружному размеру платы.
4. Create an outline layer and draw the outer frame of the puzzle (line width 0.1mm) on this layer.
5. Add positioning holes (4mm diameter non-metalized holes).
6. Add BAD_MARK points.
7. Add PANEL FIDUCIAL points.
8. Add label text on the PANEL frame (PART NUMBER and TOP, BOTTOM label)
Fourth, the device layout.
1. совместно с инженерами - аппаратниками разработать общую схему.
2. Добавить позиционное отверстие, требуемое инженером конструкции.
3. размещение основного компонента, various buttons, LEDs, сорт. По просьбе Организации.
4. компоновка по функциональным блокам и сетям.
5. Check the layout and device height for any discrepancies with the structural requirements.
6. Check whether the device gap complies with the rules and whether there is any overlap of devices.
7. Add BOARD FIDUCIAL points.
8. Print 1:1 assembly drawing for inspection.
9. Generate the DXF file and submit it to the structural engineer to confirm whether there is a structural conflict.
Изменить конструкцию.
Five, add silk screen
1. The silk screen line width is the smallest 0.15 мм.
2. минимальная высота текста шелковой сетки составляет 1.00 мм.
3. текст в нижней плоскости.
4. All silk screen content does not cover the pad and exposed copper foil.
шесть, wiring
1. Правило ввода проводов.
The default gap, line width.
b) Special network gap and line width.
c) The power and ground wires fill the gaps.
2. ручная проводка.
a) Follow the wiring rules for wiring.
b) The key line decides the wiring method together with the hardware engineer.
c) Work with the hardware engineer to determine the power cord routing method.
3. Add power and ground wire filling.
a) Determine the filling area together with the hardware engineer.
b) Keep a gap of at least 0.область заполнения и край пластины 25 мм.
All vias in the same network in the filling area are set to overlay filling, соединение без цветочных отверстий.
All the same network pads in the filling area are connected by cross-shaped thermal pads.
4. Add ground vias.
a) Add grounding vias in the gaps of the circuit, and try to make the ground wires of all layers evenly filled.
b) Add grounding vias along both sides of the audio line to ensure the shielding effect
c) Add grounding vias along the edge of the панель PCB обеспечение эффективности ESD.
5. Запустить проверку правил для проверки каждого сообщения об ошибке.
6. Запустить проверку подключения, сетевое соединение не будет подключено.
7. Организация служебной аттестации.
8. Добавить штампованное отверстие и нарисовать контур фрезера.
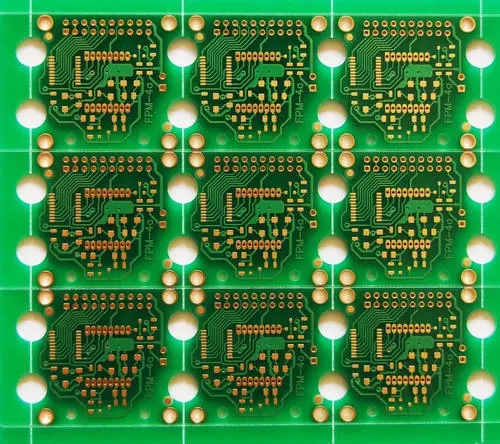
1. Add a stamp hole.
зазор между всеми отверстиями и линиями не должен быть меньше 0.25 мм.
b) The clearance between all drill holes and pads shall not be less than 0.30 мм.
c) Set stamp holes as evenly as possible on both sides of the PCB.
d) The stamp hole shall not be set near the devices with protruding board edges (such as side buttons, earphone sockets, etc.).
2. Draw the path of the milling cutter.
контур фрезерования, ширина линии 0.1mm.
b) The start and end of the path are the centers of the exit holes on both sides of the stamp hole.
9. Output device X, Y - координатный файл.
1. Введение единиц PowerPCB в метрическую систему.
2. Create device X, файл координат Y сохранён в формате Excel.
10. Output CAM files.
1. Set the output format.
a) GEBER file: RS-274-X, 3: 5, единица = английский.
b) NC Drill file: Out Type=ASCII, 3:5, Units=English.
2. установить содержимое каждого слоя вывода.
a) Signal layer: Pads, след, Vias, медь, связанные с медью.
b) Solder mask: Pads, медь, нитка, Text, связанные с медью.
c) Solder paste layer: Pads, Copper, нитка, Pins with Associated Copper.
d) Silk screen layer: Copper, Lines, Text.
e) OutLine: Lines.
f) Mill: Lines.
Настройка по диафрагме. Metalized through holes and non-metalized through holes are output separately.
3. Check whether the output file types are complete.
4. Export CAM files.
11. Import the GERBER file in CAM350.
1. Use AutoImport to import all GERBER data.
2. Check the imported graphics.
3. Set the drilling size according to the .Документ REP в документе GERBER.
4. Удалить все коды D 0.
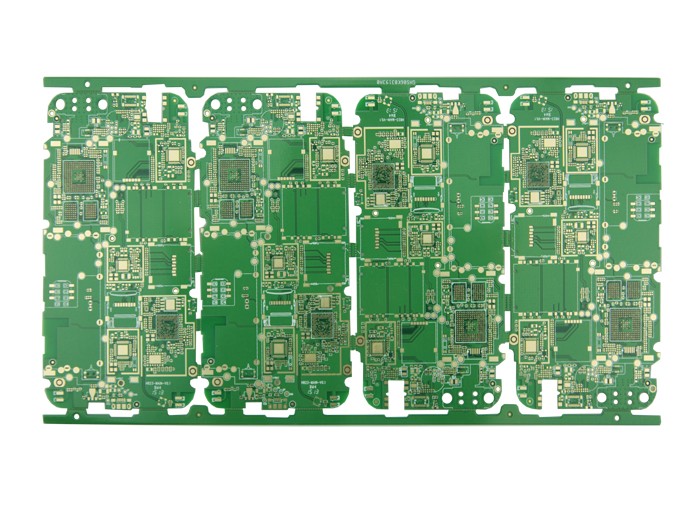
12. Jigsaw puzzle.
1. Copy the PCB and mirror it.
2. Check each layer of graphics after mirroring. 3. Use Gerber to Mill tool to convert mill layer graphics into mill path. ширина фрезы 63 мм.
4. Копировать PCB в панель по вычисленным координатам.
5. Check the entire puzzle.
13. Export GERBER files and NC Drill files.
14. использовать CAM350 для импорта файлов GERBER и NC для проверки.
15. сжать обработанный файл в формат ZIP.