1 Introduction
About PCB Board Diseño del termómetro digital, with the development of science and technology and the rapid improvement of industrial technology, En la producción diaria, a menudo Necesitamos medir y controlar con precisión la temperatura ambiente y la temperatura del equipo.. Therefore, Es muy importante estudiar la medición y el control de la temperatura.. We want to sense the temperature from the outside, La clave es el sensor de temperatura, which is done here with LM3.5. Después de obtener la temperatura del mundo exterior, a certain display device is required to display it. En la actualidad, el método popular es convertir la señal analógica en la señal digital./D converter, Esto se hizo con icl7107. Then display it through LED or LCD. The thermometer described below is displayed by dual common anode digital tube (LED).

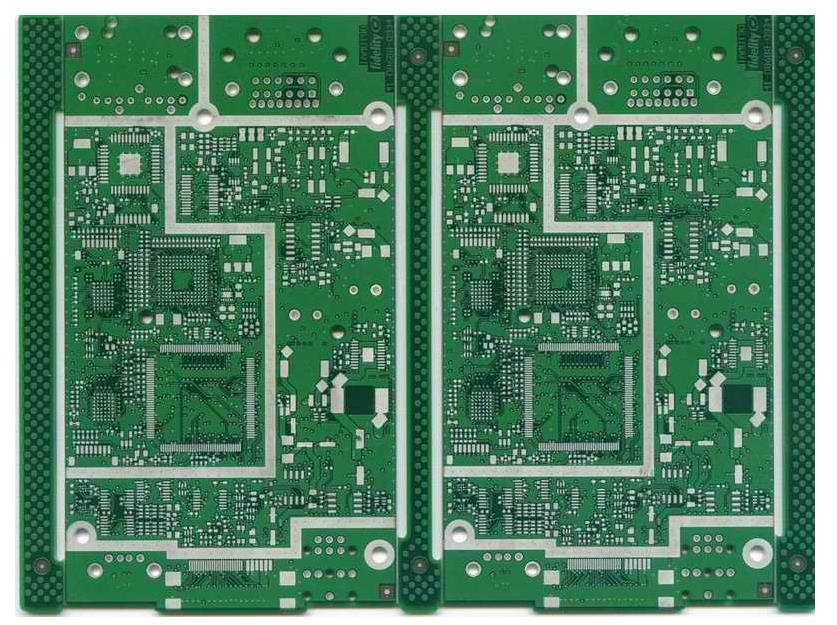
2. Diagrama de circuito del termómetro digital y PCB Board design method, the problems that need attention
If we want to successfully design the PCB Board diagram of a thermometer, Normalmente tenemos que pasar por los siguientes pasos: primero, learn to draw the schematic diagram of the thermometer. Al dibujar un Diagram a esquemático, you need to know which components are needed, Componentes que no están en la biblioteca o son difíciles de encontrar, small steps, we must build a component library (Sch.Lib) to meet the design needs, when making components, Para facilitar la invocación, deberíamos colocar más componentes en la biblioteca, and if necessary, Este componente debe describirse en un archivo de biblioteca. You can select the component in the Components in Browse Schlib, and then describe it in the Description (Description, Footprint, Indicador predeterminado , Sheet part Filename). Debemos prestar atención a algunos problemas menores en la fabricación de piezas, for example: when making Tl431 component symbols, Pin no colocado en la cuadrícula, when transferring to the schematic diagram, El cable no está conectado correctamente, and no nodes can exist on the pins. En este momento, we can right-click in the Producción window to select Doument options, Y establece la captura y visibilidad en la opción cuadrícula en el cuadro de diálogo espacio de trabajo del editor de bibliotecas que aparece. En la fabricación de componentes, También debe prestar atención a las habilidades. For example, Con la ayuda de componentes similares en bibliotecas de componentes existentes, Copiarlos en su propia biblioteca de productos y modificarlos ligeramente. When making integrated chips Icl7107, Icl7660, S-DSP, Debe prestar atención a las propiedades de cada aguja, and you must set them carefully one by one, Para evitar conexiones incorrectas en esquemas, which will cause the chip to burn out during debugging. El segundo paso es transferir el componente a utilizar al diagrama esquemático para la conexión. During the connection process, Observe la conexión del bus. The bus is only a schematic electrical connection, La verdadera conexión es la etiqueta web. Therefore, Las etiquetas de red deben colocarse cuando se utiliza el bus. The third small step, Después del diagrama del Circuito de conexión, we must perform ERC, Presentación de informes/Bill of material, Y crear una list A de Operaciones de red. Electrical rule checking to correct circuit errors in circuit diagrams. Ejecutar el informe del componente para ver la información del componente del diagrama. Create a netlist in preparation for PCB drawing. El diagrama esquemático del diseño consiste principalmente en las siguientes Partes. The second step is to complete the PCB Board production. The step of making a PCB Board, Determinación de las dimensiones físicas del marco de la placa de circuito, the wiring size and the required various board layers, Se puede hacer a través del asistente. The second step, En la definición PCB Board, call the menu bar command Design/Carga la red y transfiere componentes a PCB Board. When placing components, Tenga en cuenta que diferentes componentes necesitan ser colocados en diferentes capas, such as placing names ( Pinyin) in the BottomLayer layer, Espejo horizontal, No se pueden usar caracteres chinos. The third step is to select the via form of the jumper. Paso 4, select the component form and the number of copper film lines passing between the pads, Diseño de comandos de barra de menú/Rules to set. El cuarto paso es establecer los parámetros de enrutamiento. The fifth step, En conexión PCB Board, you need to check the design rules, Y llama a la herramienta de comandos de la barra de menú/Designs Rules Check. Esto se puede hacer, which can avoid design errors and electrical errors.
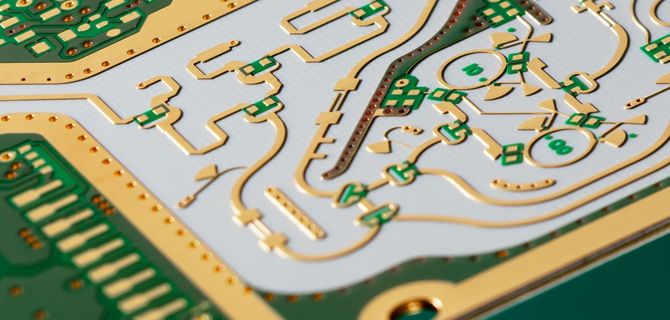
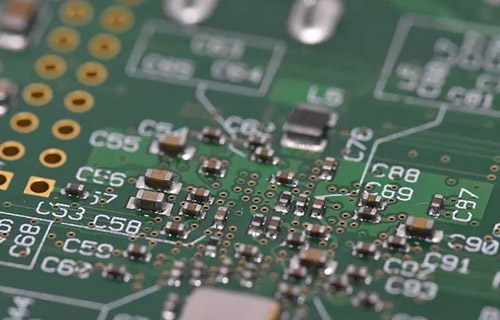
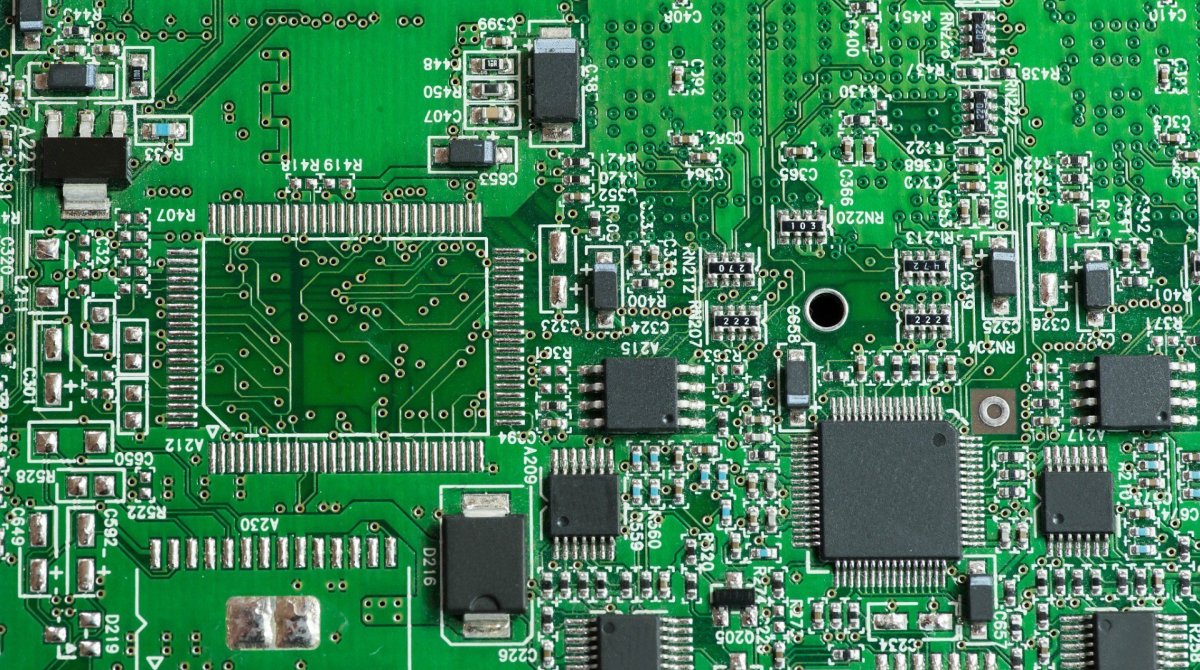
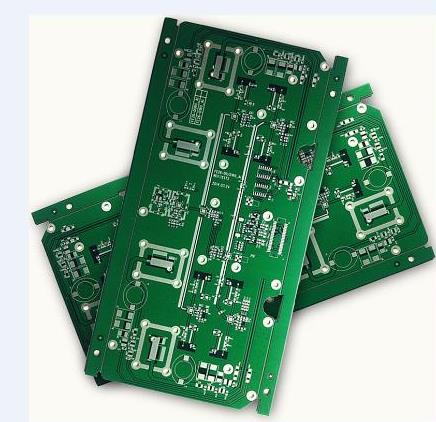
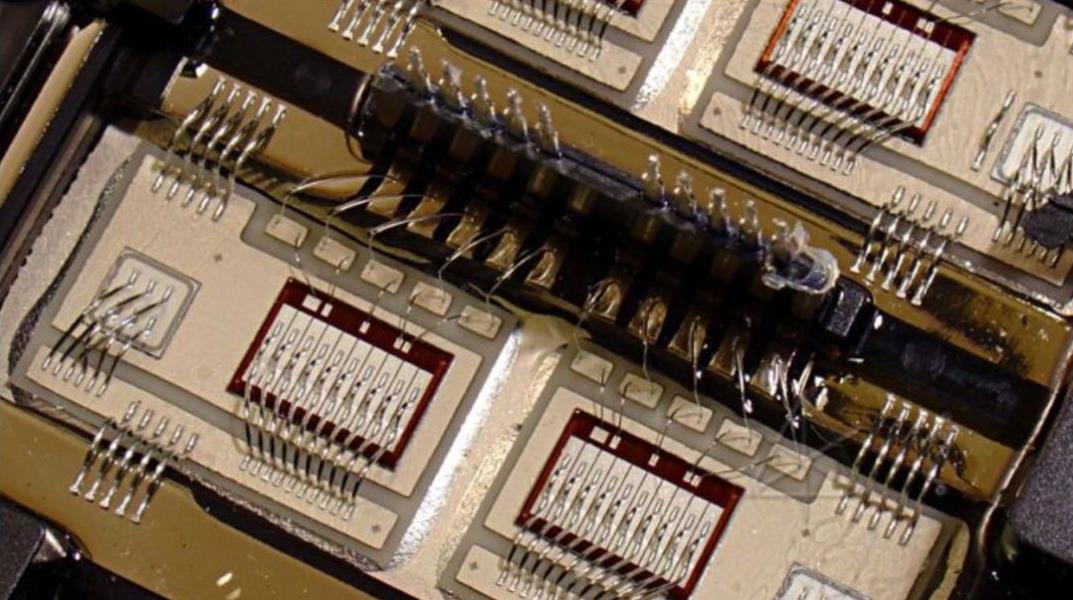
3. Printing, Proceso de transferencia de impresión, corrosión y problemas de la placa de cobre revestida PCB Board diagrams.
1) Print the PCB Board diagram to the thermal transfer paper with a laser printer (use the thermal transfer paper to make the PCB Board)
Add a printer in the start menu, and follow the steps of the add printer wizard (if there is no actual printer connected, you can choose a printer) PCB Board Configuración de impresión de mapas: cambiar a PCB Board map to be printed in the window, Archivar , select Print/Previsualización, a document with a suffix of PPC format is displayed under Explorer, O () o, the print document: Preview PCB PPC, Cambiar el gestor para navegar por la impresión de PCB, select the layer to be printed and set: the bottom layer of the printed graphics Set the MultiLayer to the upper layer in the Layers column, N seleccione mostrar agujeros en la columna opciones, nSelect Black & White (black and white graphics) in the Color Set column. En el diseño PCB Board diagram, Coloque la línea en la parte inferior, and write your name (Chinese Pinyin) and design date in it. El nombre y la fecha deben reflejarse horizontalmente. Once set, Imprimir el patrón inferior en el papel de transferencia térmica.
2) Cutting material: cut the copper-clad plate according to the size, Pulirlo con papel de lija fina, clean it
3) Transfer the bottom layer of the printed PCB Board to the copper-clad board with a thermal transfer machine
4) Repair the board: repair a small amount of unprinted lines with quick-drying paint
5) Corrosion: Put the copper-clad board with the printed circuit board into the ferric chloride solution to corrode. If the solution concentration is high and the temperature is high, Corrosión rápida, but the concentration and temperature should be appropriate. Dominar el tiempo de corrosión.
6) Wash and dry
7) Drilling holes, Selección de bits de diámetro adecuado: bits de diámetro 0.8mm for integrated circuit pins and general resistors and capacitors. Si el pin del componente es grueso, you can change the drill with a larger diameter according to the measured value. Durante la perforación, the drill bit should be inserted into the fixture as deep as possible, La fijación debe apretarse.
8) Remove the ink on the copper film: Use organic solvent (alcohol, Agua de plátano, acetone, Etc..) to wipe off the ink covering the copper film line. When the above solvent is not available, También se puede borrar con papel de lija.
9) Sand and check the circuit board: After removing the ink, Lijar los conductores de película de cobre con papel de lija más fino. The better the grinding, Mejor soldadura. However, No sobrepulido para evitar una pérdida excesiva del espesor de la película de cobre. After sanding, Limpia con un pañuelo.. Check the circuit board: Use a multimeter to check whether there is a short circuit or open circuit between the lines on the PCB Board. Si hay un cortocircuito, it should be cut off, Si hay un camino abierto, it should be soldered and connected.
10) Flux: Dissolve rosin in anhydrous alcohol to make flux for use. Note that the concentration of flux should be appropriate. Demasiado grueso, not bright after drying, Demasiado delgado, poor soldering performance. Aplicar uniformemente el flujo de Rosina alcohólica sobre una superficie limpia con un pincel PCB Board. When brushing, Colocación PCB Board vertically to avoid the flux blocking the drilled holes. Sólo un cepillo.. Too many times of brushing is easy to wrinkle and not shine. Colocación PCB Board coated with alcohol rosin flux in the sun to dry or naturally dry. ICL7107 is a decimal double integral 3-bit analog-to-digital converter with an accuracy of ±2LSB (effective bit). Cuando su tensión de referencia típica es de 100.0 mV and 1000 mV respectively, Se seleccionan la resistencia integral y la Capacitancia integral del circuito periférico correspondiente., it can be Two types of circuits with a full scale of 200 mV and 2000 mV are constructed. El circuito analógico consiste en un interruptor y un amplificador operativo para realizar el muestreo e integración de la señal. It adopts differential input, Impedancia de entrada 1o10). The digital circuit consists of counters, Pestillo, control logic and display decoders. El valor de tensión de la señal analógica de entrada se convierte primero en una señal de ancho de tiempo proporcional a ella, and then the fixed frequency clock pulses are counted in this time width, El resultado del recuento es proporcional al número de señales analógicas de entrada, and the digital lock is performed. Guardar y decodificar la pantalla. The conversion cycle is divided into 3 stages: automatic zero stabilization (AZ) stage, signal integration (INT) stage, and de-integration (DE) stage. The times are:
(1) Automatic zero stabilization stage (AZ), TAZ =1O00ÃTCL-(2000ÃTCL-1000ÃTCLÃlN/VREF
(2) Signal integration stage (INT), the input analog signal is integrated, and the time is fixed: TINT= l000ÃTCL
(3) Inverse integration (DE) stage: This stage is to integrate the reference voltage VREF with the opposite polarity to the input signal. The time of the inversion integration is: T(DE)MAX =2000ÃTCL, from the inverse integration to the The time for the integrator output to return to the analog common terminal (C00M0N) voltage VCOM is proportional to the input analog voltage, and its digital reading is:
5. Assembly and debugging of components
5.1 The test method is adopted: the TEST terminal of pin 37 is short-circuited with pin 1, El contador debe mostrar - 188.8. En este momento, Puede comprobar la falta de trazos en la pantalla. If there is, La mayoría de los pines y conexiones están soldados. First, short-circuit IN+ and IN-, the meter should display "0000". Si no es cero, check the reference source capacitor C2 and the auto-zero capacitor C4 for leakage. Corta la aguja 3l con 36 agujas, the meter reading should be 1000. Si hay alguna desviación, adjust the potentiometer RP. Todavía no., most of it is because RP and integrating capacitor C3 are bad. Cortocircuito a los pines 32 y 26, the bit on the meter should display -l, El resto está desconectado.. Otherwise, Compruebe la fuente de alimentación o reemplace el chip.
5.2. Reparación de fallas: Este método es directo, and the fault is judged faster. Por ejemplo, la señal de entrada es cero, the meter display is not zero and keeps beating. Se comprobarán el condensador de referencia C2 y el condensador de ajuste automático C4.. If the reading deviation of the meter head is large, Esto puede ser un problem a con el condensador integral C3, or the reference voltage has changed.
6. Experiment summary
a. Place the name (pinyin) on the BottomLayer layer, Luego espejo horizontal, and cannot use Chinese characters
b. Compruebe la lista de redes: de acuerdo con la red en el esquema, check them one by one under the manager Nets in the PCB Board Ver si hay algún error.
c. Después PCB Board is made, Debe realizarse una comprobación DRC, no highlight (green) display
d. When making components, the position of the package diagram is not paid attention to. En general, the No. 1 almohadilla debe colocarse en el origen de las coordenadas. If it is far away from the origin of the coordinates, Cuando se llama a un diseño de PCB, se aleja de la posición de colocación, and it will not even be visible.
e. Know how to test whether ICL7107, Icl7660, MC78058T, TL431, and S-DSP are normal.
f. ICL7660 has the function of inverting the voltage, Icl7107 con función D/A conversion and decoding, Lm35 puede convertir la señal de temperatura en una señal eléctrica, and MC7805T has the function of providing +5V voltage on PCB Board.