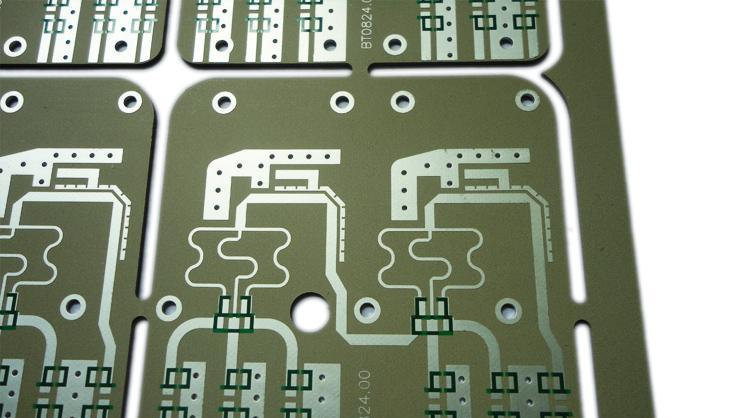
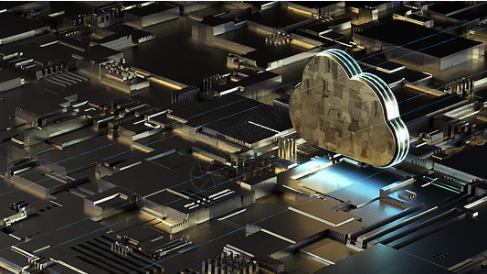
如何檢查 PCB複製板
第一:我們首先準備至少3塊這種電子產品的電路板;
第二:拆卸其中一個並複製; 複製分3個小步驟進行(1):瞭解本產品的MCU是否需要程式分析,如果需要解密尅隆的MCU程式,需要移除MCU進行保存; (2)複製電路板上的電子元件; 量測 根據電路板的組件標記位置; (3)複製PCB電路圖; 複製後進行電路板校對(特別注意複製的電路板不能立即批量生產)

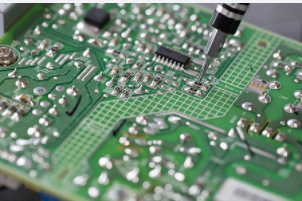
第3:執行 PCB生產 電路圖; 製作電路板; 拆卸我們準備的電路板組件; 移植到新生產的電路板上; 然後進行安裝測試! If the test is not done well; (1) first check whether the components are transplanted correctly; if the transplantation is correct, 檢查複製的電路圖是否錯誤; 如果移植的安裝測試通過, it proves that the circuit board is copied correctly; (2) next we Purchase according to the copied electronic components; solder the purchased new components to the finished circuit board; then install the machine to test; if an abnormality is found; it proves that the components we purchased are not correct, 我們需要檢查兩個部分; 首先檢查採購的組件是否與我們複製的組件一致; 其次, check whether the copied component has a copy error position; after correcting the electronic component installation OK (3) Next process the microcontroller program; crack the microcontroller program installation test; (Note: Cracking the single chip microcomputer is a tedious process); replace the completed new single chip with the already prepared circuit board for testing!
第四:檢查樣本誤差後,製作原型; 我們需要糾正過程中的錯誤; 避免下次生產中出現問題! 數據校正後,我們將再次製作原型; 數據校正後,我們將再次製作原型。 它可以批量生產! 感謝閱讀!
第二,PCB中淚珠的設置方法
我們經常看到淚珠的概念,但許多人說他們不理解這個詞的含義,更不用說如何在PCB設計中添加淚珠了。 請往下看這個問題。
淚珠的作用
. 當電路板受到巨大外力衝擊時,避免斷開導線與焊盤或導線與通孔之間的接觸點, 這也可以使 PCB電路板 看起來更漂亮.
. 焊接時,它可以保護焊盤,避免焊盤在多次焊接過程中脫落,避免生產過程中由於過孔偏移而導致的不均勻蝕刻和裂紋。
. 平滑訊號傳輸過程中的阻抗,减少阻抗的急劇跳變,避免高頻訊號傳輸過程中線寬突然减小引起的反射,使軌跡和元件焊盤之間的連接趨於平滑和過渡。
如何添加淚珠
執行功能表命令“Tools Teardrops”或快速鍵“TE”進入淚滴内容設定對話方塊,選擇操作對象:
. 工作模式Add select執行Add teardrop命令;
. 對象全部選擇匹配對象,一般全部選擇; 如圖所示,右側將調整相應的對象,包括“過孔/TH焊盤(過孔和通孔焊盤)”、“SMD焊盤(接插板)”、“軌跡(導線)”和“T結(T型節點)”;
. 淚滴式弧形淚滴形狀選擇弧形互補形狀;
. 強制淚滴對添加淚滴的操作採用強制執行方法。 即使存在DRC錯誤,一般來說,為了確保淚珠的完整添加,我們會檢查此項,稍後可以修改DRC;
. 調整淚滴大小當沒有足够的空間添加淚滴時,可以更改淚滴的大小以更智慧地完成添加淚滴的操作。