1 Introduction
About Leiterplatte design of digital display thermometer, mit der Entwicklung von Wissenschaft und Technologie und der schnellen Verbesserung der Industrietechnologie, we often need to accurately measure and control the ambient temperature and equipment temperature in daily production. Daher, Es ist sehr wichtig, die Messung und Regelung der Temperatur zu studieren. We want to sense the temperature from the outside, Der Schlüssel ist der Temperatursensor, which is done here with LM35. Nach Erhalt des Temperaturwertes der Außenwelt, a certain display device is required to display it. Die aktuelle beliebte Methode ist, analoge Größe in digitale Größe durch A umzuwandeln/D converter, was hier mit ICL7107 gemacht wird. Then display it through LED or LCD. The thermometer described below is displayed by dual common anode digital tube (LED).

2. Zeichnen Sie den Schaltplan des digitalen Thermometers und Leiterplattedesign method, the problems that need attention
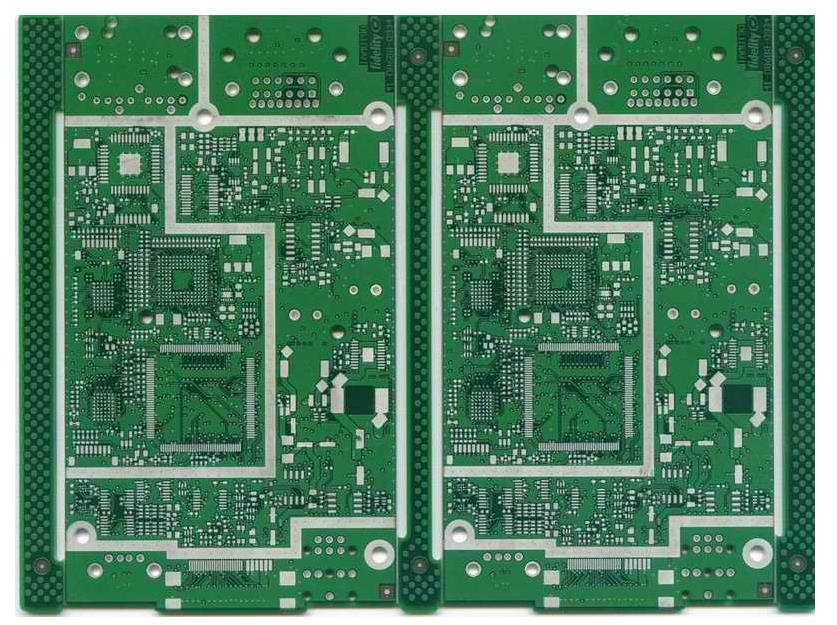
If we want to successfully design the Leiterplatte diagram of a thermometer, Wir müssen in der Regel folgende Schritte durchlaufen: Erstens, learn to draw the schematic diagram of the thermometer. Beim Zeichnen eines Schaltplans, you need to know which components are needed, Komponenten, die sich nicht in der Bibliothek befinden oder schwer zu finden sind, small steps, we must build a component library (Sch.Lib) to meet the design needs, bei der Herstellung von Bauteilen, we should put more Each component is placed in a library for easy calling, und wenn nötig, the component should be described in the library file. Sie können die Komponente in der Komponente in Browse Schlib auswählen., and then describe it in the Description (Description, Fußabdruck, default Designator , Sheet part Filename). We must pay attention to some small problems when making components, Beispiel: bei der Erstellung von TL431-Komponentensymbolen, the pins are not placed on the grid, beim Übertragen in das Schaltplan, the wires cannot be connected normally, und es können keine Knoten auf den Pins existieren. At this point, Wir können mit der rechten Maustaste in das Produktionsfenster klicken, um Doument-Optionen auszuwählen, and set the Snap and Visibie in the Gird option in the pop-up Library Editor Workespace dialog box. Bei der Herstellung von Bauteilen, you should also pay attention to skills. Zum Beispiel, with the help of similar components in the existing component library, Kopieren Sie diese in Ihre eigene Produktionsbibliothek und nehmen Sie kleine Änderungen vor. When making integrated chips Icl7107, Icl7660, S-DSP, Sie müssen auf die Eigenschaften jedes Stifts achten, and you must set them carefully one by one, um die falsche Verbindung im Schaltplan zu vermeiden, which will cause the chip to burn out during debugging. Der zweite kleine Schritt besteht darin, die zu verwendenden Komponenten zum Anschluss in den Schaltplan zu übertragen.. During the connection process, Achten Sie auf die Verbindung des Busses. The bus is only a schematic electrical connection, und die wirkliche Verbindung ist ein Netzwerklabel. Therefore, Netzwerkbeschriftungen müssen bei Verwendung des Busses angebracht werden. The third small step, nachdem der Schaltplan angeschlossen ist, we must perform ERC, Berichte/Bill of material, und Netzlistenoperationen erstellen. Elektrische Regelprüfung zur Korrektur von Schaltungsfehlern in Schaltplänen. Run the component report to view the component information of the circuit diagram. Erstellen einer Netzliste zur Vorbereitung auf die PCB-Zeichnung. The designed schematic diagram is mainly composed of the following parts. Der zweite Schritt besteht darin, die Leiterplatte production. Der Schritt der Leiterplatte, determining the physical size of the board frame, die Verdrahtungsgröße und die benötigten verschiedenen Leiterplattenschichten, can be completed through the wizard. Der zweite Schritt, after defining the Leiterplatte, den Menüleistenbefehl Design aufrufen/Load Nets to transfer the components into the Leiterplatte. Beim Platzieren von Bauteilen, it should be noted that different components need to be placed on different layers, such as placing names ( Pinyin) in the BottomLayer layer, and the horizontal mirror image, kann keine chinesischen Schriftzeichen verwenden. The third step is to select the via form of the jumper. Der vierte Schritt, select the component form and the number of copper film lines passing between the pads, und den Menüleistenbefehl Design aufrufen/Rules to set. Der vierte Schritt ist die Einstellung der Routing-Parameter. The fifth step, nach dem Anschließen der Leiterplatte, you need to check the design rules, und rufen Sie den Menüleistenbefehl Extras auf/Designs Rules Check. Dies kann getan werden, which can avoid design errors and electrical errors.
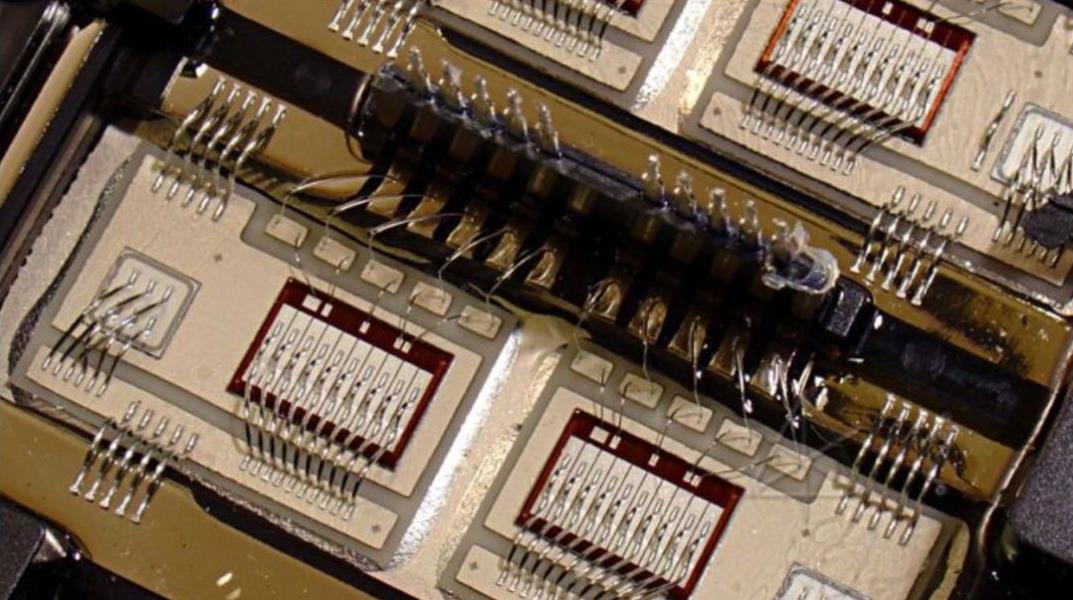
3. Printing, Transferdruck und Korrosionsverarbeitung und Probleme der Kupferplattierung Leiterplatte diagrams.
1) Print the Leiterplatte diagram to the thermal transfer paper with a laser printer (use the thermal transfer paper to make the Leiterplatte)
Add a printer in the start menu, and follow the steps of the add printer wizard (if there is no actual printer connected, you can choose a printer) Leiterplatte map print settings: switch to the Leiterplatte Karte, die im Fenster gedruckt werden soll, under File , Drucken auswählen/Preview, Ein Dokument mit einem Suffix des PPC-Formats wird unter Explorer angezeigt, that is, Das Druckdokument: Vorschau PCB PPC, Wechseln Sie den Manager zu Durchsuchen PCB Print, select the layer to be printed and set: the bottom layer of the printed graphics Set the MultiLayer to the upper layer in the Layers column, nCheck Löcher in der Spalte Optionen anzeigen, nSelect Black & White (black and white graphics) in the Color Set column. Bei der Gestaltung der Leiterplatte diagram, Platzieren Sie "String" auf der unteren Ebene, and write your name (Chinese Pinyin) and design date in it. Name und Datum sollten horizontal gespiegelt werden. Once set, Drucken der darunterliegenden Grafiken auf Thermotransferpapier.
2) Cutting material: cut the copper-clad plate according to the size, mit feinem Schleifpapier polieren, clean it
3) Transfer the bottom layer of the printed Leiterplatte to the copper-clad board with a thermal transfer machine
4) Repair the board: repair a small amount of unprinted lines with quick-drying paint
5) Corrosion: Put the copper-clad board with the printed circuit board into the ferric chloride solution to corrode. If the solution concentration is high and the temperature is high, die Korrosionsrate ist schnell, but the concentration and temperature should be appropriate. Korrosionszeit bis zur Beherrschung.
6) Wash and dry
7) Drilling holes, Wählen Sie einen Bohrer mit einem geeigneten Durchmesser: einen Bohrer mit einem Durchmesser von 0.8mm for integrated circuit pins and general resistors and capacitors. Wenn die Bauteilstifte dick sind, you can change the drill with a larger diameter according to the measured value. Während des Bohrprozesses, the drill bit should be inserted into the fixture as deep as possible, und die Befestigung sollte festgezogen werden.
8) Remove the ink on the copper film: Use organic solvent (alcohol, Bananenwasser, acetone, etc.) to wipe off the ink covering the copper film line. When the above solvent is not available, Es kann auch mit Schleifpapier abgewischt werden.
9) Sand and check the circuit board: After removing the ink, polish the copper film wire with finer sandpaper. Je besser das Schleifen, the better the welding. Allerdings, do not polish too much to avoid excessive loss of copper film thickness. Nach dem Schleifen, clean with a tissue. Überprüfen Sie die Leiterplatte: Verwenden Sie ein Multimeter, um zu überprüfen, ob ein Kurzschluss oder ein offener Stromkreis zwischen den Leitungen auf dem Leiterplatte. If there is a short circuit, es sollte abgeschnitten werden, and if there is an open circuit, es sollte gelötet und angeschlossen werden.
10) Flux: Dissolve rosin in anhydrous alcohol to make flux for use. Beachten Sie, dass die Konzentration des Flusses angemessen sein sollte. Too thick, nicht hell nach dem Trocknen, too thin, schlechte Lötleistung. Use a brush to apply the alcohol rosin flux evenly to the cleaned Leiterplatte. Beim Bürsten, place the Leiterplatte senkrecht, um zu vermeiden, dass das Flussmittel die gebohrten Löcher blockiert. Just brush it once. Zu viele Male des Bürstens ist leicht zu falten und nicht zu glänzen. Place the Leiterplatte beschichtet mit Alkohol Kolophonium Fluss in der Sonne zu trocknen oder natürlich zu trocknen. ICL7107 is a decimal double integral 3-bit analog-to-digital converter with an accuracy of ±2LSB (effective bit). Wenn seine typischen Referenzspannungen 100 sind.0 mV and 1000 mV respectively, und die entsprechende Peripherieschaltung Integrationswiderstand und Integrationskondensator werden ausgewählt, it can be Two types of circuits with a full scale of 200 mV and 2000 mV are constructed. Die analoge Schaltung besteht aus einem Schalter und einem Operationsverstärker, um Signalsampling und -integration zu realisieren. It adopts differential input, und die Eingangsimpedanz ist 1O10Ω. The digital circuit consists of counters, Verriegelungen, control logic and display decoders. Der Eingangssignalspannungswert wird zunächst in ein zu ihm proportionales Zeitsignal umgewandelt, and then the fixed frequency clock pulses are counted in this time width, Das Zählergebnis ist proportional zur Anzahl des analogen Eingangssignals, and the digital lock is performed. Anzeige speichern und dekodieren. The conversion cycle is divided into 3 stages: automatic zero stabilization (AZ) stage, signal integration (INT) stage, and de-integration (DE) stage. The times are:
(1) Automatic zero stabilization stage (AZ), TAZ =1O00ÃTCL-(2000ÃTCL-1000ÃTCLÃlN/VREF
(2) Signal integration stage (INT), the input analog signal is integrated, and the time is fixed: TINT= l000ÃTCL
(3) Inverse integration (DE) stage: This stage is to integrate the reference voltage VREF with the opposite polarity to the input signal. The time of the inversion integration is: T(DE)MAX =2000ÃTCL, from the inverse integration to the The time for the integrator output to return to the analog common terminal (C00M0N) voltage VCOM is proportional to the input analog voltage, and its digital reading is:
5. Assembly and debugging of components
5.1 The test method is adopted: the TEST terminal of pin 37 is short-circuited with pin 1, und das Messgerät sollte anzeigen -188.8. Zur Zeit, Sie können überprüfen, ob auf der Anzeige Striche fehlen. If there is, Die meisten Pins und Anschlüsse sind gelötet. First, short-circuit IN+ and IN-, the meter should display "0000". Wenn es nicht Null ist, check the reference source capacitor C2 and the auto-zero capacitor C4 for leakage. Kurz den 3l Pin mit dem 36 Pin, the meter reading should be 1000. Wenn eine Abweichung vorliegt, adjust the potentiometer RP. Es funktioniert immer noch nicht, most of it is because RP and integrating capacitor C3 are bad. Kurzschlussstift 32 und Stift 26, the bit on the meter should display -l, und die anderen Bits sind aus. Otherwise, Überprüfen Sie die Stromversorgung oder wechseln Sie den Chip.
5.2 Reparatur entsprechend dem Fehlerphänomen: Diese Methode ist direkt, and the fault is judged faster. Zum Beispiel: Das Eingangssignal ist Null, the meter display is not zero and keeps beating. Referenzkondensator C2 und Auto-Null-Kondensator C4 sollten überprüft werden. If the reading deviation of the meter head is large, Es kann das Problem des Integrationskondensators C3 sein, or the reference voltage has changed.
6. Experiment summary
a. Place the name (pinyin) on the BottomLayer layer, und spiegeln sie horizontal, and cannot use Chinese characters
b. Überprüfen Sie die Netzliste: Entsprechend den Netzen im Schaltplan, check them one by one under the manager Nets in the Leiterplatte um zu sehen, ob es irgendwelche Fehler gibt.
c. Nach dem Leiterplatte is made, Die DRK-Inspektion muss durchgeführt werden, no highlight (green) display
d. Bei der Herstellung von Bauteilen, the position of the package diagram is not paid attention to. Allgemein, the No. 1-Pad sollte am Ursprung der Koordinaten platziert werden. If it is far away from the origin of the coordinates, Es wird weit von der Platzierungsposition entfernt sein, wenn es in das PCB-Layout aufgerufen wird, and it will not even be visible.
e. Know how to test whether ICL7107, ICL7660, MC78058T, TL431, and S-DSP are normal.
f. ICL7660 has the function of inverting the voltage, ICL7107 hat die Funktion von D/A conversion and decoding, LM35 kann das Temperatursignal in ein elektrisches Signal umwandeln, and MC7805T has the function of providing +5V voltage on Leiterplatte.