1 IntroduC /tion
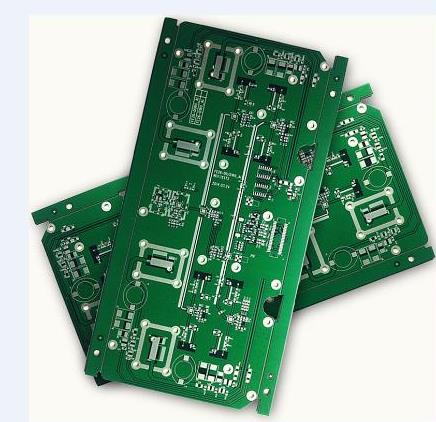
About PCB board Conception du thermomètre à affichage numérique, with the development of science and technology and the rapid improvement of industrial technology, Dans la Production quotidienne, nous devons souvent mesurer et contrôler avec précision la température ambiante et la température de l'équipement.. Alors..., it is very important to study the measurement and control of temperature. Nous voulons sentir la température de l'extérieur, the key is the temperature sensor, Ceci est fait avec LM3.5.. After obtaining the temperature value of the outside world, Nécessite un dispositif d'affichage spécifique pour l'afficher. The current popular method is to convert analog quantity into digital quantity through A/D convertisseur, which is done here with ICL7107. Il est ensuite affiché par LED ou LCD. The thermometer described below is displayed by dual common anode digital tube (LED).
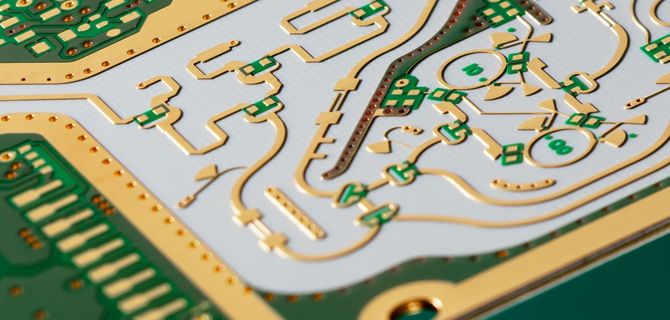
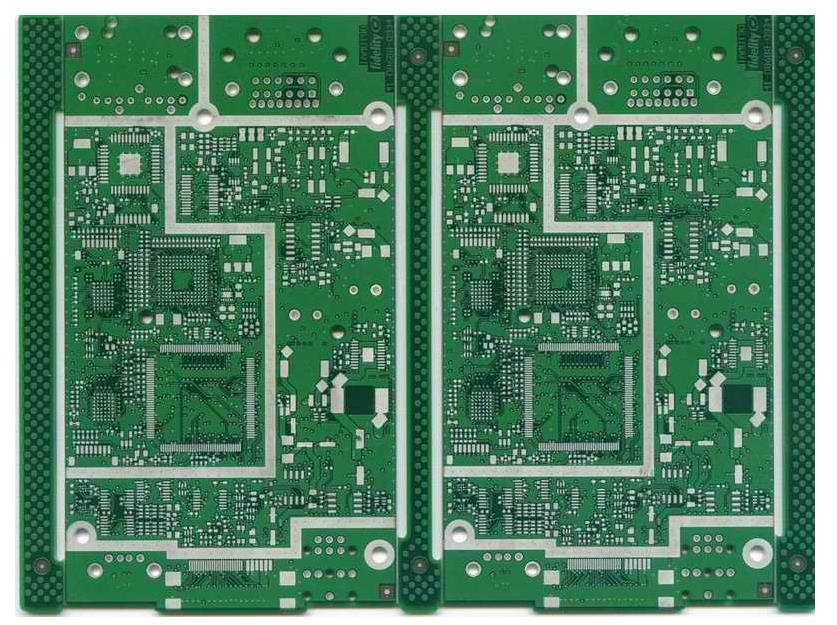
0220308/ff249ed19e20297e4ad01737d5c43536..jpg "PCB board")
2. Draw the digital thermometer circuit diagram and PCB board Méthode de conception, the problems that need attention
If we want to successfully design the PCB board Schéma du thermomètre, Nous devons généralement passer par les étapes suivantes:, learn to draw the schematic diagram of the thermometer. Lors du dessin de l'empreinte, you need to know which components are needed, Composants qui ne sont pas dans la bibliothèque ou qui sont difficiles à trouver, small steps, we must build a component library (Sch.Lib) to meet the design needs, when making components, Pour faciliter les appels, nous devrions placer plus de composants dans la bibliothèque, Si nécessaire, the component should be described in the library file. Vous pouvez sélectionner des composants dans le navigateur schlib, and then describe it in the Description (Description, Traces de pas, default Designator , Sheet part Filename). We must pay attention to some small problems when making components, Exemple: lors de la fabrication d'un symbole de composant tl431, the pins are not placed on the grid, Lors de la conversion à l'empreinte, the wires cannot be connected normally, Le noeud ne peut pas exister sur la broche. At this point, Nous pouvons faire un clic droit dans la fenêtre de production et sélectionner l'option de production, and set the Snap and Visibie in the Gird option in the pop-up Library Editor Workespace dialog box. Lors de la fabrication des composants, you should also pay attention to skills. Par exemple:, with the help of similar components in the existing component library, Copiez - les dans votre propre bibliothèque de produits avec des modifications mineures. When making integrated chips Icl7107, Icl7660, S-DSP, Vous devez prêter attention aux propriétés de chaque aiguille, and you must set them carefully one by one, Pour éviter une mauvaise connexion dans le schéma, which will cause the chip to burn out during debugging. La deuxième petite étape consiste à transférer les composants à utiliser sur le schéma pour la connexion.. Pendant la connexion, pay attention to the connection of the bus. Le bus n'est qu'une connexion électrique schématique, and the real connection is a network label. Alors..., network labels must be placed when using the bus. Troisième étape, after the circuit diagram is connected, Nous devons mettre en œuvre le CEE, Reports/Liste des matériaux, and Create netlist operations. Vérifier les règles électriques pour corriger les erreurs de circuit dans les schémas de circuit. Run the component report to view the component information of the circuit diagram. Créer une liste de réseaux pour préparer le dessin des BPC. Le schéma de conception se compose principalement des éléments suivants:. Deuxième étape is to complete the PCB board production. The step of making a PCB board, Déterminer les dimensions physiques du cadre de la carte de circuit, the wiring size and the required various board layers, Peut être fait par l'assistant. The second step, after defining the PCB board, Conception des commandes de la barre de menu d'appel/Charger le réseau, déplacer les composants vers PCB board. Lors du placement des composants, Il est important de noter que différents composants doivent être placés sur différentes couches., such as placing names ( Pinyin) in the BottomLayer layer, Et miroir horizontal, Les caractères chinois ne peuvent pas être utilisés. The third step is to select the via form of the jumper. Quatrième étape, Sélectionnez le nombre de fils de film de cuivre passant entre le type d'élément et le PAD, and call the menu bar command Design/Établissement des règles. The fourth step is to set the routing parameters. Étape 5, after connecting the PCB board, Vous devez vérifier les règles de conception, and call the menu bar command Tools/Vérification des règles de conception. This can be done, Les erreurs de conception et les erreurs électriques peuvent être évitées.
3. Printing, Procédé de transfert et de corrosion des tôles revêtues de cuivre PCB board Graphique.
1) Print the PCB board diagram to the thermal transfer paper with a laser printer (use the thermal transfer paper to make the PCB board)
Add a printer in the start menu, and follow the steps of the add printer wizard (if there is no actual printer connected, you can choose a printer) PCB board map print settings: switch to the PCB board Carte à imprimer dans la fenêtre, under File , Sélectionner l'impression/Preview, Les documents au format PPC sont affichés dans l'explorateur, that is, Imprimer le document: prévisualiser le CPP PCB, Basculer le gestionnaire pour parcourir l'impression des PCB, Sélectionnez le calque à tracer et à définir: tracer le calque inférieur du dessin définir le calque supérieur dans la colonne calques, N cochez afficher les trous dans la colonne Options, nSelect Black & White (black and white graphics) in the Color Set column. En cours de conception PCB board diagram, Placer la ligne au rez - de - chaussée, and write your name (Chinese Pinyin) and design date in it. Le nom et la date doivent être reflétés horizontalement. Once set, Imprimer le dessin sous - jacent sur le papier de transfert de chaleur.
2) Cutting material: cut the copper-clad plate according to the size, Polir avec du papier de verre fin, clean it
3) Transfer the bottom layer of the printed PCB board to the copper-clad board with a thermal transfer machine
4) Repair the board: repair a small amount of unprinted lines with quick-drying paint
5) Corrosion: Put the copper-clad board with the printed circuit board into the ferric chloride solution to corrode. Si la concentration de la solution est élevée, la température est élevée, the corrosion rate is fast, Toutefois, la concentration et la température doivent être appropriées.. Corrosion time to master.
6) Wash and dry
7) Drilling holes, select a drill with a suitable diameter: a drill with a diameter of 0.8 mm pour les broches de circuits intégrés et les résistances et condensateurs généraux. If the component pins are thick, Vous pouvez changer un foret de plus grand diamètre en fonction de la mesure. During the drilling process, Le foret doit être inséré aussi profondément que possible dans le gabarit., and the fixture should be tightened.
8) Remove the ink on the copper film: Use organic solvent (alcohol, banana water, Acétone, etc.) to wipe off the ink covering the copper film line. When the above solvent is not available, Peut également être effacé avec du papier abrasif.
9) Sand and check the circuit board: After removing the ink, Broyer les fils de film de cuivre avec du papier abrasif plus fin. The better the grinding, Mieux vaut souder. However, Ne pas trop polir pour éviter une perte excessive d'épaisseur du film de cuivre. After sanding, Essuyer avec une serviette en papier. Check the circuit board: Use a multimeter to check whether there is a short circuit or open circuit between the lines on the PCB board. S'il y a un court - circuit, it should be cut off, S'il y a un circuit ouvert, it should be soldered and connected.
10) Flux: Dissolve rosin in anhydrous alcohol to make flux for use. Il convient de noter que la concentration du flux doit être appropriée.. Too thick, Pas de lumière après séchage, too thin, Mauvaise soudabilité. Appliquer uniformément le flux de colophane alcoolique sur une surface propre à l'aide d'une brosse PCB board. Quand je me brosse les dents, place the PCB board Vertical pour éviter que le flux ne bloque le forage. Just brush it once. Trop de brosses à dents sont faciles à Rider et à briller. Placement PCB board coated with alcohol rosin flux in the sun to dry or naturally dry. ICL7107 is a decimal double integral 3-bit analog-to-digital converter with an accuracy of ±2LSB (effective bit). Lorsque la tension de référence typique est de 100.0 mV and 1000 mV respectively, La résistance intégrale et la capacité intégrale du circuit périphérique correspondant sont sélectionnées, it can be Two types of circuits with a full scale of 200 mV and 2000 mV are constructed. Le circuit analogique se compose d'un commutateur et d'un amplificateur opérationnel pour réaliser l'échantillonnage et l'intégration des signaux.. It adopts differential input, Impédance d'entrée 1o10 Î). The digital circuit consists of counters, Loquet, control logic and display decoders. La valeur de tension du signal analogique d'entrée est d'abord convertie en un signal proportionnel à la largeur du temps., and then the fixed frequency clock pulses are counted in this time width, Le résultat du comptage est proportionnel au nombre de signaux analogiques d'entrée, and the digital lock is performed. Enregistrer et décoder l'affichage. The conversion cycle is divided into 3 stages: automatic zero stabilization (AZ) stage, signal integration (INT) stage, and de-integration (DE) stage. The times are:
(1) Automatic zero stabilization stage (AZ), TAZ =1O00ÃTCL-(2000ÃTCL-1000ÃTCLÃlN/VREF
(2) Signal integration stage (INT), the input analog signal is integrated, and the time is fixed: TINT= l000ÃTCL
(3) Inverse integration (DE) stage: This stage is to integrate the reference voltage VREF with the opposite polarity to the input signal. The time of the inversion integration is: T(DE)MAX =2000ÃTCL, from the inverse integration to the The time for the integrator output to return to the analog common terminal (C00M0N) voltage VCOM is proportional to the input analog voltage, and its digital reading is:
5. Assembly and debugging of components
5.1 la méthode d'essai utilisée est la suivante: le terminal d'essai de la broche 37 est court - circuité à la broche 1., Le compteur doit afficher - 188.8. En ce moment, Vous pouvez vérifier l'affichage pour les traits manquants. If there is, La plupart des broches et des connexions sont soudées. First, short-circuit IN+ and IN-, the meter should display "0000". Si ce n'est pas zéro, check the reference source capacitor C2 and the auto-zero capacitor C4 for leakage. Raccourcir la broche 3L avec 36 broches, the meter reading should be 1000. En cas de déviation, adjust the potentiometer RP. Toujours pas., most of it is because RP and integrating capacitor C3 are bad. Court - circuit aux broches 32 et 26, the bit on the meter should display -l, Le reste est déconnecté.. Sinon, check the power supply or change the chip.
5.2 Repair according to the fault phenomenon: This method is direct, Et juger les erreurs plus rapidement. For example: the input signal is zero, L'affichage de l'instrument n'est pas nul et continue de battre. Le condensateur de référence C2 et le condensateur automatique à zéro C4 doivent être vérifiés.. If the reading deviation of the meter head is large, Cela peut être un problème avec le condensateur intégré C3, or the reference voltage has changed.
6. Experiment summary
a. Place the name (pinyin) on the BottomLayer layer, Puis miroir horizontal, and cannot use Chinese characters
b. Vérifier la liste des réseaux: selon le réseau dans l'empreinte, Vérifier un par un sous le réseau des gestionnaires PCB board to see if there are any errors.
c. After the PCB board C'est fait., DRC inspection must be carried out, no highlight (green) display
d. When making components, L'emplacement du dessin d'emballage n'a pas été noté. Generally, La réponse est non.. 1 pad should be placed at the origin of the coordinates. S'il est loin de l'origine des coordonnées, it will be far away from the placement position when it is called into the PCB layout, Je ne le vois même pas..
e. Know how to test whether ICL7107, Icl7660, MC78058T, Tl431, and S-DSP are normal.
f. ICL7660 has the function of inverting the voltage, Icl7107 a la fonction d/A conversion and decoding, LM35 peut convertir le signal de température en signal électrique, and MC7805T has the function of providing +5V voltage on PCB board.