1. Basic principles of desoldering:
Be sure to figure out the characteristics of the original solder joints before desoldering, and don't do it lightly.
(1) Do not damage the components, wires and surrounding components to be removed;
(2) Do not damage the pads and printed wires on the PCB during desoldering;
(3) For electronic components that have been judged to be damaged, the pins can be cut first and then removed, which can reduce damage;
(4) Try to avoid moving the positions of other original components, and if necessary, restore them.
2. Key points of desoldering work:
(1) Strictly control the heating temperature and time to avoid high temperature damage to other components. Generally, the time and temperature of desoldering is longer than that of soldering.

(2) Do not use excessive force when desoldering. The package strength of components under high temperature decreases, and excessive pulling, twisting, and twisting will damage components and pads.
(3) Absorb the solder on the desoldering point. You can use the solder suction tool to suck the solder and unplug the components directly, reducing the desoldering time and the possibility of damaging the PCB.
3. Desoldering method:
(1) Split point desoldering method
For horizontally mounted resistance-capacitance components, the distance between the two solder joints is relatively long, and an electric soldering iron can be used for heating at points and pulling out point by point. If the pin is bent, use the tip of a soldering iron to pry it straight before removing it.
When desoldering, stand up the PCB, heat the pin solder joints of the component to be removed with an electric soldering iron, and use tweezers or needle-nose pliers to clamp the pin of the component and gently pull it out.
(2) Centralized desoldering method
Since the individual pins of the row resistors are welded separately, it is difficult to heat them at the same time with an electric soldering iron. You can use a hot-air welder to quickly heat several welding points, and pull them out at one time after the solder is melted.
(3) Keep the desoldering method
Use a suction tool to suck the solder from the unsoldered point first. Under normal circumstances, components can be removed.
If you encounter multi-pin electronic components, you can use an electronic hot air blower for heating.
If it is a lap-soldering component or pin, you can dip flux on the solder joint, and open the solder joint with an electric soldering iron, and the component pin or wire can be removed.
If it is hook-welded components or pins, first use an electric soldering iron to remove the solder from the solder joints, and then heat with an electric soldering iron to melt the residual solder under the hook, and at the same time use a spatula to lift the pins in the direction of the hook line. Do not use too much force when prying to prevent the melted solder from splashing into the eyes or on the clothes.
(4) Cut and desolder method
If there is a margin for the component pins and wires on the unsoldered spot, or if the components are damaged, you can cut off the components or wires first, and then remove the wire ends on the pads.
4. Problems that should be paid attention to when re-soldering after desoldering
(1) The pins and wires of the re-soldered components should be as consistent as the original ones;
(2) Pass through the blocked pad hole;
(3) Restore the moved components to their original state.
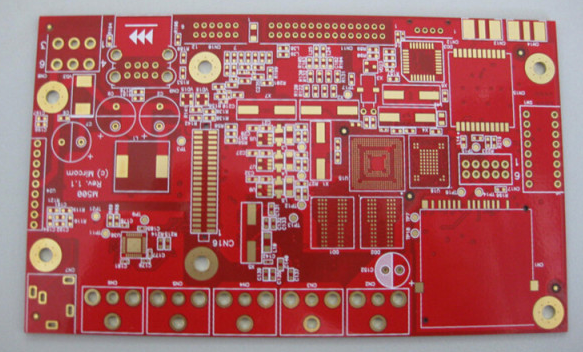
[Common problems and solutions during PCBA processing]
1. Poor wetting
Phenomenon: During the soldering process, there is no reaction between the substrate solder area and the metal after the solder is infiltrated, resulting in less soldering or missing soldering.
Cause Analysis:
(1) The surface of the welding area is contaminated, the surface of the welding area is stained with flux, or the surface of the chip component has formed a metal compound. Will cause poor wetting. Such as sulfide on the surface of silver and oxide on the surface of tin will cause poor wetting.
(2) When the residual metal in the solder exceeds 0.005%, the flux activity will decrease and poor wetting will also occur.
(3) During wave soldering, there is gas on the surface of the substrate, which is also prone to poor wetting.
solution:
(1) Strictly implement the corresponding welding process;
(2) The surface of PCB boards and components should be cleaned;
(3) Choose suitable solder, and set reasonable soldering temperature and time.
2. Tombstone
Phenomenon: One end of the component does not touch the pad and stands upright or the touched pad is upright.
Cause Analysis:
(1) The temperature rises too fast during reflow soldering, and the heating direction is uneven;
(2) The wrong solder paste is selected, there is no preheating before soldering, and the size of the soldering area is selected incorrectly;
(3) The shape of electronic components is easy to produce tombstones;
(4) It is related to the wettability of solder paste.
solution:
1. Store and retrieve electronic components as required;
2. Reasonably formulate the temperature rise of the reflow soldering zone;
3. Reduce the surface tension of the component ends when the solder melts;
4. Set the printing thickness of solder reasonably;
5. The PCB needs to be preheated to ensure uniform heating during soldering.