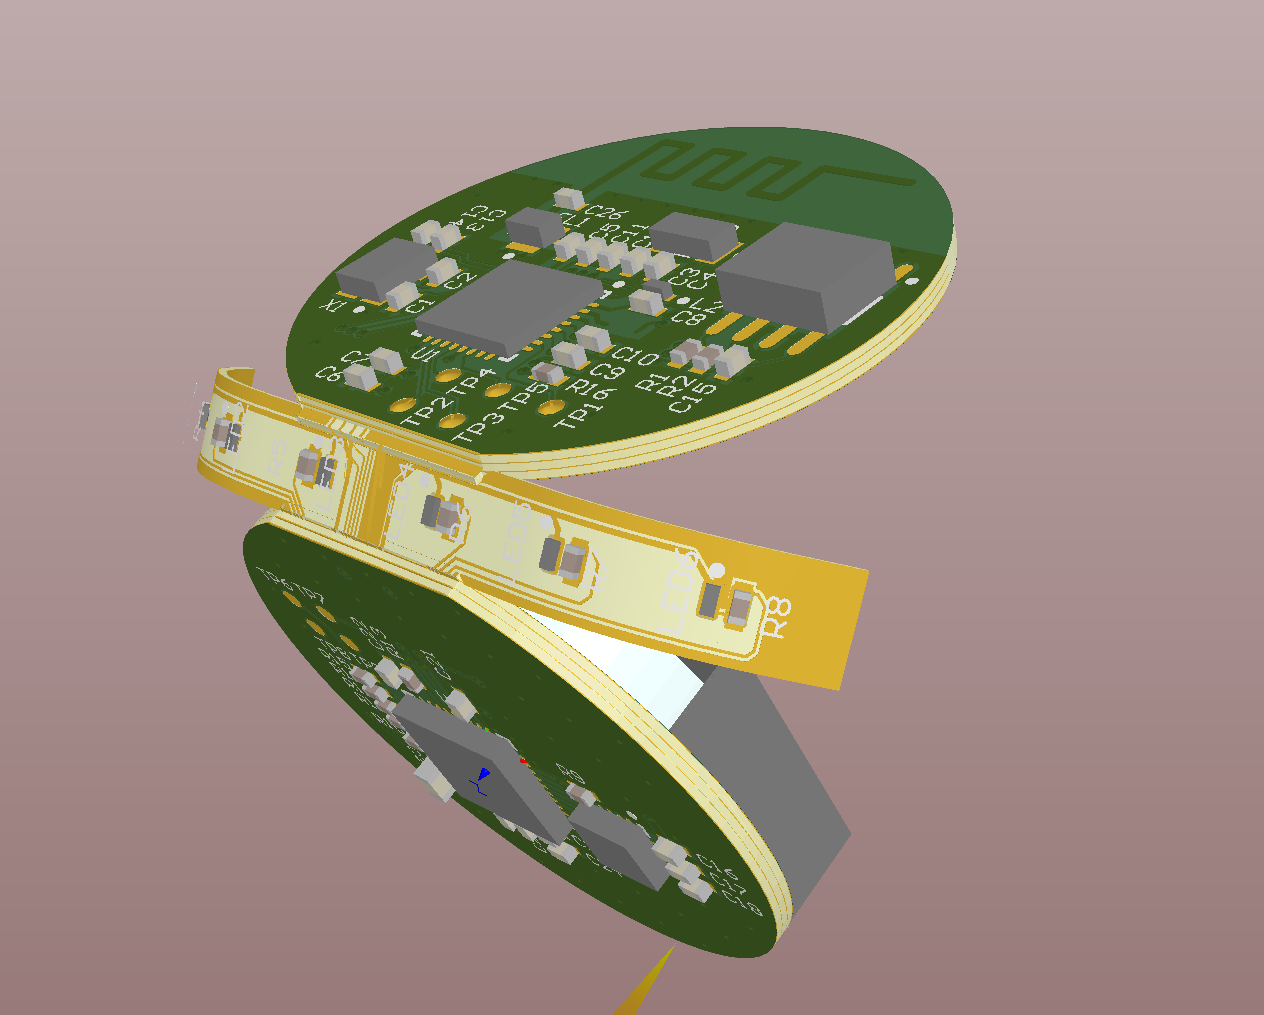
The printed circuit board (PCB) is an indispensable element in almost all electronic applications. They bring life to electronic and electromechanical devices by routing signals in circuits and fulfilling their functions. Many people know what PCBs are, but only a few people know how they are made. Today, PCBs are constructed using a pattern plating process. They will proceed to the next stage, which mainly includes etching and stripping. This article will effectively take you into the various stages of the printed circuit board design process, but will pay more attention to the etching and stripping process of the circuit board.
PCB design and proofing PCB manufacturing process
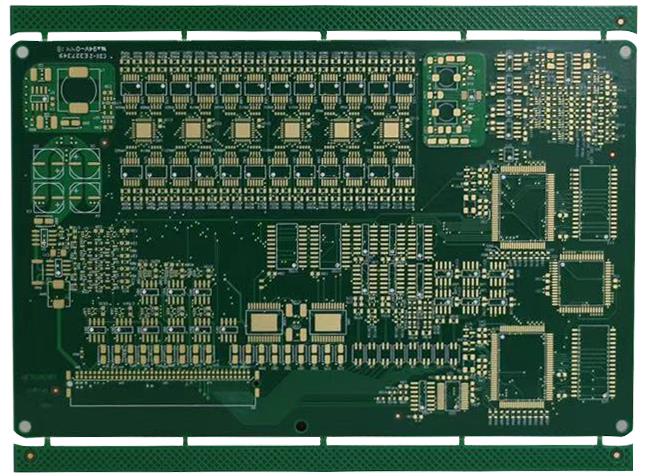
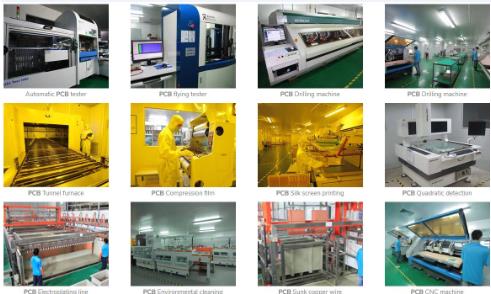
Depending on the manufacturer, the PCB proofing manufacturing process may be slightly different, especially in terms of component mounting technology and testing methods. They use various automated machines for drilling, electroplating, stamping, etc. for mass production. Except for some minor changes, the main stages involved in the PCB manufacturing process are the same.
")
Phase 1: 8-step guide to etching PCB
The PCB is made by bonding a copper layer on the entire substrate. Sometimes, both sides of the substrate are covered by copper layers. The PCB etching process (also called a controlled level process) is to use a temporary mask to remove excess copper from the PCB panel. After the etching process, the required copper traces are left on the circuit board. The PCB etching process is done using a highly aggressive ammonia-based solution-ferric chloride or hydrochloric acid. Both chemicals are considered economical and abundant. To etch your PCB, you need to follow the steps below:
1. Using any software of your choice, the circuit board design is the initial stage of the etching process. After the design is ready, print it on transfer paper. Make sure that the design fits the shiny side of the paper.
2. Now, clean and polish the copper plate, which will make the surface rough enough to accommodate the circuit board design. There are a few things to keep in mind when performing this step:
(1) When handling the etching solution, please use surgical or safety gloves, which will prevent the oil from being transferred to the copper plate and hands.
(2) When polishing the copper plate, make sure to cover all the edges of the plate.
3. Wipe and clean the copper plate with water and alcohol. This will remove small copper particles on the surface of the board. After washing, let the board dry completely.
4. Cut out the PCB design accurately and place the board face down on the copper board. Now, the board passes through the laminator multiple times until it is heated.
5. After heating the plate, take it out of the laminator and put it in the cold water bath. Stir the plate for a moment to make the paper float on the water.
6. Remove the circuit design from the tank and place it in the etching solution. Again, stir the plate for half an hour, which will help dissolve the excess copper around the design.
7. Once the excess copper is washed off in the water bath, let the board dry. After the copper plate is completely dry, wipe with alcohol to wipe off the ink transferred to the circuit board design.
8. Now, you are ready to etch the circuit board; however, you need to use the appropriate tools to drill the holes.
Phase 2: PCB peeling process
Even after the etching process, some copper remains on the circuit board and is covered by tin/lead or tin electroplating. Nitric acid can effectively remove tin while keeping copper circuit cracks below tin metal. In this way, you will get a clear and sharp copper outline on the circuit board, and the circuit board is ready to proceed to the next process-solder resist.
Stage 3: Solder resist
This is an important process in the PCB design process, which uses solder resist materials to cover the unsoldered areas on the circuit board. As a result, it can prevent solder from forming traces, and traces can create shortcuts to the leads of adjacent components.
Phase 4: PCB testing
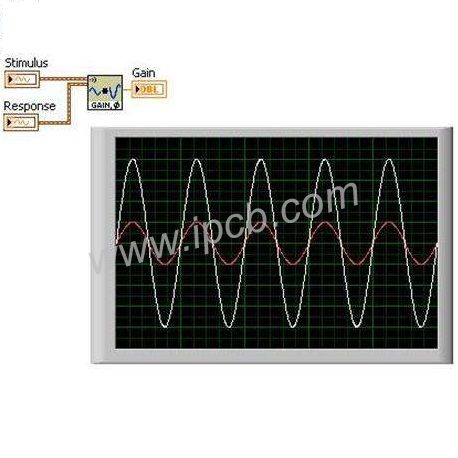
After the PCB is manufactured, testing is essential to check the functions and features. In this method, the PCB manufacturer determines whether the circuit board is working as expected. Nowadays, PCBs are tested using a variety of advanced testing equipment. The ATG tester is mainly used to test large quantities of PCBs, including flying probes and fixtureless testers.
Stage 5: PCB assembly
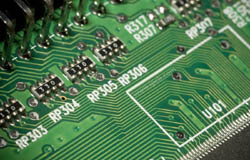
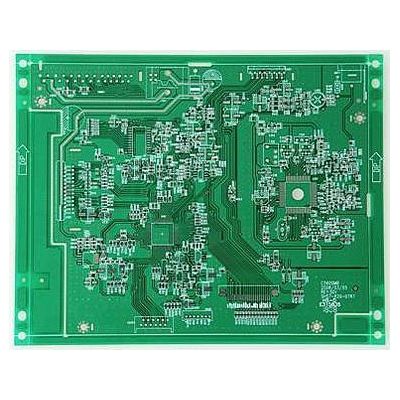
This is the last step of PCB manufacturing, which mainly includes placing various electronic components on their respective holes. This can be performed by through-hole technology or surface mount technology. A common aspect of the two technologies is the use of molten metal solder to electrically and mechanically fix the leads of the component to the circuit board.