What is the live measurement method in PCB circuit board repair?
The live measurement method mainly solves two problems. The first is to subdivide the problems found, and finally lock the problematic components. Second, the problem has not been solved, and the cause of the fault needs to be found through live measurement. PCB proofing Youker board live measurement method is mainly carried out through the following steps:
The first step: power on the circuit board. In this step, it should be noted that some circuit boards are not single power supply. They may require 5V, plus or minus 12V, 24V, etc., do not add the power supply that should be added. NS. After the circuit board is powered on, touch the components on the circuit board by hand to see if there are hot components, and focus on checking the 74 series chips. If the components are hot, it means that the components may have been damaged. After replacing the components, check whether the circuit board failure has been resolved.

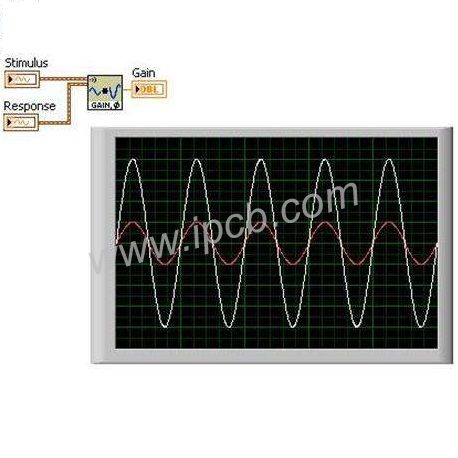
Step 2: Use an oscilloscope to measure the gate circuit on the circuit board and observe whether it conforms to the logical relationship. If the output is not logical, it needs to be treated separately in two cases. One is that the output should be low level, and the actual measurement is high level, which can directly judge the chip damage; the other is that the output should be high level. The actual measurement is low, and it cannot be judged that the chip has been damaged. It is also necessary to disconnect the chip from the subsequent circuit, measure again, observe whether the logic is reasonable, and determine whether the chip is good or bad.
Step 3: Use an oscilloscope to measure the crystal oscillator in the digital circuit to see if it has an output. If there is no output, you need to remove all the chips connected to the crystal oscillator as much as possible before measuring. If there is still no output, it is preliminarily determined that the crystal oscillator has been damaged; if there is an output, you need to put back the removed chips one by one, install one by one and test one to find out where the fault is.
The fourth step: a digital circuit with a bus structure, which generally includes three channels of number, address, and control bus. Use an oscilloscope to measure the three-way bus, compare the schematic diagram, observe whether the signal is normal, and find out the problem.