Every engineer has this "worst case", although they survived, but they insist on PCB design. In the worst week of my career, we received a batch of expired PCBs. These PCBs should have been installed in the hardware more than a month ago and deployed at the customer's site. We feel a little frustrated.
How to check short circuit in PCB
You can take the following important steps to check for short circuits in the PCB:
Step 1: How to find a short circuit in the PCB
Step 2: How to test the short circuit on the electronic board
Step 3: How to find faulty components on the PCB
Step 4: How to test PCB destructively
Step 1: How to find a short circuit in the PCB
vision check
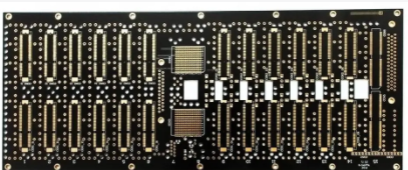
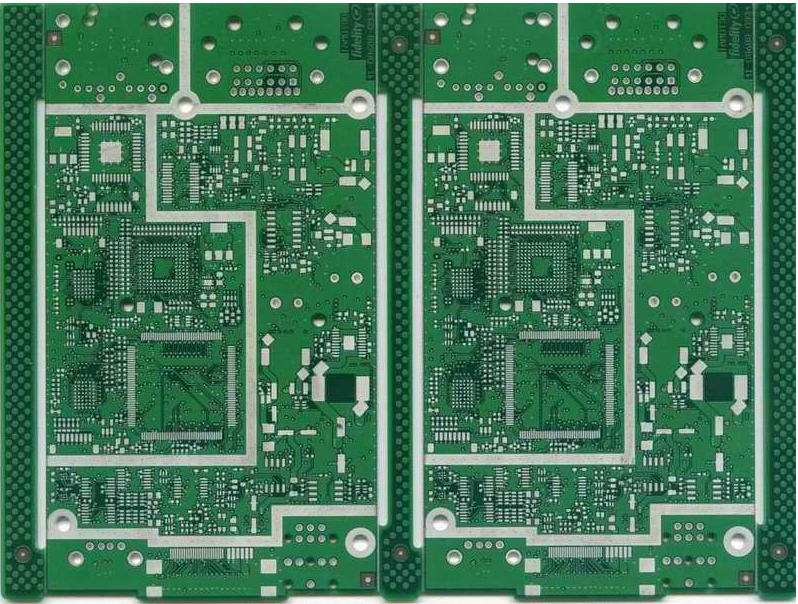
The first step is to carefully observe the entire surface of the PCB. If so, please use a magnifying glass or a low-power microscope. Look for tin whiskers between pads or solder joints. Any cracks or spots in the solder should be noted. Check all through holes. If unplated through holes are specified, make sure that this is the case on the board. Poorly plated vias can create short circuits between layers and tie everything you have to ground, VCC, or both.
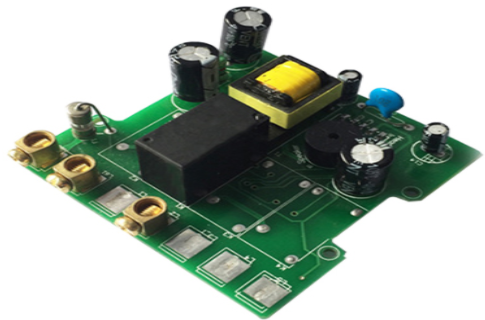
If the short circuit is really serious and causes the component to reach a critical temperature, you will actually see burn spots on the printed circuit board. They may be small, but they will turn brown instead of the normal green solder resist. If you have multiple boards, a burned PCB can help you narrow down a specific location without powering another board, so as not to sacrifice the search range. Unfortunately, our circuit board itself did not burn, but a bad luck finger checked whether the integrated circuit was overheated.

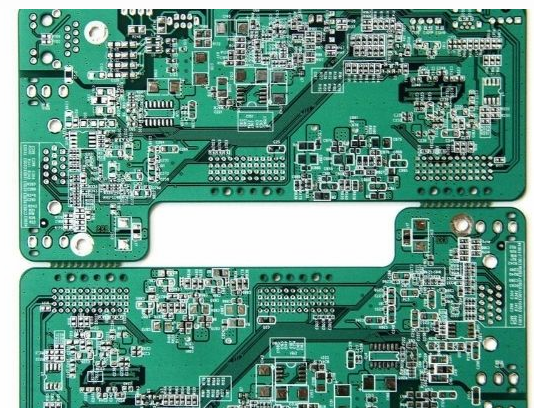
Some short circuits will occur inside the circuit board and will not produce burning points. This also means that they will not be noticed from the surface. Here, you will need other methods to detect short circuits in the PCB.
How to visually detect short circuit in hard drive PCB
Infrared imaging
If you are not a start-up company that just started using its hardware budget, you may be lucky to be able to use an infrared camera. Using a thermal imaging camera can help you locate areas that generate a lot of heat. If you do not see the active components far away from the hot spot, then even if the short circuit occurs between the inner layers, a PCB short circuit may occur.
Short circuit usually has higher resistance than ordinary traces or solder joints, because it does not have the benefit of optimization in the design (unless you really want to ignore the rule check). This resistance and the naturally high current due to the direct connection between the power supply and ground means that the conductor in the PCB short circuit will heat up. Start with the lowest current you can use. Ideally, you would see a short circuit first, and then cause more damage.
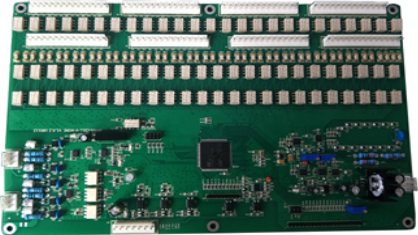
How to find faulty components on PCB: finger test
Finger test is a way to check whether a specific component is overheated
Step 2: How to test the short circuit on the electronic board
In addition to the first step of checking the circuit board with your trustworthy eyes, there are several other methods you can use to find the potential cause of the PCB short circuit.
Test with a digital multimeter
To test whether the circuit board is short-circuited, it is necessary to check the resistance between different points in the circuit. If visual inspection does not reveal any clues about the location or cause of the short circuit, grab the multimeter and try to trace the physical location on the printed circuit board. The multimeter method has received different comments in most electronic forums, but tracking test points can help you find out where the problem lies.
You will need a very good multimeter with milliohm sensitivity. It is the easiest if it has a buzzer function to alert you when detecting a short circuit. For example, if you measure resistance between adjacent traces or pads on a PCB, you should measure high resistance.
If the resistance between two conductors in a separate circuit should be very low, the two conductors may be bridged internally or externally. Please note that two adjacent traces or pads bridged by an inductor (such as in an impedance matching network or discrete filter circuit) will produce very low resistance readings because the inductor is just a coil conductor. However, if the two conductors on the board are far apart and the resistance you read is small, there will be a bridge somewhere on the board.
Test against the ground
Of particular importance is the short circuit involving ground vias or ground planes. Multilayer PCBs with internal ground planes will include a return path through the components near the vias, which provides a convenient location for checking all other vias and pads on the surface layer of the board. Place one probe on the ground connection and touch the other probe on the other conductors on the board.
There will also be the same ground connection elsewhere on the board, which means that if you touch each probe to two different ground vias, the reading will be small. Pay attention to the layout when doing this, because you don't want to mistake the short circuit for a common ground connection. All other ungrounded bare conductors should have a high resistance between the common ground connection and the conductor itself. If the value read is very low and there is no inductance between the conductor in question and ground, the component may be damaged or short-circuited.
How to check the short circuit in the PCB with a multimeter
Multimeter detection can help you find the short circuit, but they are not always sensitive enough to find the short circuit.
component short circuit
Checking whether components are short-circuited also involves measuring resistance with a multimeter. If the visual inspection does not reveal excessive solder or metal flakes between the pads, it may be a short circuit in the internal layer between the two pads/pins on the component. Due to poor processing, a short circuit may occur between the pads/leads on the component. This is one of the reasons why PCBs should be checked for DFM and design rules. Pads and vias that are too close may be accidentally bridged or shorted during the manufacturing process.
Here, you need to measure the resistance between the pins on the IC or connector. Adjacent pins are particularly prone to short circuits, but these are not the only locations where short circuits are formed. Check whether the resistance between the pads/pins are opposite to each other and whether the ground connection has low resistance.
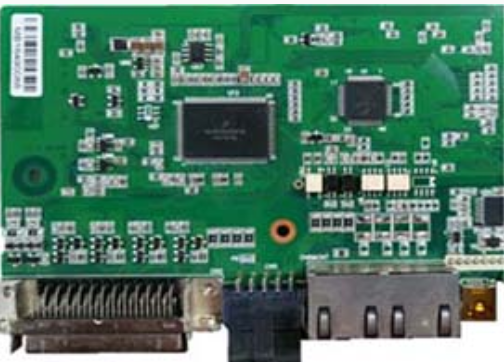
How to check the PCB short circuit on the PCB component pad
Check the resistance between the ground pad and the connector and other pins on the IC. Shown here is the USB connector.
reduce position
If you think there is a short circuit between two conductors or between a conductor and the ground, you can narrow the position by checking the nearby conductors. Connect one wire of the multimeter to the suspicious short-circuit connection, move the other wire to a different nearby ground connection, and check the resistance. When you move to a further ground, you should see a change in resistance. If the resistance increases, you are moving the grounded wire away from the short-circuit location. This can help you narrow down the exact location of the short, even to a specific pair of pads/pins on the component.
Step 3: How to find faulty components on the PCB
Faulty components or incorrectly installed components may be part of the short circuit, causing many problems on the circuit board. Your components may be defective or counterfeit, causing short circuits or short circuits.
Bad component
Some components will deteriorate, such as electrolytic capacitors. If you have suspicious components, please check those components first. If you are unsure, you can usually quickly search for components suspected to be "failed" through Google to find out if this is a common problem. If you measure very low resistance between two pads/pins (neither of them are ground pins or power pins), it may cause a short circuit due to burnout of the component. This clearly shows that the capacitor is broken. Once the capacitor deteriorates or the applied voltage exceeds the breakdown threshold, the capacitor will also protrude.
How to check the faulty PCB components
Do you see the bump on the top of this capacitor? This indicates that the capacitor is damaged.
Step 4: How to test PCB destructively
Destructive testing is obviously the last resort. If you can use an X-ray imaging device, you can inspect the inside of the circuit board without destroying it.
Without X-ray equipment, you can start to remove components and run the multimeter test again. This helps in two ways. First, it makes it easier for you to contact pads (including thermal pads) that may be short-circuited. Secondly, it eliminates the possibility of a short circuit causing a malfunctioning component, allowing you to focus on the conductor. If you manage to narrow down to the short-circuit position of the connection on the component, such as between two pads, it may not be clear whether the component is defective or whether there is a short circuit inside the circuit board. At this point, you may need to remove the components and check the pads on the board. Removing the component allows you to test whether the component itself is defective or whether the pads on the board are internally bridged.