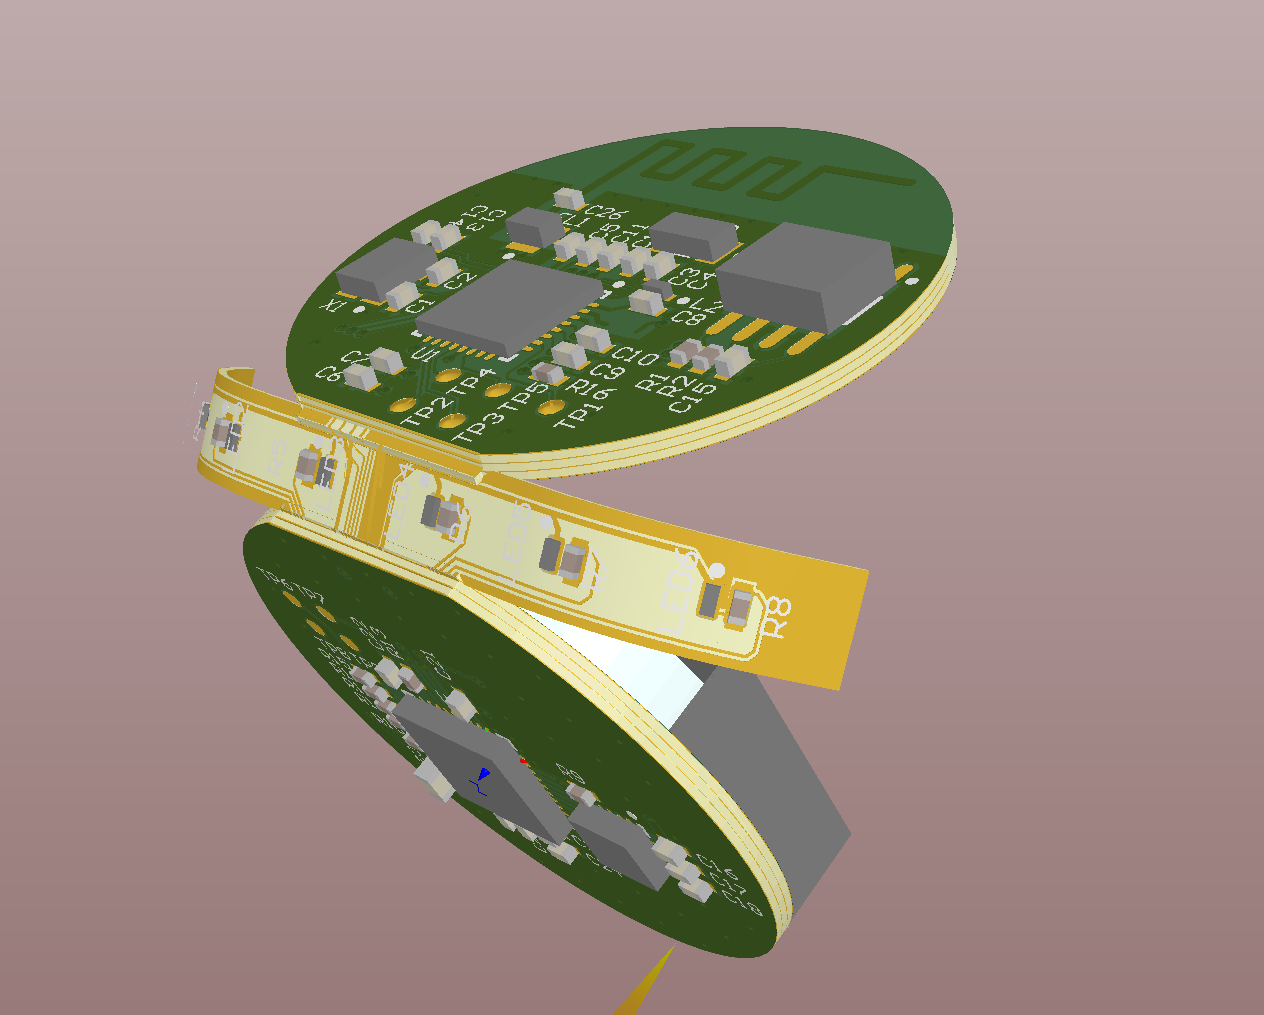
The PCB circuit design required for embedded microcontrollers is a huge project. For advanced microcontrollers, data sheets and technical documents alone can be hundreds of pages long.
Before starting to design the circuit, it is best to draw a flowchart of the operation of all the main components in the topic, including all peripheral devices that have an interface with the microcontroller.
ARM Cortex-M microcontroller
This article will focus on the PCB circuit board design considerations required to import the ARM Cortex-M microcontroller. ARM Cortex-M microcontrollers are available in different versions from different chip manufacturers.
Compared with typical 8-bit microcontrollers, ARM Cortex-M with 32-bit architecture is particularly suitable for intensive and computationally intensive work. If there are applications that require more memory capacity or can simplify system platform migration for future expansion needs, 32-bit microcontrollers also have advantages.
The ARM Cortex-M microcontroller we are discussing is the STM32 family produced by ST Microelectronics; more precisely, we will focus on the STM32F4 series.

However, the STM32 family actually includes many models, such as the ultra-low power STM32L series and the series with higher and lower performance than the STM32F4 version. The most efficient version is STM32F7, which can execute 1 billion instructions per second. Among the least efficient models is the STM32L0, which executes only 26 million instructions per second.
Power design
The power supply of the circuit is one of the most important aspects of hardware design; do not wait until the later stage of the design to decide on the configuration of power supply and grounding.
The current used by the microcontroller is determined by multiple factors, such as the operating voltage, the clock frequency, and the load on the input/output pins.
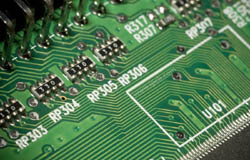
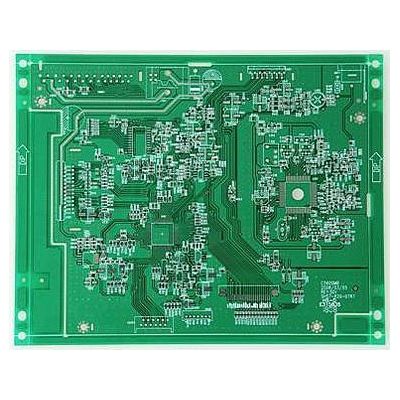
There should be 1uF and 100nF ceramic capacitors (such as C7 and C8 in Figure 1) arranged as close as possible to each power VDD pin on the MCU to provide power decoupling. In addition, a 4.7uF ceramic capacitor (C1 in Figure 1) should be installed near the IC position on the main circuit wiring that supplies VDD.
Microcontrollers with analog-to-digital converters (ADC) usually also have independent power (VDDA) and ground pins (VSSA) exclusively for analog signals. These pins need special avoidance of noise.
If your power supply voltage is higher than the upper limit of the microcontroller's input voltage, you usually need a step-down linear regulator. For example, the TPS795xx produced by Texas Instruments has particularly low noise characteristics and can supply up to 500mA of current.
If your power supply voltage is significantly higher than the voltage required by the microcontroller, a step-down switching regulator will be a better choice. When the input voltage is significantly higher than the output voltage, the linear regulator will waste too much power.
However, it is usually best to sub-regulate the output voltage of the switching regulator with a linear regulator, because the voltage noise provided by the linear regulator is much lower.
clock
STM32F4 can be executed with internal or external system clock. The system clock used at startup is the internal clock (16 MHz). After the system is initialized, the external clock source can be selected through the software.
The clock pin on STM32F4 can drive an external 4 to 26 MHz quartz crystal (see X1 in Figure 1) or can use an external clock source up to 50 MHz.
The configuration of the crystal must strictly follow the instructions on the data sheet. Generally speaking, the wiring should be short, and the load capacitance on the crystal should be the same as the value recommended by the crystal manufacturer.
GPIO
The general-purpose input and output (GPIO) pins on the microcontroller are programmable and can be set as input or output through software.
For example, S1 in Figure 1 is a button connected to a GPIO pin programmed as an input. STM32 provides a built-in pull-up resistor, so this button does not need to install an external pull-up resistor. The GPIO output in this example is used to drive the LED.
Most GPIO pins also have other functions, and various peripheral components on the chip communicate with the outside world through these multi-function pins.
Not all internal functions can be used through each GPIO pin, and there are strict pin mappings to be observed, so be sure to refer to the data table when choosing which pins to use.
GPIO pins can be used to drive various loads, and most of the pins can supply or withstand a current of up to 25mA. However, generally speaking, it is a better design to use an external drive circuit to reduce the load of the microcontroller GPIO drive. Refer to Figure 1 for the example of MN1 driving LEDs.
Each pin of STM32 has a rated current upper limit, as well as an upper limit of the total current of all GPIO pins.
Connect peripheral components
STM32 provides serial signal connection through UART, I2C, SPI and USB interfaces.
For example, in Figure 1, there is a temperature sensor (U2-LM75BDP) connected to the microcontroller through the I2C bus. Two pull-up resistors (R2, R3) are required on the I2C bus to connect to the open-drain driver.
For most applications such as low-speed sensors, I prefer to use I2C as the serial protocol because it only uses two wires for communication. In addition, unlike SPI, which requires an additional chip to select a working port to process each peripheral component, I2C uses a single address.
The SPI bus is connected to the MPU-9250 nine-axis motion sensor produced by Invensense. MPU-9250 contains a three-axis accelerometer, a three-axis gyroscope and a three-axis magnetometer.
Programming connector
STM32F4 provides two in-system program editing (ISP) interfaces: serial line debugging (SWD) and JTAG. The lower-priced version of STM32 only provides the SWD interface. SWD and JTAG are the two most commonly used programming interfaces for microcontrollers.
in conclusion
In this article, we discussed the PCB circuit design of the microcontroller, and introduced the STM32F4 that can read input buttons, drive LEDs, and communicate with I2C temperature sensors and SPI motion sensors.