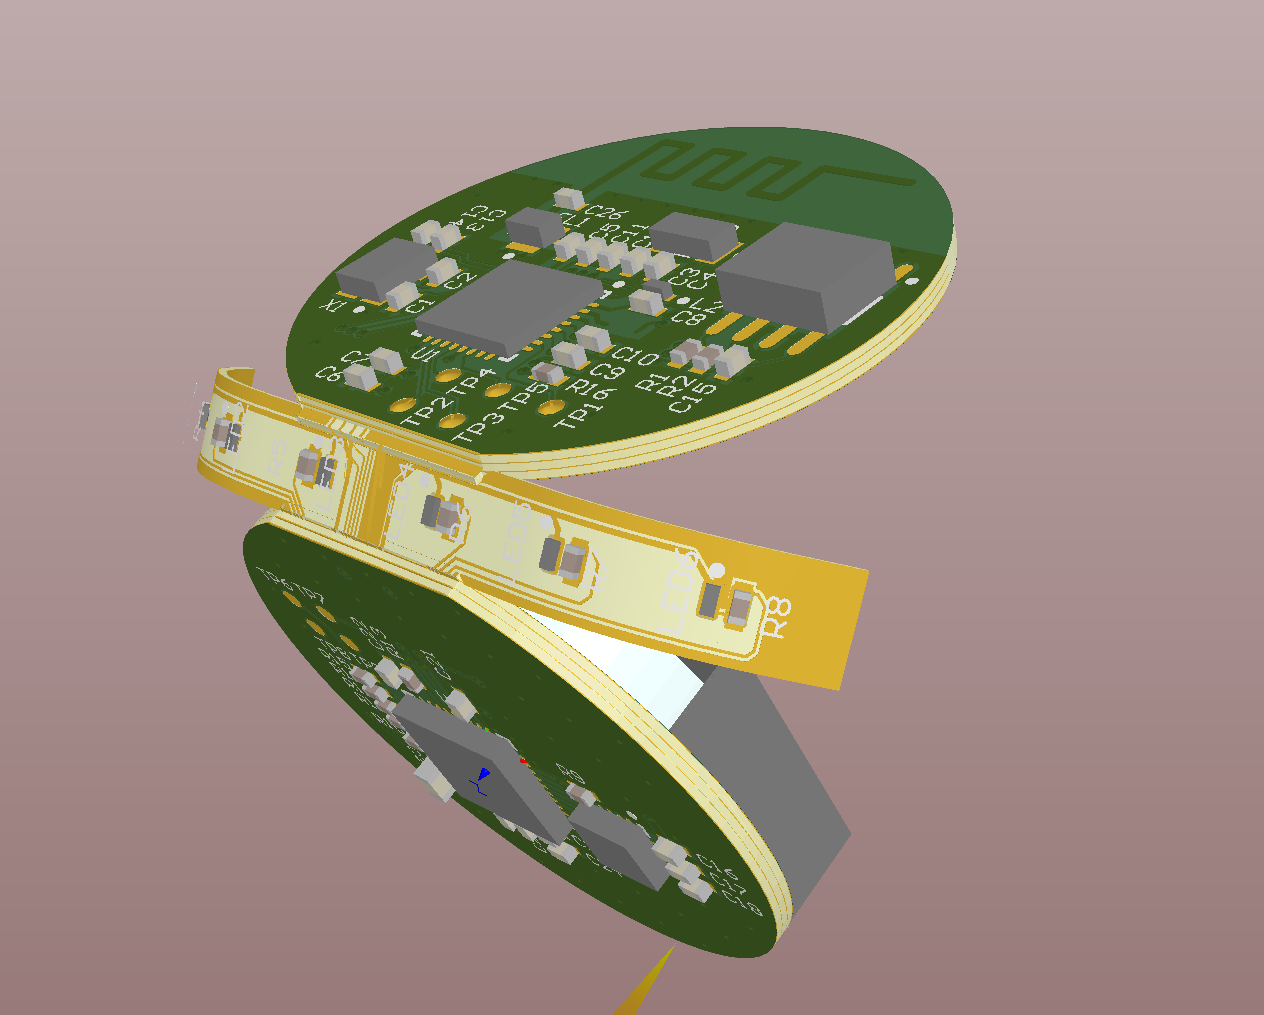
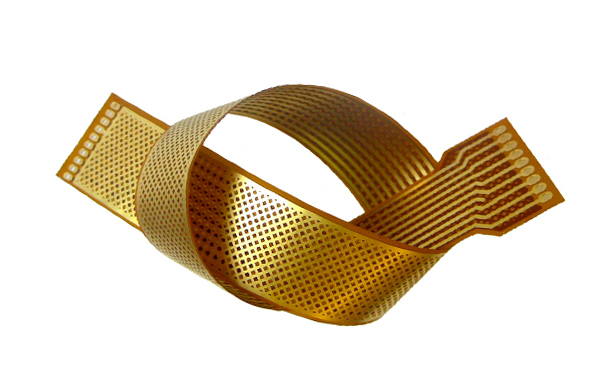
What is FPC
The flexible circuit board is a highly reliable and excellent flexible printed circuit board made of polyimide or polyester film as the base material. Referred to as soft board or FPC.
Features: It has the characteristics of high wiring density, light weight, and thin thickness; it is mainly used in mobile phones, notebook computers, PDAs, digital cameras, LCMs and many other products.
Types of FPC
Single layer FPC
It has a layer of chemically etched conductive patterns, and the conductive pattern layer on the surface of the flexible insulating substrate is a rolled copper foil. The insulating substrate can be polyimide, polyethylene terephthalate, aramid cellulose ester and polyvinyl chloride. Single-layer FPC can be divided into the following four sub-categories:
1. Single-sided connection without covering layer
The wire pattern is on the insulating substrate, and there is no covering layer on the wire surface. The interconnection is realized by soldering, welding or pressure welding, which is commonly used in early telephones.

2. Single-sided connection with cover layer
Compared with the previous type, it only has an extra layer of covering on the surface of the wire. The pads need to be exposed when covering, and it can simply be left uncovered in the end area. It is one of the most widely used and widely used single-sided flexible PCBs. It is used in automotive instruments and electronic instruments.
3. Double-sided connection without covering layer
The connection pad interface can be connected on the front and back of the wire. A via hole is opened on the insulating substrate at the pad. This via hole can be punched, etched or made by other mechanical methods at the required position of the insulating substrate. become.
4. Double-sided connection with cover layer
The difference between the previous type is that there is a cover layer on the surface, and the cover layer has via holes, allowing both sides to be terminated while still maintaining the cover layer. It is made of two layers of insulating materials and a layer of metal conductors.
Double-sided FPC
The double-sided FPC has a conductive pattern made by etching on both sides of the insulating base film, which increases the wiring density per unit area. The metallized hole connects the patterns on both sides of the insulating material to form a conductive path to meet the design and use function of flexibility. The cover film can protect single and double-sided wires and indicate where the components are placed. According to requirements, metallized holes and cover layers are optional, and this type of FPC has fewer applications.
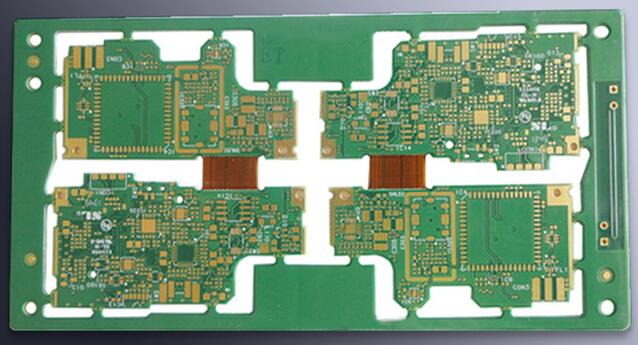
Multilayer FPC
Multi-layer FPC is to laminate 3 or more layers of single-sided or double-sided flexible circuits together, and form metallized holes by drilling and electroplating to form conductive paths between different layers. In this way, there is no need to use a complicated welding process. Multilayer circuits have huge functional differences in terms of higher reliability, better thermal conductivity and more convenient assembly performance.
How to solder
1. Operation steps
(1) Before soldering, apply flux to the pads and process them with a soldering iron to avoid poor tin plating or oxidation of the pads, resulting in poor soldering, and the chips generally do not need to be processed.
(2) Use tweezers to carefully put the PQFP chip on the PCB board, taking care not to damage the pins. Make it aligned with the pad and ensure that the chip is placed in the correct direction. Adjust the temperature of the soldering iron to more than 300 degrees Celsius, dip a small amount of solder on the tip of the soldering iron, press down the aligned chip with a tool, and add a small amount of solder to the two diagonal pins. Hold down the chip and solder the pins on the two diagonal positions to make the chip fixed and unable to move. After soldering the opposite corners, recheck the alignment of the chip position. If necessary, adjust or remove and realign the position on the PCB board.
(3) When starting to solder all the pins, add solder to the tip of the soldering iron, and apply flux to all the pins to keep the pins moist. Touch the end of each pin of the chip with the tip of a soldering iron until you see the solder flowing into the pin. When soldering, keep the tip of the soldering iron parallel to the soldered pin to prevent overlap due to excessive soldering.
(4) After soldering all the pins, wet all the pins with flux to clean the solder. Suck off the excess solder where needed to eliminate any short circuits and overlaps. Use tweezers to check whether there is any false soldering. After the inspection is completed, remove the flux from the circuit board, soak the hard bristle brush with alcohol and wipe it carefully along the pin direction until the flux disappears.
(5) SMD resistor-capacitor components are relatively easy to solder. You can put tin on a solder joint first, then put one end of the component, use tweezers to clamp the component, and after soldering one end, check whether it is placed properly ; If it has been aligned, then solder the other end.