Let’s briefly describe how the circuit board is designed.
1. The first is the selection, which means to choose the electronic components used in our circuit board circuit.
There are many types of electronic components. The common ones are resistors, capacitors, ICs, etc., and there are various types of electronic components with withstand voltage and various packages. When designing a circuit board, we must first choose what kind of electronic components we should put on the board. Devices, plug-in or patch electronic components, etc.
2. After selecting the model of each electronic component, the circuit schematic can be designed.
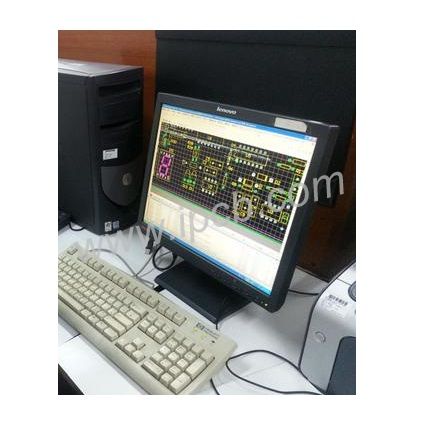
Schematic design needs to use some commonly used schematic design software, such as orCAD. In fact, every schematic design software is similar, and the steps and methods are the same. The following takes you to understand the simple steps of the schematic design.
(1) Open orCAD design software, click [File], select [New], select [Project], create a new project file, as shown in the figure, a new project file is created successfully.
(2) For component packages not in the schematic library, first create a schematic library by clicking [File], selecting [New], selecting [Library], and then placing the corresponding pins according to the electronic component data sheet.
(3) Call the package library from the component library that comes with the software, place the component symbols in the appropriate position in the schematic drawing area, click [Place], and then click [Part] to place the components.

(4) Connect the various components with wires to form a circuit loop between each component.
USB to TTL
Finally, add packaging information to each component to complete the schematic design process. After the schematic is designed, an .asc netlist file is produced. The schematic is designed to obtain this netlist file, and this The netlist file is the bridge between the various components of the PCB, which is very important and is related to the success or failure of the design.
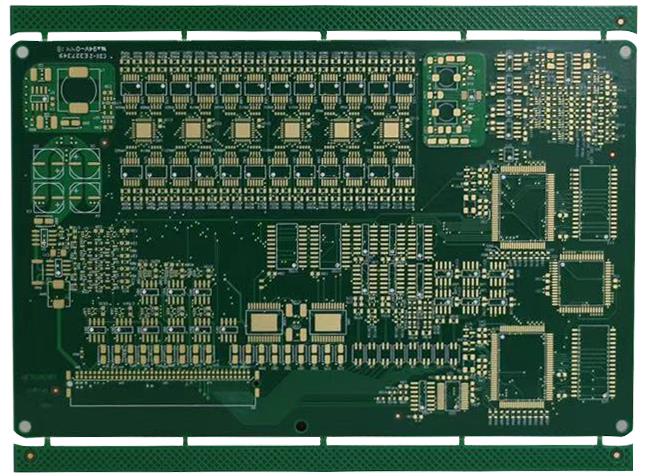
3. PCB design (PrintedCircuitBoard, that is, the meaning of printed circuit board), and finally the PCB design can complete the entire circuit board design process.
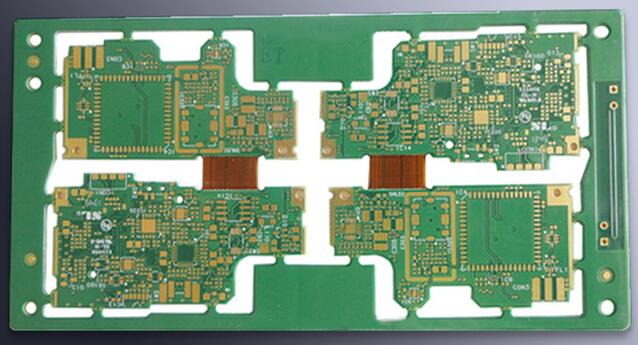
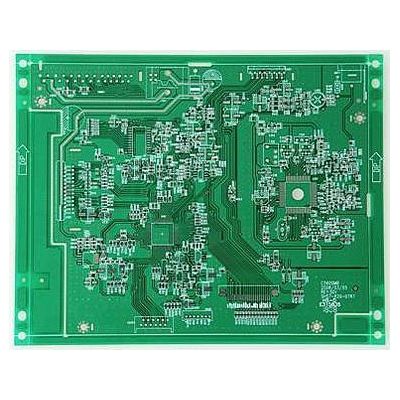
PCB design can be roughly divided into five steps: component package library design, component layout, wiring, optimization, and DRC inspection. The following is a simple PCB file that has been designed, and the relevant information of the designed file can be sent to the board factory to help us make this circuit board.
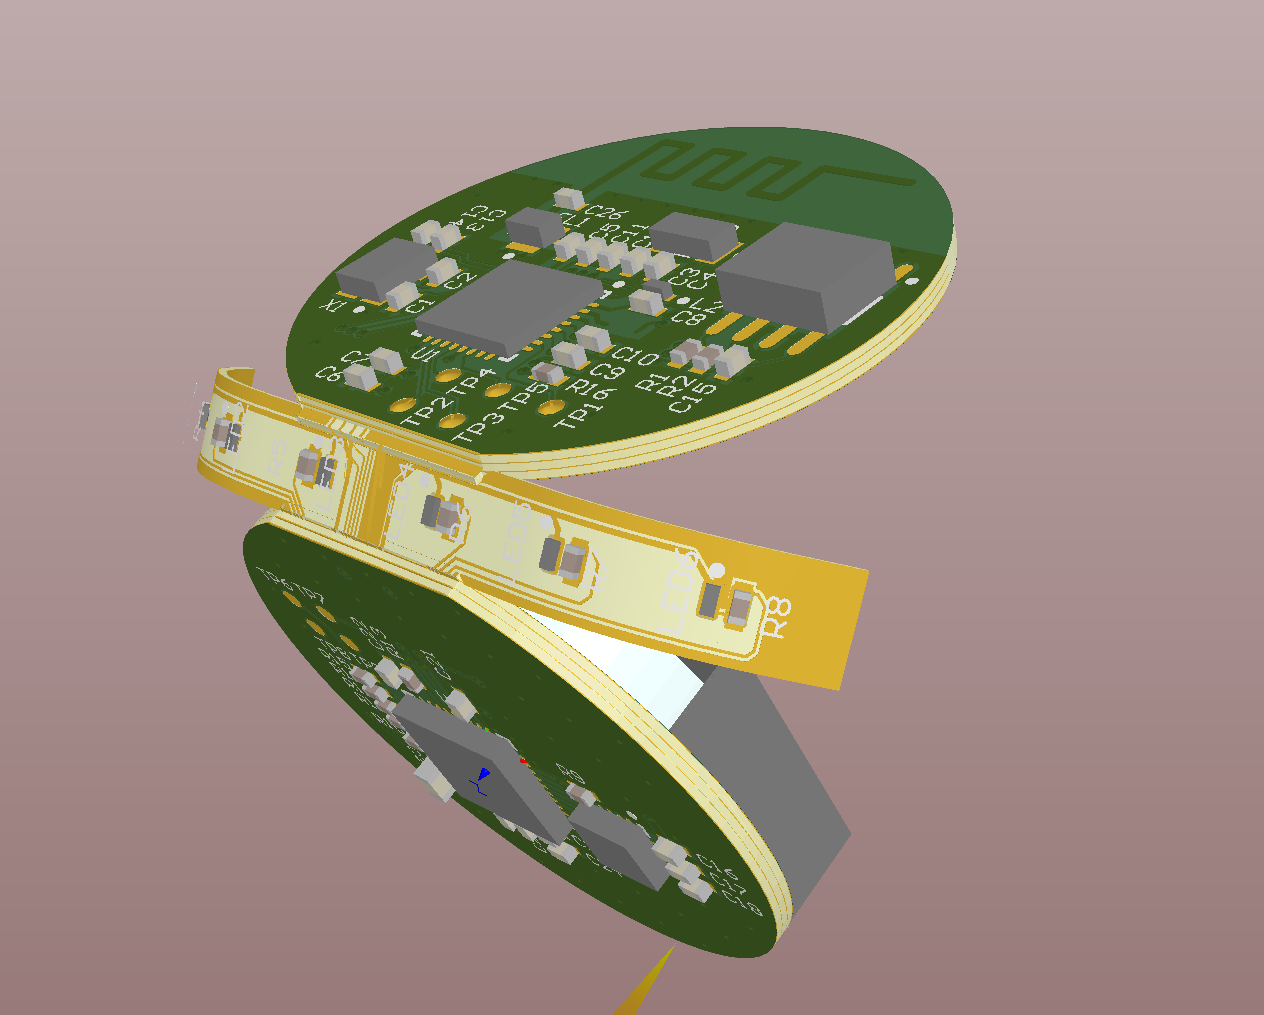
Single board PCB
The circuit board that needs to be sent out by the PCB is empty, that is, there is no electronic component attached. At this time, we need to solder the electronic components to the empty circuit board by ourselves or the factory to complete the production of the circuit board. .
Next, let’s take a look at how to wire the circuit board design.
1. If the designed circuit system contains FPGA devices, the Quartus II software must be used to verify the pin assignments before drawing the schematic. (Some special pins in FPGA cannot be used as ordinary IO)
2. The 4-layer board from top to bottom is: signal plane layer, ground, power, signal plane layer; from top to bottom, the 6-layer board is: signal plane layer, ground, signal inner electric layer, signal inner electric layer, Power and signal plane layer. For boards with 6 layers or more (the advantage is: anti-interference radiation), the internal electric layer wiring is preferred, and the plane layer is not allowed to go. It is forbidden to route the wiring from the ground or power layer (reason: the power layer will be divided, causing parasitic effects).
3. Wiring of multi-power supply system: If the FPGA+DSP system is used as a 6-layer board, there will usually be at least 3.3V+1.2V+1.8V+5V.
3.3V is generally the main power supply, and the power layer is directly laid, and the global power supply network is easily routed through vias.
5V may generally be the power input, and only a small area of copper is required. And try to be as thick as possible (you ask me how thick it should be-as thick as possible, the thicker the better)
1.2V and 1.8V are the core power supply (if you directly use the wire connection method, you will encounter great difficulties when facing BGA devices). Try to separate 1.2V and 1.8V during layout, and let 1.2V or 1.8V connect The components are arranged in a compact area and connected by copper
In short, because the power supply network is spread over the entire PCB, it will be very complicated and long to go around if it is routed. The method of laying copper is a good choice!
4. The wiring between adjacent layers adopts a cross method: it can reduce the electromagnetic interference between parallel wires (for high school) and facilitate wiring (reference 1). The following figure shows the traces of two adjacent layers in a PCB, which are roughly horizontal and vertical.
5. What is the isolation method for analog and digital isolation? Separate the devices used for analog signals from those used for digital signals during layout, and then cut across the board from the ad chip!
The analog signal is laid with an analog ground, and the analog ground/analog power supply and the digital power supply are connected at a single point through an inductor/magnetic bead.
6. PCB design based on PCB design software can also be regarded as a software development process. Software engineering pays most attention to the idea of "iterative development". I think this idea can also be introduced in PCB design to reduce the probability of PCB errors.
(1) Check the schematic diagram, pay special attention to the power and ground of the device (power and ground are the blood of the system, and there should be no negligence)
(2) PCB package drawing (confirm whether the pins in the schematic diagram are wrong)
(3) After confirming the PCB package size one by one, add a verification label and add it to the package library of this design
(4) Import the netlist and adjust the signal sequence in the schematic while layout (OrCAD component automatic numbering function can no longer be used after layout)
(5) Manual wiring (check the power ground network while cloth, as I said before: the power network uses the copper method, so use less wiring)
In short, the guiding ideology in PCB design is to draw back and correct the schematic diagram of the package layout while drawing (considering the correctness of signal connection and the convenience of signal routing).
7. The crystal oscillator should be as close as possible to the chip, and there should be no wiring under the crystal oscillator, and the network copper skin should be laid. Clocks used in many places are wired in a tree-shaped clock tree.
8. The arrangement of the signals on the connector has a great influence on the difficulty of wiring, so it is necessary to adjust the signals on the schematic diagram while wiring (but do not renumber the components)
9. Design of multi-board connector:
(1) Use flat cable connection: the upper and lower interfaces are the same
(2) Straight socket: the upper and lower interfaces are mirrored and symmetrical
10. Design of module connection signal:
(1) If two modules are placed on the same side of the PCB, it is as follows: The serial number of the control system connects the small to the large (mirror connection signal)
(2) If the two modules are placed on different sides of the PCB, then the smaller serial number will be connected to the smaller and the larger will be connected to the larger.
11. The PCB design of the power supply ground loop: through improvement-the power supply and the ground wire are close to the wiring, which reduces the loop area and reduces electromagnetic interference (679/12.8, about 54 times). Therefore, the power and ground should be as close as possible to the trace! And the signal line should be avoided as much as possible to run the line to reduce the mutual inductance effect between the signals.