Mike Hibbett embedded system expert and author provide independent review & explanation of using DesignSpark PCB package to design printed circuit board.
DesignSpark PCB is the RS Components PCB design tool, part of the application suite is designed to support rapid prototyping across two mechanical and electronic product designs.
DesignSpark PCB released the first system in 2010, the creator and partnership of Easy PC CAD program (which unsurprisingly a lot of similarities are shared with DesignSpark PCB.)
RS Components has built a thriving online community, great tutorials and a large number of activities-not surprisingly, RS is a well-known and respected worldwide organization and has invested some effort in promoting the package.
The tool is provided for free and even for commercial use.
DesignSpark PCB basics
Free, engineers are not subject to strictly controlled license conditions, limited number of PCs, you can install the program. However, it also needs to be connected to the Internet, which can be annoying, and the author was caught once when writing this review.

Despite being free, RS claims that it is a comprehensive, professional program that supports the creation of multiple schematic pages, unlimited PCB area and manufacturing data generation. However, what's interesting is how easy it is to learn. The author has used several CAD software packages for many years, is not a professional PCB designer, and has not used this application before.
We are going to take a look at using the Design Spark PCB to create a simple USB interface, foot switch, so that the foot will trigger a series of keyboard commands, tap to the EPROM programmer application in our case. We will ignore the software design, although consider choosing a microcontroller for easy development.
Let's roll over a few requirements and make some design decisions to simplify the design.
We want to connect to the two inputs of the switch with a brief push. At the other end, we provide a Type B USB socket to connect to the PC. We will choose a microcontroller that is available in the DIL package and has a good free USB stack and free software development tool chain. We will use USB full-speed mode because this has a very low data rate (12 Mb/s), which does not require any special high-frequency PCB tracking.
Our favorite microcontroller for this kind of work is the chip PIC18F2550-I/SP. It is supported by big development IDE, free USB stack and compiler.
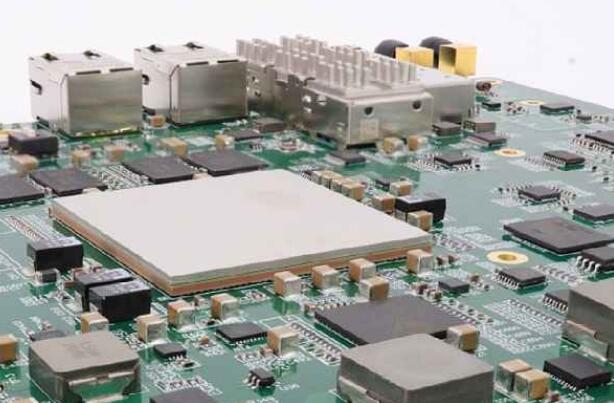
Through-hole components will be utilized throughout the design. We only need to manufacture a few wooden boards, and we do not expect a complicated design, so manual welding of components will not be a problem. We save the cost of solder molds and should be able to get boards faster (or even etch them internally).
Foot switches-PCBs that are not really design related-are quickly located on the RS website by searching for "foot switches". We need to provide two inputs, one for each switch board.
Install
Only modern Windows open source software is supported; if you use Linux or MAC, you will need to use wine or Windows virtual machine to run it. The installation is simple (once we find out that you have to run the installer in administrator mode) but ‘activation’ is required for the full process. This involves registering for an account on the DesignSpark forum and providing a valid email address. RS transparently sends "appropriate marketing materials" to your email address. However, it is very low in volume.
Using DesignSpark PCB
In the first run of DesignSpark, we introduce the start page that displays several advertisements. There is no design canvas that is visible but it is reasonable because we should really set up a project at this stage. Sure enough, select File -> a new dialog box pops up, we can enter the name of the project, and then create a schematic diagram. At this point we have a dialog box. Special parts can be found through ModelSource, selected RS components, an online database or taken from a general equipment library.
Our initial schematic design is to outline the log and then take a picture, download it to the PC, and import it as a supporting design file. In this way all your notes can follow your CAD design in a single project. Create a schematic diagram-remember, this is our first contact with DesignSpark-simple and clear, it took 30 minutes. We even dropped a few additional I/O pins on the header for future proofing
DesignSpark Schematic Conversion Board
Satisfied with the schematic diagram, we select Tools -> Translate to PCB... to create the board design. First we introduced a PCB Wizard dialog box, which seems to indicate that we will hold this process by hand though.
First, we choose the template we are aiming at-single-sided, double-sided by default (our choice), and so on. This is more intuitive than the commonly used technology, let us manage dozens of ourselves. Next we have the option of a complete layer list-we accept the default values. Then we define the size of the motherboard. We keep this name. By default, the PCB outline can be adjusted according to component arrangement and signal routing.
Finally, we must have the option of automatic, placed components, and routed signals. Automatic placement is rarely successful, and today is no exception, so we support changes, so we chose the peripheral board and manually placed the components.
Mobile components are just as intuitive to create schematics. A particularly popular feature is that design rule checks are performed dynamically around your moving parts, and the airwires-type represents the lines between parts-which are also recalculated. This will stop you from making mistakes or you will pick up the layout later.
Thirty minutes later, we are satisfied with the component placement, so now is the time to route the signal. The first attempt of a car router was very poor, so we manually routed the key signals-USB and power-and then let the car router do the rest. It does not have a fair job.
Creating a copper flood fill, and then generating a Gerber format file is intuitive and fast.
in conclusion
The learning curve for people with a bit of previous CAD experience is negligible. Its function will be suitable for many small and medium PCB companies (this is the main tool of the author's company) and engineers will work with the tool after only a few hours