New knowledge of PCB sample development
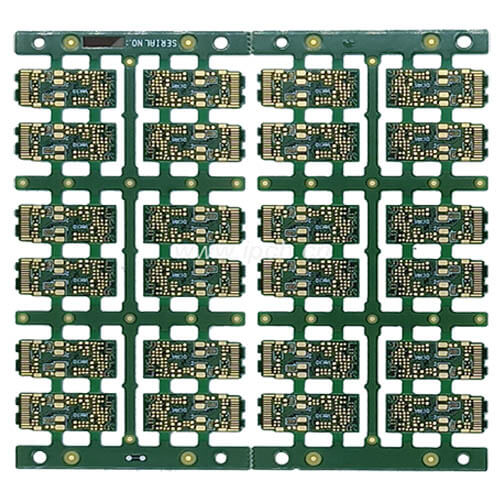
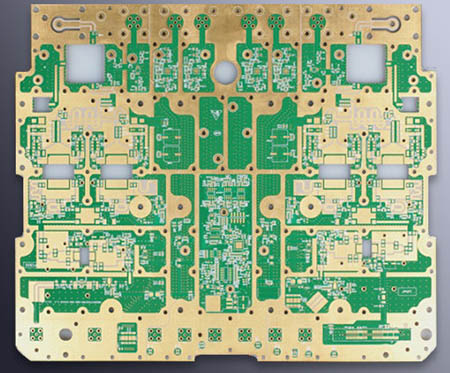
The Chinese name of PCB is printed circuit board, which is an important electronic component. According to Zhang Jin, secretary general of the China Printed Circuit Industry Association, since 2006, China’s printed circuit industry has ranked first in the world in terms of output value, but the main equipment and key instruments and meters produced depend on imports, and the company’s R&D and innovation capabilities There is a big gap with the international.
It is important to understand some basic terms related to these BGA signal routing technologies. The term "via" is the most important. Vias refer to pads with electroplated holes. This electroplated hole is used to connect a copper wire on a PCB layer and a copper wire on another layer. High-density multilayer circuit boards may use blind or buried vias, also known as micro vias. Only one side of the blind hole is visible, and both sides of the buried hole are not visible.
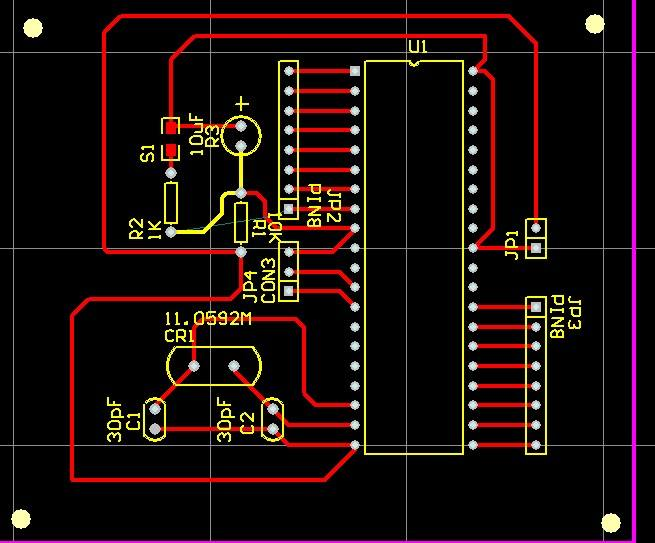
The type BGA fan-out method is divided into 4 quadrants, leaving a wider channel in the middle of the BGA for laying out multiple traces from the inside. Decomposing the signals from the BGA and connecting them to other circuits involves several key steps.
The first step is to determine the required via size for BGA fan-out. Via size depends on many factors: device spacing, PCB thickness, and the number of traces that need to be routed from one area or perimeter of the via to another area or perimeter. Figure 3 shows three different perimeters related to BGA. The perimeter is a polygonal boundary, defined as a matrix or square surrounding the BGA ball.
The first perimeter is formed by the dotted line passing through the first row (horizontal) and the corresponding first column (vertical), followed by the second and third perimeters. The designer starts wiring from the outermost perimeter of the BGA, and then keeps going inward until the innermost perimeter of the BGA ball. The size of the via is calculated from the contact diameter and the ball pitch, as shown in Table 1. The contact diameter is also the pad diameter of each BGA ball.

Once the Dog bone fan-out is completed and the specific via pad size is determined, the second step is to define the trace width from the BGA to the inner layer of the circuit board. There are many factors to consider when confirming the trace width. Table 1 shows the trace width. The minimum space required between the traces limits the BGA detour routing space. It is important to know that reducing the space between the traces will increase the cost of manufacturing the circuit board.
Many traces can be routed through different channels. For example, if the BGA pitch is not very fine, you can arrange one or two traces, sometimes three. For example, for a 1mm pitch BGA, multiple traces can be deployed. However, with today's advanced PCB design, most of the time there is only one trace for a channel.
Once the embedded designer determines the trace width and spacing, the number of traces routed through a channel, and the type of vias used for BGA layout design, he or she can estimate the number of PCB layers required. Using less than the maximum number of I/O pins can reduce the number of layers. If the wiring on the first and second layers is allowed, then the wiring on the two outer perimeters does not need to use vias. The other two perimeters can be routed on the bottom layer.
In the third step, the designer needs to maintain impedance matching as required and determine the number of wiring layers to be used to completely decompose the BGA signal. Next, use the top layer of the circuit board or the layer where the BGA is placed to complete the wiring of the BGA outer ring.
The remaining internal parameters are distributed on the internal wiring layer. According to the number of internal wiring in each channel, it is necessary to fairly estimate the number of layers required to complete the entire BGA wiring.
After finishing the outer ring wiring, lay out another round. The set of diagrams in Figure 4a and Figure 4b describe how PCB designers route different BGA circles, starting from the outermost and all the way to the center. The first picture shows how the first and second inner rings are wired. Then follow the same method to wire the subsequent inner ring until all the BGA wiring is completed.