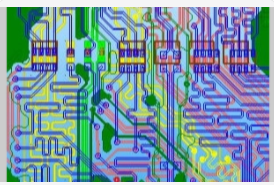
Eliminate PCB design defects or a common problem encountered by PCB factories in PCB manufacturing. These problems are too close, leading to welding bridges. These bridges may appear under the structure, which makes it difficult to find. Poor solder joints are another headache caused by poor or no connections between copper and components. Both of these problems require careful inspection and continuity testing to discover. Maintain sufficient desoldering braid and remove excess solder from pins in particularly tight spaces.
Some circuits are more sensitive to PCB design than others. Long traces affected by high current levels or high-speed signals are more sensitive to imperfect solder joints. Components can also be the root cause of the problem. Even new parts may be defective. If used for too long, the heat generated by welding may damage the components. Surface mount components need to be well aligned, and attention should be paid to components with heat transfer pads at the bottom of the components. These pads usually need to be electrically connected, and if sufficient clearance is not allowed or the alignment is too far, the traces can be bridged.
Hand-made PCBs are more difficult to solder correctly, and may have thin traces and leaks, which can lead to poor connections. Professionally manufactured circuit boards and soldered panels make assembly easier, and there is no possibility of soldering bridges or bad joints. There are some free software and companies that can easily find circuit boards at a reasonable cost using Google search. I use expresspcb and I am very satisfied.

Many printed circuit boards have been hand-made, and many professional printed circuit boards have been designed. If it's simple, you almost always make small mistakes on the blackboard. In most cases, it can be changed with a precise knife to make it work with others, which requires major changes to fix. Most PCB designs were successful and did not change the second iteration, but almost every board I created found what I wanted to adjust. The role of a major integrated circuit should be different from what is stated in the data sheet. The output of one of the fixed voltage regulators is higher than expected, and it only drives a component that cannot withstand higher voltages. After changing the circuit to solve this problem, I found another improvement to improve performance and reduce the number of parts. This frees up space on the circuit board. I replaced some connectors with more suitable connectors.
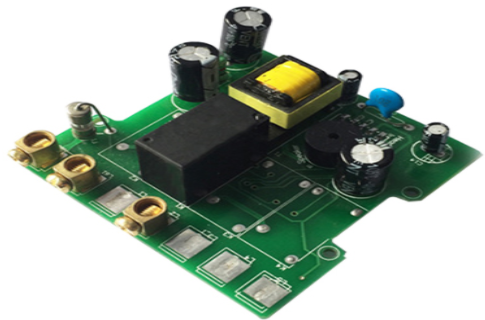
The board is approximately 4" x 3" and contains more than 100 components. Due to the small parts and small spacing, manual welding takes several hours. My strategy is to install the basic components first to keep the circuit working to a minimum so that all other components can be tested before soldering them.
One of the necessary chips is a 34-pin oversized package with tight pin pitch and bottom heat sink. This is the first component I used. Before entering the other components, I will check the continuity of the expansion. It takes at least 5 minutes to get the exact position of the chip. Because the error is very small, I keep the soldering time to a minimum to ensure that I will not cook the chips. Although there are many tiny components that can be installed, the pin spacing on the chip is very close, and once installed in place, the rest is not so difficult.
Although this special circuit board is denser than a typical design, it is usually necessary to install key components and conduct a continuity test in the design, and then transfer to other PCB components. I sometimes give up perfect chip mounting instead of soldering bridges.
First run/prototype layout issues:
Layout error-lack of tracking, lack of vias,
Layout issues-too few traces, low noise, incorrect pad size or incorrect package outline
Layout issues-assembly errors, such as placement of mechanical fit and mounting functions/subsequent production after PCB design verification. The PCB is not manufactured correctly, and the components such as material and layer change are lagging behind. Wrong part/wrong location. Bent lead/cold solder joint/no solder/solder mask
More defective/out-of-tolerance/unmarked component edge circuit designs.
It is great to make the PCB work, but when you put it into production, there will be thousands of changes in temperature and pressure, time, and component values, as you can imagine.
1) Solder joint failure
a) Cold joint, poor joint welding.
b) The gasket design is incorrect. This means that the chip and the pad are not properly aligned
2) The tracking size is beyond the manufacturer's ability. Poor etching of the track may not complete the circuit, or very small interconnections will cause high resistance on the track.
3) The connection from one layer to another failed. This happens when the through hole is sometimes too small
4) Grounding circuit. When the ground plate or ground connection is designed to allow current to flow between the ground connections, a ground loop may occur. These currents cause different "GND" voltages to be generated from one location on the circuit board to another.
5) The distance between the bypass capacitor and the specific component is not close enough. Moving too far away from the chip/component will cause the chip to see its power input and generate large high-frequency noise, resulting in unstable chip operation.
6) On small traces, high current will burn the traces to high temperature.
7) Two adjacent tracks and a track carrying high-frequency signals can generate signals on the other track.