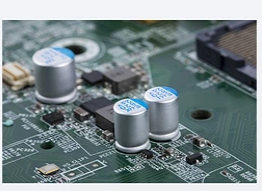
1. Difficulties of PCB design
Line width (route label widthconstraint) It specifies the line width for manual and automatic wiring. The preference for the entire circuit board range is usually 0.2-0.6mm, and the line width settings of the network or network group (Netclass) are increased, such as ground wire, +5V power cord, AC power input line, power output line and power pack. The network group can be pre-defined in Design-netlistmanager. The ground wire is generally 1mm wide, and various power cables are generally 0.5-1mm wide. The relationship between the line width of the printed board and the current is about 1 ampere per millimeter. Currently, it can be specific. Found in related information.
When the wire diameter preference is too large for the SMD pad to pass through the automatic routing, it will automatically shrink to the line between the minimum width in the SMD pad and the pad width, where the board is the entire board line width constraint, and the lowest priority Level, that is, the wiring first satisfies the network and network group, such as line width constraints

5. Setting of copper connection shape (manufacturing label polygonconnectstyle)
It is recommended to use Reliefconnect mode. The wire width is 0.3-0.5mm. 4 wires are 45 or 90 degrees.
The rest can usually be used for its original default value, and items such as the topology of the wiring, the interval of the power layer and the length of the network matching the shape of the connection are set as needed. Select the tool preferences, the option bar interactively select Pushobstacle (when you encounter the wiring of a different network, press other wiring, ignore obstacles to pass, prevent obstacles from blocking) mode and select Automatically remove (automatically delete redundant wiring).
The tracks and channels of the default column can also be changed, and it is usually not necessary to move them. Place the filler layer in the areas where you don't want to be wired, such as the wiring layer under the leg crystals of the radiator and sleeper, and place tin on the top or bottom of the corresponding position to fill.
Wiring rule setting is also one of the keys to the design of printed circuit boards, which requires a wealth of practical experience.
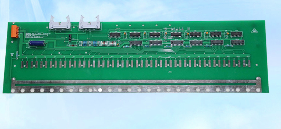
Second, the method of PCB double-sided board copying
Double panel reading method:
1. Scan the upper and lower surfaces of the circuit board and save two BMP pictures.
2. Open Copy board software Quickpcb2005, click "File" "Open Basemap" to open the scanned picture. Use PageUp to zoom in on the screen, look at the pad, press PP to place the pad, watch the line press the PT line...
Just like a children's drawing, draw it in this software and click "Save" to generate a b2p file.
3. Click "File", "Open Base Map" to open another layer of scanned color map;
4. Click "File" and "Open" to open the previously saved b2p file. We see that the board is just copied and stacked on top of this picture-the same PCB board, the holes are in the same position, but the circuit connections are different.
Therefore, we press "Options"-"Layer Settings", which shows that the lines and screen printing of the top layer are turned off, leaving only multi-layer vias.
5. The hole in the top layer is the same as the hole in the bottom picture, and now we can draw the bottom line as in the childhood drawing.
Then click "Save"-then the b2p file has two layers of information at the top and bottom.
6. Click "File" and "Export as PCB File", you can get a PCB file with two layers of information, you can replace the circuit board or re-output the schematic diagram or send the PCB board directly to the factory.
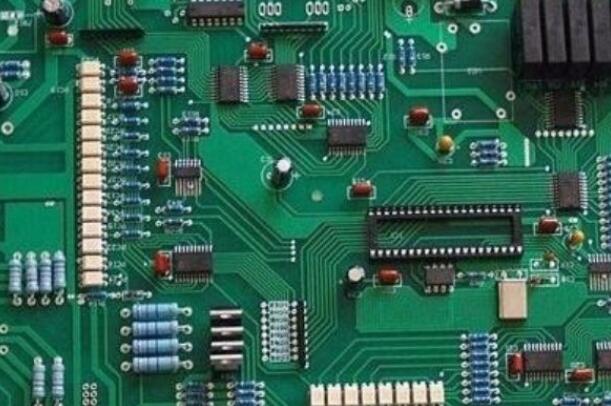
Multi-layer board copy board method: In fact, four-layer board duplicates two double-sided boards, and six-layer board duplicates three double-sided boards..., a multi-layered building is daunting because we can’t see it. The lines inside it. A precision multilayer board, how do we view the inner layer of the trend?
-Layering. There are many methods for layering, such as potion corrosion, tool peeling, etc., but it is easy to layer and lose information.
Experience tells us that sandpaper polishing is the most accurate. When we copy the top layer of the PCB, we usually use sandpaper grinding method to grind off the inner surface of the display; sandpaper is a hardware store that sells ordinary sandpaper, usually a flat PCB, and then press the sandpaper and rub it evenly on the PCB ( If the board is small, you can also use tile sandpaper and put the sandpaper on the PCB with your fingers)
The point is to flatten it so that it wears evenly. Screen printing and green oil are generally wiped off, and copper wires and copper skins will be wiped several times.
Generally speaking, the Bluetooth board can be wiped within a few minutes, and the memory stick takes about 10 minutes or more. Of course, the power is large, and the time spent is less, and the power spent will be a little longer. Grinding board is currently the most commonly used solution in layering, and it is also the most economical solution. We can find a discarded PCB and try it. In fact, it is not technically difficult to grind the board, but it is a bit boring.