Here are the rules of PCB Layout:
1. Drawing of circuit diagram:
a. Call out the corresponding component symbol, connect and draw; and give it the corresponding PCB Decal;
b. Check whether there are errors in the network; whether the part numbers are duplicated or omitted; (Save)
c. Check if there is no error, transfer to net list to PCB; there should be no error report.
2. PCB drawing:
a. Check whether the package and the network with polar components are correct;
b. 1>Use AUTO-CAD to draw the PCB frame, and convert it to *.dxf file to POWER PCB;
* Note: When transferring to POWER PCB, please note that the unit should be metric system, if it is imperial system, please
Convert beforehand in AUTO-CAD.
2>After entering the POWER PCB, change its line width to 0.2mm, combine (combin), and store it in the library for later use;
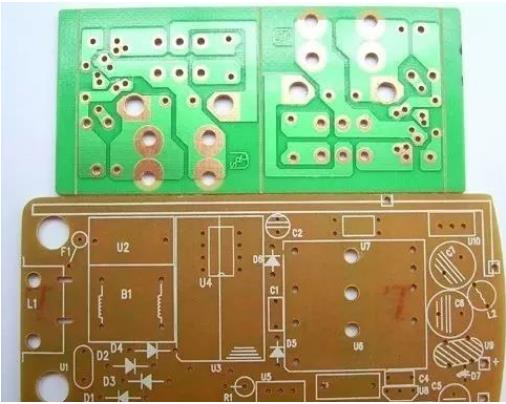
c. First call up the PCB file, then call up the PCB outline, set the PCB outline on the twenty-seventh layer, and use the outer frame to draw the PCB outline, mark the size, and then start the layout.

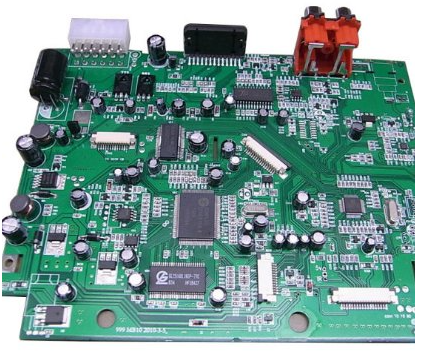
d. PCB parts layout:
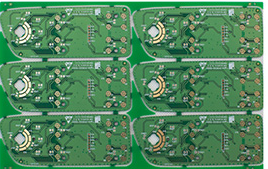
1> Layout according to the principle of first big and then small, vertical left to right, four circuits first;
2>Place the fixed position components first, then put INLET, X capacitor, common mode inductance,
Large capacitors, MOS tubes and heat sinks, transformers, output rectifiers and filter capacitors;
* Note: The choice of heat sink and the choice of transformer will determine the layout of the PCB to a large extent, so be careful when choosing these components.
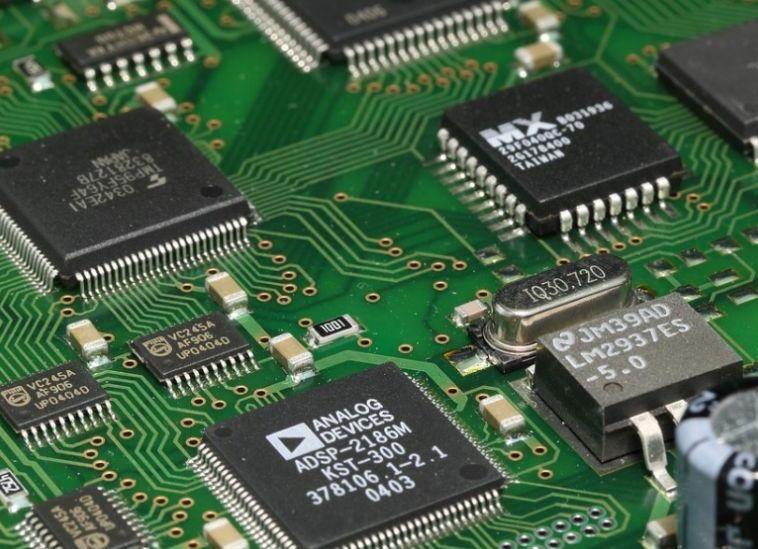
Note: For all plug-ins, horizontal components should be used as much as possible. (Because vertical components are not prone to short circuits) The pin holes of horizontal components should be ≧1mm. Vertical components should not be used as much as possible. The deflection appears as a short circuit.
* Note: For SMT components, the direction of the tin furnace should be considered for the SMT surface, because this determines the direction in which the SMT should be arranged.
* Note: When placing AI surface parts, pay attention to whether the "FG" PIN of INLET will touch other elements
Parts, such as: X capacitors, fuse shells are metal, please pay attention to the distance with other metal shells, such as: electrolytic capacitors, high-voltage capacitors, pay attention to the radiator as far as possible; in order to avoid heat transfer to the capacitor, reduce the life of the capacitor;
* Peripheral components should be considered when placing a vertical 2W resistor, it is best to omit things like conduits;
* In terms of bridge stack, if space is available, it is best to use four diodes instead of bridge stack, yes;
When designing the radiator, the larger radiator must be designed with more than two PIN pins; when placing the MOS tube, pay attention to the shortest connection between its "D" pole and the transformer; there are also "G" and "S" Route, whether it is easy to go;
* The PWM control part, this part should be arranged neatly, the IC PWM output line should be as short as possible, and this part should be as far away as possible from the AC input part; if there is space, diodes and voltage regulator tubes should be plugged in as much as possible, which can be Cost Down
* With PFC, the PFC IC control part should be separated from the PWM IC control part, especially the respective GND should be separated to the common pin of the high-voltage capacitor. The PFC signal line should not be too thick.
* SMT capacitors, especially high-voltage SMT capacitors, should use plug-ins as much as possible, which can be Cost Down; SMT components should be farther away from the AI component pads; neck-down routing should be used when encountering large current traces;
* The transformer is generally placed close to the MOT tube and the secondary components, and a distance of more than 3mm should be maintained. Pay special attention to the transformer without piping, which needs to be led out with three-layer insulated wire, and the transformer's wire package and iron core are regarded as For primary components, special attention should be paid to the distance between the secondary PCB components and the distance between them, and a distance of more than 4MM should be ensured. If possible, the PIN of the transformer should be retained as much as possible, so that the bulky transformer can become firmer;
* The TO-220 packaged rectifier tube should pay attention to the distance between the output filter capacitor and the output filter capacitor. The output capacitors should be arranged neatly in order and easy to route.
* When placing the parts close to the side, keep a distance of at least 0.5~1.0mm from the edge, so as not to interfere with each other when connecting the pieces;
* The distance between the output component and the SR, understand the size of the SR and the thickness of the line; make it sparse but not sparse, dense but not messy, and look compact and tidy;
* When starting the wiring, set the wiring width to 0.3mm, and the spacing is 0.3mm. This wiring is mainly to lay the foundation for the subsequent copper paving.