Printed circuit board slice test method and its operation flow
1. Purpose
Used to evaluate the quality of electroplated holes and to evaluate the metallographic section of the surface, hole walls and covering the circuit board layers . It can also be used in assembly or other areas
2. Test sample
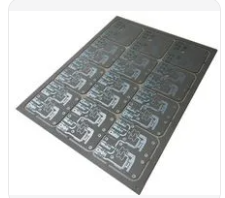
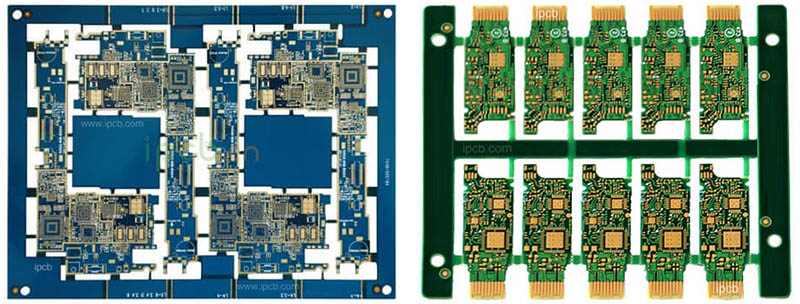
Cut a sample from the circuit board or the test mold. A blank area should be left around the sample inspection area to avoid damage to the inspection area. It is recommended that each sample contains at least three electroplated holes with the smallest holes.
3. Equipment
1) Sample cutting machine
2) Die (with decompression hole)
3) Gong machine or sawing machine
4) Fixing strap
5) Smooth assembly table
6) Anti-sticking agent
7) Model support frame
8) Metallographic polishing table
9) Abrasive belt polishing machine
10) Metallographic diagram
11) Treat encapsulated substances at room temperature
12) Emery paper
13) Steps used for polishing wheels
14) Polishing lubricant
15) Slightly acidic liquid
16) Cotton yarn for cleaning and micro-etching
17) Alcohol
18) Micro-etching agent
4. Procedure

1) Sample preparation: Grind on wheels with 180-220 or 320 grit, and control the grinding depth at 0.050inch
Within the range (approximately), burrs must be removed before installation
2) Install the metallographic template
Clean and dry the surface of the assembly table, then pour the anti-sticking agent on the table and in the mounting ring to load the sample into the mounting ring and fix it. If necessary, face the surface to be inspected against the assembly surface. Carefully inject the packaging material into the assembly ring to ensure that the template is upright and the hole is filled with packaging material. The resin packaging material can require vacuum degassing, allowing the sample to be cured at room temperature, and marking the sample plate by etching or other permanent methods.
3) Grinding and polishing
Use metallographic equipment to coarsely grind the template on a 180 grit belt sander. Note: Running water must be used to prevent ignition of the template. Use 320 grit, 400 grit, and 600 grit disc sandpaper to finely grind the sample to the center section of the electroplating hole until the burrs and scratches are removed. Rotate the sample 90° and grind under continuous grit sandpaper until the sample is coarse The scratches caused by the grain size are abraded. Wash the sample with tap water, then blow dry with a trachea, and then polish the sample with corundum to show a clear coating surface. Use 5 micron ointment to remove the scratches left by 600 grit sandpaper, and then use 0.3 micron ointment. Then rinse with alcohol and blow dry. Check the section and if there are scratches, polish it again until the scratches disappear. Wipe the sample with a suitable acid solution (usually 2-3 seconds) to obtain a high-definition layer-to-layer delamination line. Use tap water to neutralize the slightly acidic liquid, then rinse with alcohol and blow dry.
*When the polishing operation is heavy, you can use a sonic cleaner to reduce the acid lotion in the polishing medium
4) Check
Check the thickness of the hole wall with a microscope of 100 times, choose at least three plated holes, or use the same section to determine the surface
Total thickness
5) Evaluation
Record the measured average coating thickness and coating quality
5. Matters needing attention
1) The thickness of the coating cannot be measured at bumps, vacancies, cracks, irregularities and thin layers.
2) PCB coating quality inspection can include the following:
Blistering, lamination vacancies, cracks, resin shrinkage, coating flatness, burrs and tumors, coating vacancies. In addition, the coating quality of the multilayer board should include: the combination of the inner layer and the hole wall, resin dirt, glass fiber protrusions, and resin etchback. Some of these conditions can be checked after the sample is polished and before microetching. 3) Before packaging, a layer of nickel or other hard metal is plated on the sample, which can improve the quality and readability of the sample
4) Diamond paste is better than corundum paste, because the circuit is not used for the evaluation of high reliability applications, using 6 micron and 1 micron
Rice diamond paste replaces the corundum mentioned above. Diamond paste fully reduces the risk of sample contamination or burning.
5) Suggested formula of micro-etching liquid
25ml concentrated sodium hydroxide
25ml distilled water
3 drops of 30% hydrogen peroxide, let stand for 5 minutes before use. Use the same day (this is a typical potion used for lead-tin etching)