Preparations.
Collect PCB design-related information from the following people

a) Structural design engineer: DXF format files include, (PCB shape, positions of various positioning holes on the PCB board, areas with height restrictions, areas where components are prohibited, positions of key components, positions of various buttons and LEDs And key value).
b) Hardware engineer: schematic diagram, key line wiring requirements, special component packaging requirements, etc.
Project management: project progress schedule.
d) Purchasing department: select PCB manufacturer.
Production Department: Production of special process requirements. 2. Determine the following PCB design parameters.
Board thickness.
Circuit board stack structure (distribution of power layer, ground layer and signal layer).
Types of vias.
d) Circuit board material and dielectric constant.
The default line width and line spacing.
2. Check the device package
1. Import the schematic into the PCB.
Check the information in the error report.
3. Check the package for errors (especially the devices newly added to the package library).
Check the polarity of polarized devices.
5. Backup schematic diagram.
Replace the wrong device in the schematic. If there is no corresponding device, contact the hardware engineer to apply for creating a new device library.
3. Create the basic information of the circuit board.
. Import the DXF file to the non-wiring layer. (Check the drawing scale and key dimensions)
2. Draw the outer frame of the circuit board according to the DXF file (line width 0.1mm).
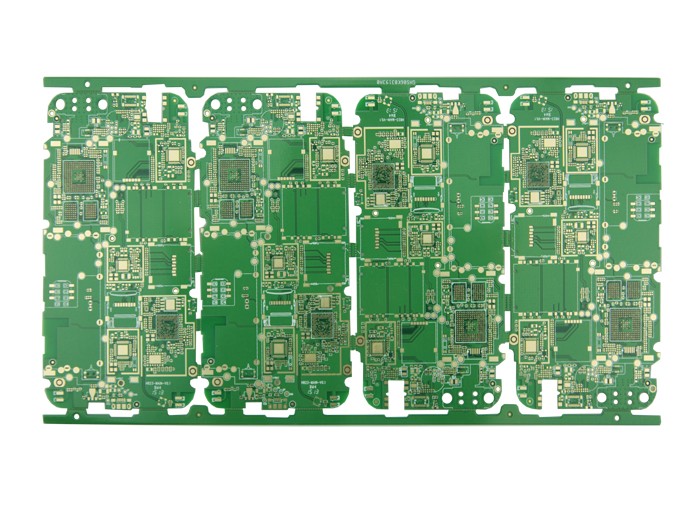
3. Determine how to join the board and the size of the board according to the external dimensions of the circuit board.
4. Create an outline layer and draw the outer frame of the puzzle (line width 0.1mm) on this layer.
5. Add positioning holes (4mm diameter non-metalized holes).
6. Add BAD_MARK points.
7. Add PANEL FIDUCIAL points.
8. Add label text on the PANEL frame (PART NUMBER and TOP, BOTTOM label)
Fourth, the device layout.
1. Work out the overall layout plan with hardware engineers.
2. Add positioning holes required by structural engineers.
3. Place the main components, various buttons, LEDs, etc. according to the requirements of the organization.
4. Layout according to functional blocks and network relationships.
5. Check the layout and device height for any discrepancies with the structural requirements.
6. Check whether the device gap complies with the rules and whether there is any overlap of devices.
7. Add BOARD FIDUCIAL points.
8. Print 1:1 assembly drawing for inspection.
9. Generate the DXF file and submit it to the structural engineer to confirm whether there is a structural conflict.
Modify the structure conflict.
Five, add silk screen
1. The silk screen line width is the smallest 0.15mm.
2. The minimum height of the silk screen text is 1.00mm.
3. BOTTOM face text is mirrored.
4. All silk screen content does not cover the pad and exposed copper foil.
Six, wiring
1. Enter the wiring rules.
The default gap, line width.
b) Special network gap and line width.
c) The power and ground wires fill the gaps.
2. Manual wiring.
a) Follow the wiring rules for wiring.
b) The key line decides the wiring method together with the hardware engineer.
c) Work with the hardware engineer to determine the power cord routing method.
3. Add power and ground wire filling.
a) Determine the filling area together with the hardware engineer.
b) Keep a gap of at least 0.25mm between the filling area and the edge of the board.
All vias in the same network in the filling area are set to overlay filling, and no flower hole connection is used.
All the same network pads in the filling area are connected by cross-shaped thermal pads.
4. Add ground vias.
a) Add grounding vias in the gaps of the circuit, and try to make the ground wires of all layers evenly filled.
b) Add grounding vias along both sides of the audio line to ensure the shielding effect
c) Add grounding vias along the edge of the PCB board to ensure the ESD effect.
5. Run rule checks to check every error report.
6. Run the connection check and the network connection will not be connected.
7. Organize relevant personnel to conduct REVIEW.
8. Add stamp hole and draw milling cutter path.
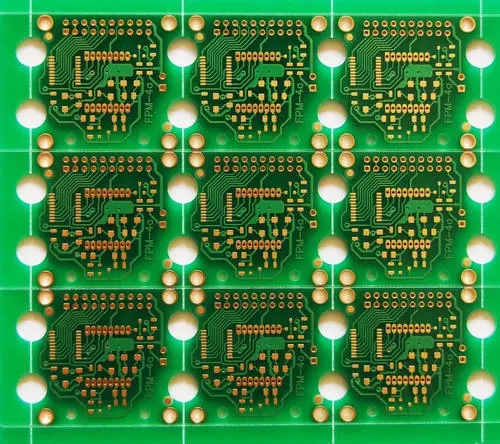
1. Add a stamp hole.
The clearance between all holes and wires shall not be less than 0.25mm.
b) The clearance between all drill holes and pads shall not be less than 0.30mm.
c) Set stamp holes as evenly as possible on both sides of the PCB.
d) The stamp hole shall not be set near the devices with protruding board edges (such as side buttons, earphone sockets, etc.).
2. Draw the path of the milling cutter.
Draw the milling path of the milling cutter along the centerline of the board edge with a line width of 0.1mm.
b) The start and end of the path are the centers of the exit holes on both sides of the stamp hole.
9. Output device X, Y coordinate file.
1. Set the PowerPCB unit to Metric.
2. Create device X, Y coordinate files and save them in Excel format.
10. Output CAM files.
1. Set the output format.
a) GEBER file: RS-274-X, 3:5, Units=English.
b) NC Drill file: Out Type=ASCII, 3:5, Units=English.
2. Set the output content of each layer.
a) Signal layer: Pads, Traces, Vias, Copper, Pins with Associated Copper.
b) Solder mask: Pads, Copper, Lines, Text, Pins with Associated Copper.
c) Solder paste layer: Pads, Copper, Lines, Pins with Associated Copper.
d) Silk screen layer: Copper, Lines, Text.
e) OutLine: Lines.
f) Mill: Lines.
Define the settings according to the hole layer. Metalized through holes and non-metalized through holes are output separately.
3. Check whether the output file types are complete.
4. Export CAM files.
11. Import the GERBER file in CAM350.
1. Use AutoImport to import all GERBER data.
2. Check the imported graphics.
3. Set the drilling size according to the .REP file in the GERBER file.
4. Delete all D codes with a size of 0.
12. Jigsaw puzzle.
1. Copy the PCB and mirror it.
2. Check each layer of graphics after mirroring. 3. Use Gerber to Mill tool to convert mill layer graphics into mill path. The width of the milling cutter is 63mil.
4. Copy PCB into PANEL according to the calculated coordinate position.
5. Check the entire puzzle.
13. Export GERBER files and NC Drill files.
14. Use CAM350 to import GERBER files and NC Drill files for inspection.
15. Compress the processing file into ZIP format.