Today's switching regulators and power supplies are getting more compact and more powerful, and higher and higher switching frequencies are one of the main issues facing designers, making PCB board design more and more difficult. In fact, the PCB layout has become a watershed in distinguishing between good and bad switching power supply designs. This article provides some suggestions on how to create a PCB layout.
Consider a 3A switching regulator that steps down 24V to 3.3V. Designing such a 10W regulator may not seem too difficult at first, and designers may soon be able to move to the implementation stage. However, let's see what problems are actually encountered after adopting design software such as Webench. If we enter the above requirements, Webench selects the LM25576 (a 42V input device including a 3A FET) in the "Simpler Switcher" family from several ICs. The chip is housed in a TSSOP-20 package with thermal pad. Design optimizations for volume or efficiency are included in the Webench menu. The design requires a large amount of inductors and capacitors, which requires a large PCB board space. Webench provides options as shown in Table 1.

It is worth noting that the efficiency is 84%, and this efficiency is achieved when the input-output pressure difference is very low. In this example, the input/output ratio is greater than 7. In general, a two-stage circuit can be used to reduce the stage-to-stage ratio, but the efficiency achieved with two regulators will not be better. Next, we choose the switching frequency of the PCB board area. High switching frequencies can create layout problems. Webench can generate circuit diagrams with all active and passive components. Take a look at the current paths: mark the loop of the FET in the on state in red; mark the loop of the FET in the off state in green. We can observe two different cases: regions with two colors and regions with only one color. We must pay special attention to the latter case, so the current alternates between zero and full scale. These are regions with high di/dt. The high di/dt alternating current will generate a significant magnetic field around the PCB board wires, which will become the main source of interference for other devices in the circuit and even other circuits on the same or adjacent PCB board. Assuming this is not an alternating current, the common current path is not too important and the di/dt effect is much smaller. On the other hand, these areas will carry a greater load over time. In this example, the common paths are from the diode cathode to the output and from the output ground to the diode anode. As the output capacitor charges and discharges, this capacitor produces a high di/dt. All segments connecting the output capacitors must satisfy two conditions: they must be wide because of the high current flow, and they must be as short as possible to minimize the di/dt effect.
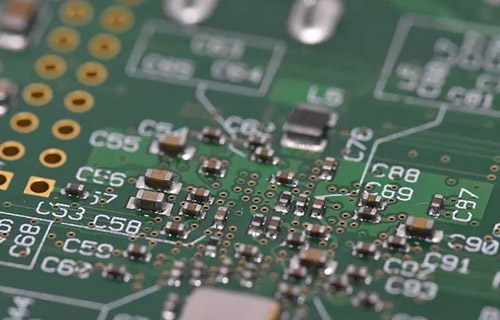
Key points of PCB layout design
In fact, designers should not implement so-called traditional layouts by routing wires from Vout and ground to capacitors. These wires will carry large alternating currents, so connecting the output and ground directly to the capacitor terminals is a better approach. Such alternating currents appear only on the capacitors. The other wires connecting the capacitors now carry almost constant current, so any problems with di/dt are well resolved. Earth is another often misunderstood conundrum. Simply placing a ground plane on "Layer 2" and connecting all grounds to this layer will not work very well. Let's see why. Our design example has up to 3A of current that must flow from ground back to the source (a 24V car battery or a 24V power supply). The ground connection of the diode, COUT, CIN, and the load will have a larger current flow, while the ground connection of the switching regulator will have a small current flow. The same applies to the ground reference of the resistor divider. If all the above ground pins are connected to one ground plane, ground bounce will occur. Although small, sensitive points in the circuit (such as the resistive divider through which the feedback voltage is obtained) will not have a stable ground reference. In this way, the entire voltage regulation accuracy will be greatly affected. In fact, sources hidden in the second-level ground plane also produce "ringing" and are very difficult to locate. Additionally, high-current connections must use vias to ground planes, which are another source of interference and noise. A better solution is to connect the CIN ground as a star node for all high current ground conductors on the input and output sides of the circuit. This star node connects the ground plane and two small current ground connections (IC and voltage divider). Now the ground plane will be clean: no high current, no ground bounce. All high-current grounds are star-connected to CIN ground. All the designer has to do is to keep the ground wires (all on the top layer of the PCB) as short and thick as possible. The nodes that need to be checked are those high impedance nodes as they are easily disturbed. The critical node is the IC's feedback pin, whose signal is taken from the resistor divider. The FB pin is the input to an amplifier (such as the LM25576) or a comparator (such as a hysteresis regulator). The impedance at point FB is quite high in both cases. Therefore, the resistor divider should be placed to the right of the FB pin, with a short wire from the middle of the resistor divider to FB. The leads from the output to the resistive divider are low impedance and longer leads can be used to connect to the resistive divider. What matters here is the wiring method and not the wire length. Other nodes are not so critical. So don't worry about switching nodes, diodes, COUT, the VIN pin of the switching regulator IC, or CIN.
Wiring method
The wiring method will make a difference to the resistor divider. This wire goes from COUT to the resistor divider, and its ground returns to COUT. We have to make sure that the loop does not form an open area. The open area acts as a receiving antenna. If we can ensure that the ground plane under the wire is free of interference, then the area enclosed by the wire and the ground under the wire and a distance between layers 1 and 2 should also be free of interference. Now it's clear why the ground shouldn't be on layer 4, as the distance has increased significantly. Another way is to route the ground connection of the resistor divider on layer 1, and have the two wires in parallel and as close together as possible to make the area smaller. These points apply to all wires that the signal flows through: sensor connections, amplifier outputs, ADC or audio amplifier inputs. Each analog signal should be processed to reduce the likelihood that they will pick up noise. The requirement to minimize open board area whenever possible also applies to low-impedance traces; in this case we have a potential source ("antenna") emitting interfering signals to other parts of the PCB or to other equipment. To reiterate, the smaller the open board area, the better. The other two wires are also critical, the strip is from the IC's switch output to the diode and inductor node; the second is from the diode to this node. These two wires have a high di/dt both when the switch is on and when the diode is passing current, so these wires should be as short and thick as possible. The wires from this node to the inductor and from the inductor to COUT are less critical. In this example, the inductor current is relatively constant and varies slowly. All we have to do is make sure it's a low impedance point to minimize the voltage drop.
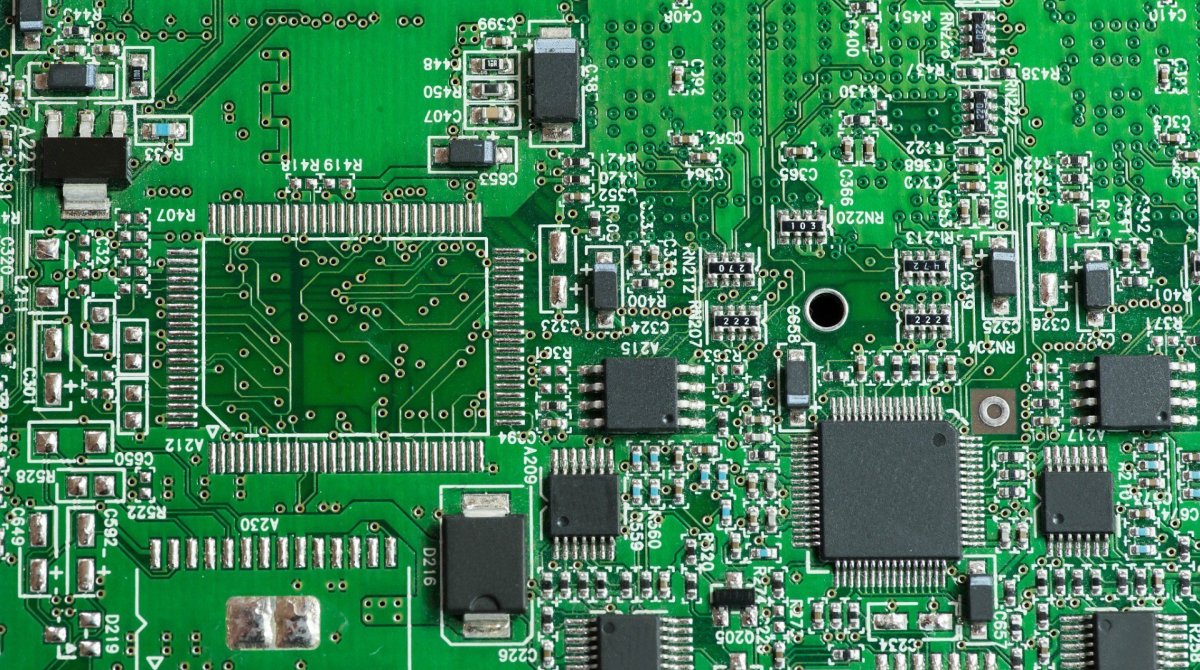
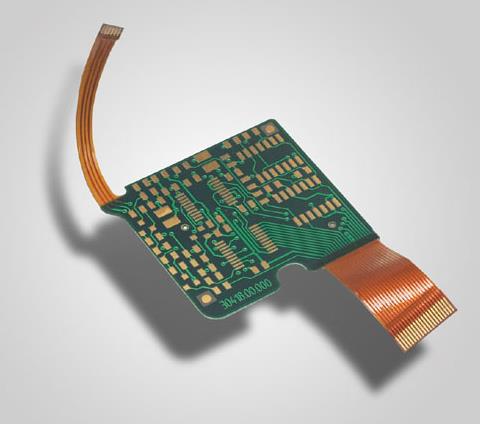
Practical sample analysis
The main component is a controller that works with external FETs in an MSOP-8 package. Pay attention to the space near CIN, the ground point of this capacitor is directly connected to the diode anode. You can't make the wire inside the "power ground" any shorter! The FET[SW] can be moved up a few millimeters to shorten the wire between the cathode-inductor-FET. The COUT area is invisible. But we can observe that the resistor divider (FB1-FB2) is very close to this IC. FB2 is connected to another independent ground plane, and the ground pins of the IC are also treated in the same way. Use three vias to connect the "signal" ground to the ground plane, and the "power" ground is also connected to the GND pin of the PCB board using three vias. This way, the "signal" ground doesn't see any ground bounce that occurs on the "power" ground. If you can follow a few simple rules above, your PCB layout design will be smoother. Before starting the layout design, taking the time to carefully consider the PCB board layout design will have a multiplier effect, which can help you save time in solving abnormal behavior in the switching power supply in the future.