PCB printed circuit board welding process and desoldering method, master the temperature and time of welding. When welding, there must be enough heat and temperature. If the temperature is too low, the solder has poor fluidity, and it is easy to solidify, forming a false solder; if the temperature is too high, the solder will flow, the solder joints are not easy to store tin, and the flux decomposition speed will accelerate, which will accelerate the oxidation of the metal surface and cause the printed circuit board. The pads on the board come off. Especially when using natural rosin as a flux, the soldering temperature is too high, and it is easy to oxidize and peel and cause carbonization, resulting in false soldering.
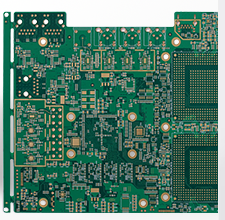
1. PCB soldering process
1. Preparation before welding
First of all, be familiar with the assembly drawing of the printed circuit board to be welded, and according to the drawing ingredients, check whether the model, specification and quantity of the components meet the requirements of the drawing, and make preparations for the lead forming of the components before assembly.
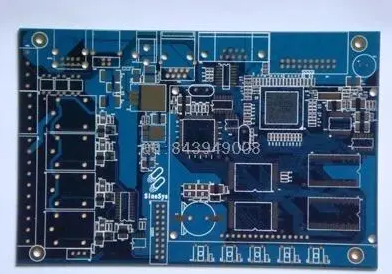
2. Welding sequence

The order of assembly and welding of PCB components is: resistors, capacitors, diodes, transistors, integrated circuits, high-power tubes, and other components are small first and then large.
3. Requirements for component welding
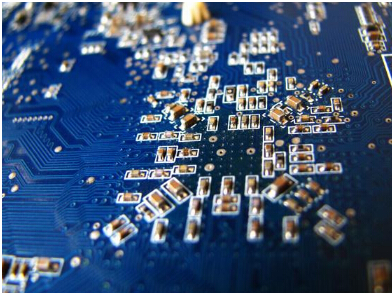
(1) Resistor welding
Install the resistor in the specified position according to the figure. The mark is required to be upward and the word direction is consistent. After installing the same specification, install another specification, and try to make the height of the resistor consistent. After soldering, cut off all the excess pins exposed on the surface of the printed circuit board.
(2) Capacitor welding
Install the capacitor in the specified position according to the figure, and pay attention to the polarity of the "+" and "-" poles of the polarized capacitor. The direction of the mark on the capacitor should be easy to see. Install glass glaze capacitors, organic dielectric capacitors, and ceramic capacitors first, and finally install electrolytic capacitors.
(3) Welding of diodes
Pay attention to the following points when welding diodes: First, pay attention to the polarity of the anode and cathode, and not install it wrong; second, the model mark should be easy to see and visible; third, when welding a vertical diode, the shortest lead welding time cannot exceed 2S.
(4) Triode welding
Note that the e, b, and c three leads are inserted correctly; the welding time is as short as possible, and the lead pins are clamped with tweezers during welding to facilitate heat dissipation. When welding high-power transistors, if you need to install a heat sink, the contact surface should be leveled, polished smooth and then tightened. If it is required to add an insulating film, do not forget to add a film. When connecting the pins to the circuit board, use plastic wires.
(5) Integrated circuit welding
First, check whether the model and pin position meet the requirements according to the requirements of the drawing. When soldering, solder the two pins on the edge first to position them, and then solder them one by one from left to right from top to bottom.
All excess pins of capacitors, diodes, and triodes exposed on the printed circuit board must be cut off.
Second, the method of desoldering
PCB factories need to desolder during debugging and maintenance, or when replacing components due to soldering errors. Improper desoldering method will often cause damage to components, breakage of printed wires or fall off of pads. Good desoldering technology can ensure the smooth progress of debugging and maintenance work, and avoid the increase of product failure rate due to improper replacement of components.
Desoldering of ordinary PCB components:
1) Select suitable medical hollow needle for desoldering
2) Desoldering with copper braided wire
3) Desoldering with an airbag tin sucker
4) Desoldering with a special desoldering electric iron
5) Desoldering with a soldering iron
This is the end of the article "PCB printed circuit board soldering process and desoldering method".