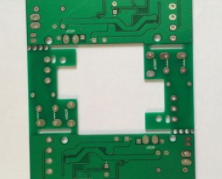
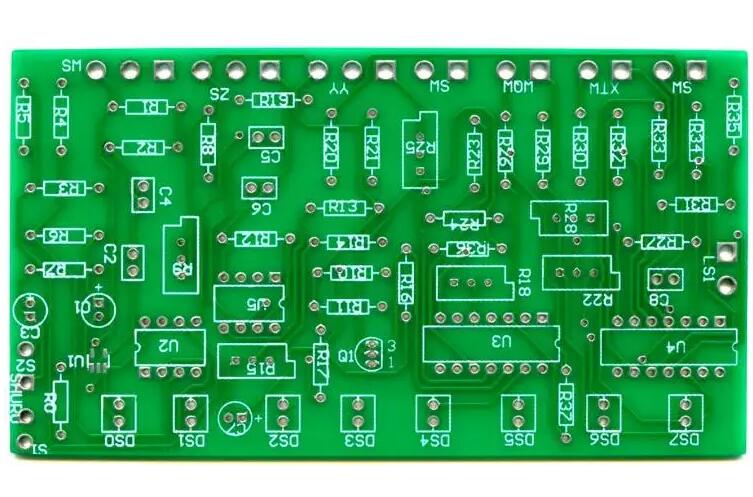
According to the number of layers, circuit boards are divided into three major categories: single-sided, double-sided, and multi-layer circuit boards. The first is a single panel. On the most basic PCB, the parts are concentrated on one side, and the wires are concentrated on the other side. Because the wires only appear on one side, this kind of PCB is called a single-sided circuit board. Some PCB factories pointed out that single-sided panels are usually simple to produce and low in cost, but the disadvantage is that they cannot be applied to products that are too complex.
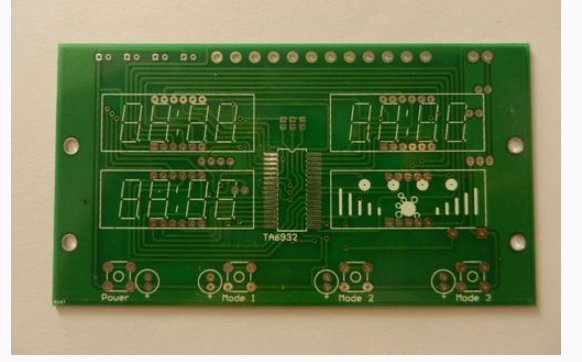
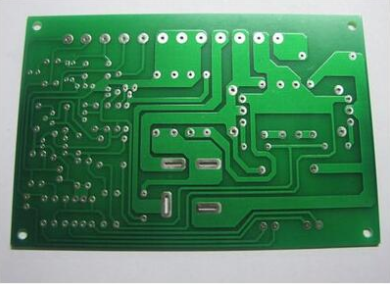
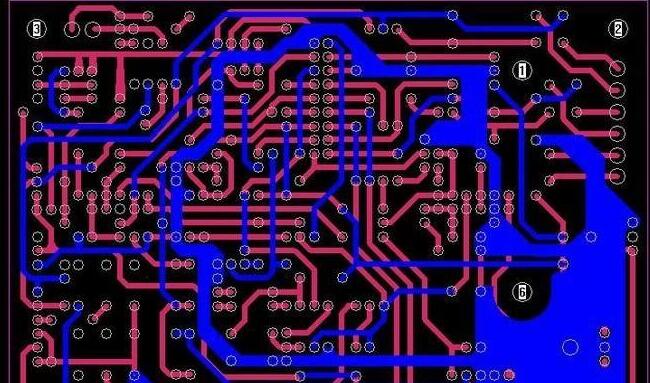
Double-sided boards are an extension of single-sided boards. When single-layer wiring cannot meet the needs of electronic products, double-sided boards should be used. There are copper-clad wires on both sides, and the lines between the two layers can be connected through vias to form the required network connections.
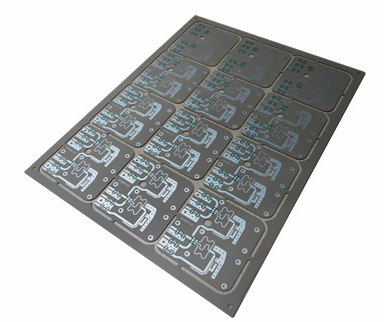
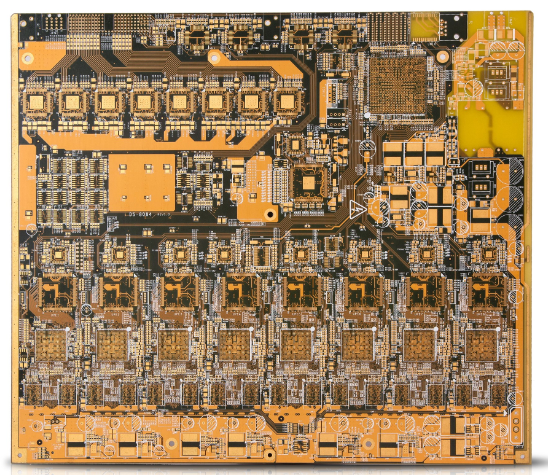
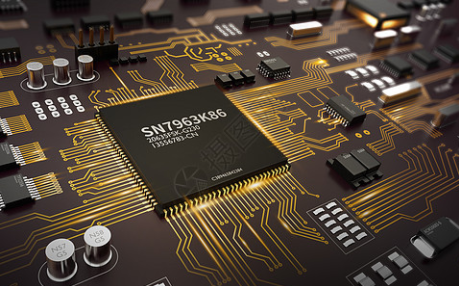
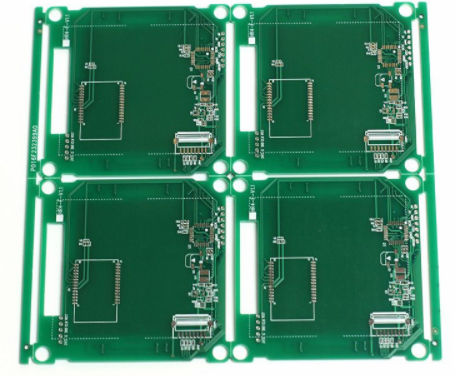
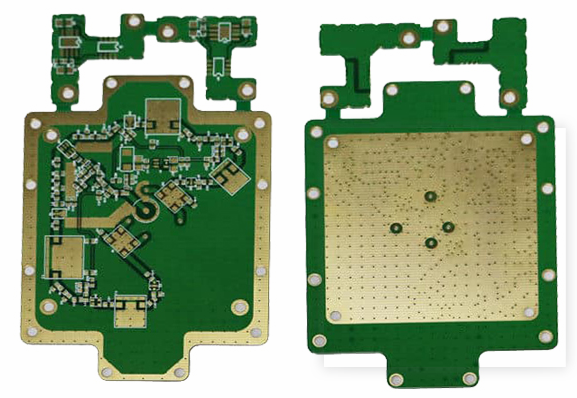
Multi-layer board refers to a printed board with more than three conductive pattern layers and insulating material between them laminated at intervals, and the conductive patterns between them are interconnected as required. Multilayer circuit boards are the product of the development of electronic information technology in the direction of high speed, multi-function, large capacity, small volume, thinner and lighter weight. Circuit boards are divided into flexible boards (FPC), rigid boards (PCB), and rigid-flex boards (FPCB) according to their characteristics.
The following is an introduction to the key steps of the PCB printed circuit board production process

◆Sampling:
Take a sample from any part of the board with a special cutting die or use a shearing machine to cut the sample. Be careful not to get too close to the edge of the hole to prevent the through hole from being deformed by tension. Also pay attention to the sampling method. It is best to cut and cut it first. Use a diamond saw blade to cut the desired cut to reduce the risk of mechanical stress.
◆Sealing glue
The purpose of sealing glue is to fill the through hole and clamp the wall of the hole to be observed so that it will not be stretched and distorted during grinding. The sealing glue generally uses special dense products, such as Buhler's various series. It is better to use sealant, but the price is very expensive. You can switch to other types, but the transparency is good, the hardness is large, and the bubbles are less. For example: black epoxy resin for small parts sealant, toothpaste-like two Liquid epoxy resin sealant, Nanbao resin, and even green paint can also be used. Pay attention to reducing air bubbles. In order to complete the hardening, oven catalysis is required for rapid reaction.
In order to facilitate the sealing of the cut samples, the official method is to use a spring clamp with a coil type to clamp the samples in to keep them upright during the sealing. The sealant of the formal slice is poured into a cylindrical blue rubber mold. After hardening, the sample cylinder can be easily pushed out by pushing the rubber mold, which is very convenient. This kind of special rubber mold is also a product of Buhler and is not easy to buy in China. Generally, the more troublesome and simple methods are:
1. Spray the mold release agent on the inner wall of the sawed aluminum tube, and put the sample upright on the glass plate with double-sided tape, and then put the aluminum tube around the sample, so that the lower edge of the tube should be in close contact with the surface of the glass plate, So that the glue will not leak out. After hardening, the cylinder can be taken out or replaced with a funnel-shaped mold that is easier to demold.
2. Use rubber powder in the hot press mold to fill the through hole with increasing pressure and at the same time harden into a solid body. This is the most beautiful among various sliced round bodies.
3. String multiple slices with steel tips, fill them with liquid glue at the same time in a special mold, and grind multiple slices at the same time, called Nelson-Zimmer method, which can grind nine cylinders at the same time, and each As many as 5.6 slices can be enclosed in the column, which is a large amount of practice.
4. Use the ready-made acrylic mold, put the sample in, and seal the glue.
5. The easiest way is to apply the colloid on PE paper, so that the through holes on the cut sample slowly scrape across the rubber surface, force the glue paste into the holes, and then pour it into the slot of the wooden board and concentrate it into the oven, Make it hard to bake, you can also use green paint to fill the glue.
6. A small amount of cut samples can be directly filled with glue at the orifice with bamboo sticks, and then baked upright. The last two kinds of glues are small, so the grinding time can be saved, but the level of the grinding surface must be maintained by effort and gestures. Yes, but really good slices are made by this simple method.
◆ Grinding disc:
It is the step of using the cutting force of sandpaper to grind the sample to the center of the hole in order to observe the section of the hole wall. In order to save time and mass production, the quick turntable is often used as a quick grinding method. You can use adhesive-backed sandpaper to stick to the surface of the disk, or use an edge loop fixer to fix the gauze paper, or the paper has a center hole to be inserted into the shaft. When wet and high-speed rotation; sandpaper will be flat on the surface of the disk and can be ground. A small amount of simple cuts can be smoothed on ordinary sandpaper by hand, and even the turntable can be omitted. The sandpaper numbers used above are preferably as follows.
1. No. 220 rough grinding until the two parallel lines of the hole wall fault are about to appear, pay attention to spraying water or other kinds of liquid to reduce heat.
2. Change to No. 400 and regrind until the "indicating line" appears in the "center of the hole".
3. Use fine sandpaper of 600 or more to lightly grind a few times to correct non-parallel oblique grinds.
◆Polishing
To see the truth of the slices, careful polishing must be done to remove the scratches from the sandpaper. In large quantities, the rotary table felt plus alumina suspension is used as an auxiliary for micro-contact polishing. Note that the direction of the cut should be changed frequently during polishing to achieve a more uniform effect until the sand marks disappear completely. A small amount of cutting can be done by using a general cloth head and rubbing copper grease. You must also change the throwing direction from time to time, front, back, left, and right, and circular motion. When the craftsmanship is good, the effect is better than high-speed turntable polishing. Clear, better to preserve the truth, but more time-consuming. The polishing pressure should be light, and the number of reciprocations should be more, the effect is better, and the truth of the copper surface obtained by oily polishing is better than that of water-based polishing.
◆Micro Erosion:
After the polished surface is washed with water or dilute alcohol and dried, microetching can be carried out to find out the respective layers of the metal and the crystallization condition. This kind of microetching seems simple, but it is necessary to see the clear and delicate real image. But it is not easy, and it is not always successful. If it doesn't work, only toss lightly a few times and redo the micro-eclipse to find out the truth.
◆Photo
If the original polished film is 100 minutes, the inverted image seen under the microscope can only see 85% to 95% according to the performance of the microscope, and when it is taken with a Polaroid, it is best only 80% 90%. When you turn a Polaroid photo into a slideshow, of course, you will get a discount of 75%~85%, but for the sake of recording and communication, photography is the best method. The price of this kind of photo is It's very expensive, you have to have a picture before you go to the face, otherwise it is really meaningless. The most difficult part of photographing is the alignment of the focal length, which is much more difficult.
1. The visual focal length is not exactly the same as the photographic focal length. It cannot be regarded as accurate. You need to sacrifice a few more to find out the true photographic focal length.
2. The amount of light required for exposure = light intensity x time. A good photo should try to extend the time and reduce the light intensity. After adding various filters, photos with various effects can be obtained.
3. The surface of the PCB image must be flat, otherwise, when the multiple is large (above 100x), there will be partial clear and partial blurring. After the image is obtained, it must be thoroughly dried in the shade before touching it to avoid damage to the screen.