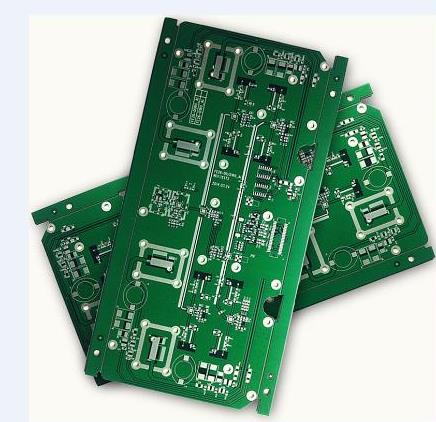
Surface mount IC substrate packaging relies on printed circuit board (PCB) for heat dissipation. In general, PCB is the main cooling method of high power semiconductor devices. A good PCB heat dissipation design has a huge impact. It can make the system run well, and also can bury the hidden danger of thermal accidents. Careful handling of PCB board layout, board structure and device mounting can help improve the heat dissipation performance of medium and high power consumption applications.
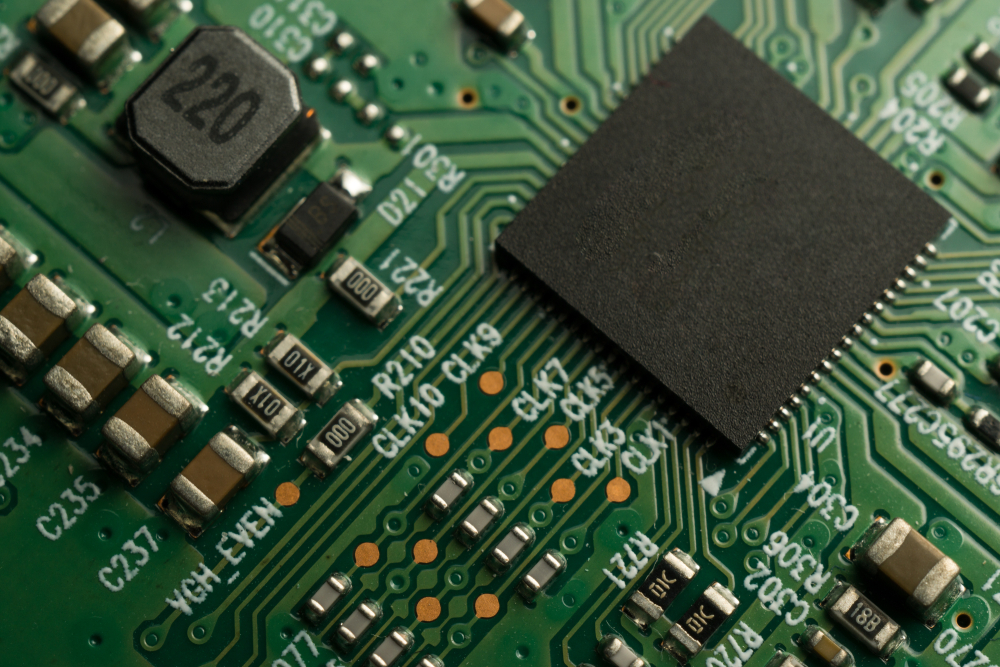
For improving heat dissipation performance, the top and bottom layers of PCB board is "golden locations". Using wider wires and wiring away from high power consumption devices can provide a heating path for heat dissipation. The special heat conduction plate is an excellent method for PCB heat dissipation. The heat conduction plate is generally located on the top or back of the PCB, and is thermally connected to the device through direct copper connection or thermal through-hole. In the case of inline packaging (only the packaging with leads on both sides), this heat conduction board can be located on the top of the PCB board, and its shape is like a "dog bone" (the middle is as small as the package, the area of connecting copper far from the package is large, and the middle is small and the two ends are large). In the case of four side packaging (there are leads on all four sides), the heat conduction board must be located at the back of the PCB or enter the PCB. Systems with larger PCB can also be used for cooling. When the screw heat dissipation is connected to the heat conduction plate and the ground plane, some screws used to install the PCB can also become effective heat paths to the system base. Considering the heat conduction effect and cost, the number of screws should be the maximum value to reach the point of diminishing returns. After being connected to the heat conduction plate, the metal PCB reinforcement plate has more cooling area. For some applications where the PCB board cover has a housing, the type controlled welding repair material has higher thermal performance than the air-cooled housing. Cooling solutions, such as fans and heat sinks, are also common methods of system cooling, but they usually require more space, or need to modify the design to optimize the cooling effect. First, apply a proper amount of solder paste on the side of the BGA IC substrate board with solder legs, and gently blow with a hot air gun to make the solder paste evenly distributed on the surface of the IC substrate board, so as to prepare for welding. On the circuit boards of some mobile phones, the positioning frame of the BGA IC substrate board is printed in advance, and the welding positioning of this IC substrate board is generally not a problem. Now I mainly introduce the situation that there is no positioning box on the circuit board. There are several methods for positioning the IC carrier board:

1) Line drawing positioning method: before removing the IC substrate board, use a pen or needle to draw lines around the BGA-IC substrate board, remember the direction, make marks, and prepare for re welding. The advantage of this method is accurate and convenient, while the disadvantage is that the lines drawn with a pen are easy to be cleaned. If the strength of the lines drawn with a needle is not well mastered, the circuit board is easy to be damaged.
2) Sticker positioning method: Before removing the BGA-IC substrate board, first stick the label paper on the circuit board along the four sides of the IC substrate board, align the edge of the paper with the edge of the BGA-IC substrate board, and then press and stick it with tweezers. In this way, after the IC substrate board is removed, a positioning frame with label paper is left on the circuit board. When reinstalling the IC substrate board, we just need to put the IC substrate board back in the empty space of several label sheets. Attention shall be paid to the label paper with good quality and strong viscosity, so that it is not easy to fall off during blow welding. If you feel that a layer of label paper is too thin to be felt, you can use several layers of label paper to overlap into a thicker one. Use scissors to cut the edges flat and paste them on the circuit board, so that it will feel better when you replace the IC substrate board. Some netizens use plaster, gypsum powder and other materials to stick to the circuit board for marking. Some netizens also make metal clamps to weld and position the BGA-IC substrate board. I think it is more convenient and practical to use the sticker method, and it will not pollute and damage the circuit and other components.
3) By visual inspection, when installing BGA-IC substrate board, first erect the IC carrier plate, then you can see the pins on the IC substrate board and the circuit board at the same time. First compare the welding position in the forward direction, and then compare the welding position in the longitudinal direction. Remember which line on the circuit board is coincident with or parallel to the edge of the IC substrate board in the vertical and horizontal directions, and then install the IC substrate board according to the visual inspection results according to the reference.
4) For the touch method, after removing the BGA IC substrate board, add sufficient solder paste on the circuit board, remove the excess solder on the board with an electric soldering iron, and apply tin properly to make each solder leg of the circuit board smooth and round (you cannot use a tin absorbing wire to absorb the solder joint flat, otherwise you cannot find the touch in the following operations). Then place the BGA-IC substrate board with solder balls on the circuit board roughly, move the IC substrate board back and forth, left and right, and gently press it with hands or tweezers. At this time, you can feel the contact between the solder legs on both sides. Because the weld legs on both sides are round, if they are aligned when moving back and forth, the IC substrate board will have a feeling of 'climbing to the top of the slope'. After alignment, because we applied a little solder paste on the foot of the IC substrate board in advance, it is sticky, and the IC substrate board will not move. From the four sides of the IC substrate board, if an empty leg of the circuit board can be clearly seen in a certain direction, it indicates that the IC substrate board is misaligned and needs to be repositioned. After the BGA-IC substrate board is positioned, it can be welded. As we do when planting solder balls, remove the air nozzle of the hot air plate, adjust it to the appropriate air volume and temperature, align the center of the air nozzle with the center of the IC substrate board, and heat slowly. When the IC substrate board sinks down and the solder paste overflows around, it indicates that the solder ball has fused with the solder joints on the circuit board. At this time, gently shake the hot air gun to make the heating uniform and sufficient. Due to the effect of surface tension, the solder joints between the BGA-IC substrate board and the circuit board will be automatically aligned and positioned. Be careful not to press the BGA-IC substrate board forcibly during the heating process.