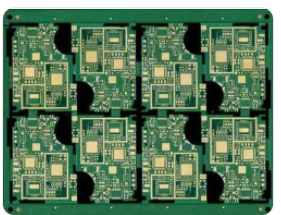
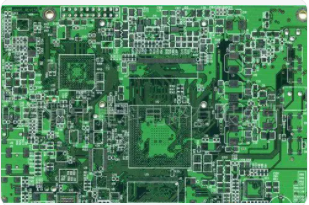
In the PCB layout design, how to route on the PCB may have a direct impact on the soldering problem, and the DFM rules provide some guidance there. Let’s now look at how trace routing can cause problems such as cold solder joints or tombstones so that you know what to avoid in the future.
Acute marks
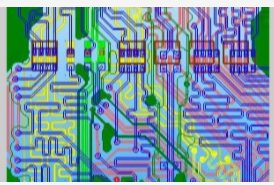
The first issue we have to look at is acute angle tracking. Although this situation does not cause soldering problems in particular, it is a wiring problem mentioned in the PCB DFM guide.
An acute angle in a trace is a trace with an angle greater than 90 degrees. This causes the trace to return to itself. The wedge formed by the acute angle can capture acidic chemicals during the manufacturing process. These captured chemicals are not always cleaned during the cleaning stage of manufacturing and will further deplete traces. This may eventually lead to broken traces or intermittent connections.
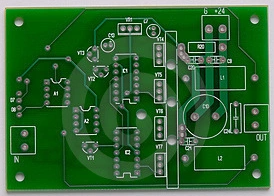
Trace path on PCB

Tombstone due to trace width
When a small two-pin part (such as a surface mount resistor) is erected on top of one, a tombstone pad during soldering will occur. This is caused by the imbalance of heating between the two pads during solder reflow. No matter which side melts, first pull the part to that side and cause a tombstone effect.
One of the factors that cause this heating imbalance is the use of traces of different sizes on the two pads. The wider the trace, the longer it takes for the connection pad to heat up. If one pad of the device has very narrow traces and the other pad has very wide traces, solder reflow imbalance may occur, and one pad will melt and reflow before the other pad.
Often electrical engineering will require a power cord that is too wide for the PCB manufacturer to solder reliably. The PCB design of the manufacturing guide suggests using different sizes of minimum and maximum trace widths, but this may not solve your problem. The key is to balance the requirements of electrical engineering and manufacturing, and reach an agreement between the two. In this way, you can meet the design needs of both parties.
Cold solder joint
Another problem that can occur when routing thicker traces is cold solder joints. Cold solder joints are solder joints where the solder is not properly reflowed to form a good connection or the solder has been pulled away from the connection. When routing thick traces from the pad, the thicker trace size may eventually pull the solder out of the pad to connect to the component.
The solution is to use a trace width smaller than the pad size. Some DFM guidelines recommend traces that do not exceed 0.010 mils, although it must be calculated again to balance electrical and mechanical engineering requirements.
The PCB design of the manufacturing guide is better than tracking the routing suggestions we give you here. The DFM guide will also help you understand the correct component placement technology, package size, and other aspects of the design. This will ultimately help your design make as few errors as possible.