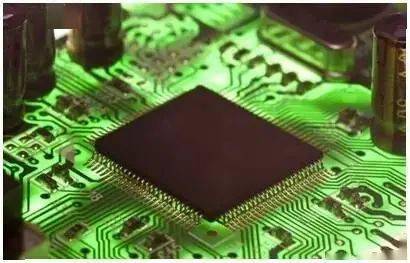
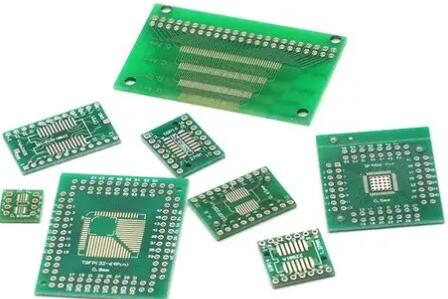
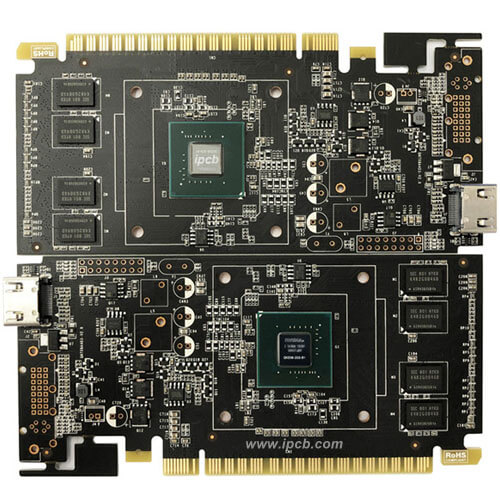
IC burning is to import software (also called firmware) into the IC. Generally speaking, the products from the original factory have not been burned, but they should also have certain codes (for example, some chips have unique serial numbers, boot parts, etc.). This is a necessary process that is more important than IC testing, and is generally carried out by the final electronic product manufacturer.

technological requirements
1. Be careful when placing the IC to avoid damaging the IC and the burning seat.
2. The IC must not be installed reversely. The IC to be disassembled must first check whether there is a tin short circuit on the pin, otherwise the burning seat will be easily damaged.
3. Burning personnel must be trained before taking up their posts and must not use other computer programs during burning.
4. If any undesirable phenomenon occurs, it shall be immediately reported to the management personnel for solution.
Steps and methods:
1. First connect the data cable of the burner, and install the corresponding IC base into the burner base; Turn on the computer and the burner.
2. Run the burning software: Double click the icon "GANG-08" with the mouse (different burning seats correspond to different burning software).
3. Select IC brand: After the program startup screen appears, click the "Device" menu to call up the IC brand selection table, select the brand corresponding to the IC to be burned, and then click "OK";
4. Select the IC model: The IC model produced by the company of the IC to be burned appears. Select the IC model and click "Run"; At this time, if you want to select a jumper in the burning seat, press the computer prompt for jumper, click "OK" after jumping the jumper, and if there is no jumper in the burning seat, you can directly enter the burning interface;
5. Call in the software to be burned: click the menu "File", select "Load File To Programmer Buffer", then select the software to be burned, click "Open", then select "00", and click OK.
Steps and methods:
6. Check the software checksum: After the software is called in, a four digit check code will appear after the Buffer Checksum. This code should correspond to the check code in the Electronic Design Document Notice, which means that the software to be burned is correct. If it is not correct, it should be immediately reported to the relevant department for solution.
7. Burn the software: click the "Program" button to load the IC to be burned into the IC base, and then press the Burn button on the burning base. When the burning is completed, "OK" will be displayed if the burning is successful, and red "Error" will be displayed if the burning is failed. The indicator light of each burning seat corresponding to the IC burning OK will be on, indicating that the IC is successfully burned.
8. Make a burning mark. Stick a sticker on the IC that is burned OK. If it fails to burn, put it on another burning seat and burn it again. If it is confirmed that the IC is damaged, put it in the defective product box and make a mark.
IC burning verification steps
1. Put the IC to be burned into the IC burning base before going to work every day, burn the IC according to the operation instructions, and number it.
2. After successful burning, put the IC into other burning bases with different numbers, then select "VERIFY" in the menu, and press "RUN" to start the calibration. If "OK" appears in all cases, put the IC into other burning bases for recalibration. If the calibration is OK, it indicates that the burning base is OK
3. If "VERIFY" fails, first install the IC that is verified as OK by other seats into the IC seat corresponding to the IC that failed to be burned and the seat that failed to be verified just now. If a seat still fails to be verified, it indicates that the seat may be damaged, which may cause errors in IC data burning, and then insert another IC that is verified as OK by other seats for verification. If it is confirmed that the seat is damaged, stop burning the seat immediately. It will immediately report the situation to the relevant personnel and recheck the burned IC.